No Bake Peppermint Mocha Pie
This easy no-bake peppermint mocha pie is a huge hit at parties! A delicious cookie crust is topped with creamy chocolate and mint filling and the perfect hint of coffee flavor.
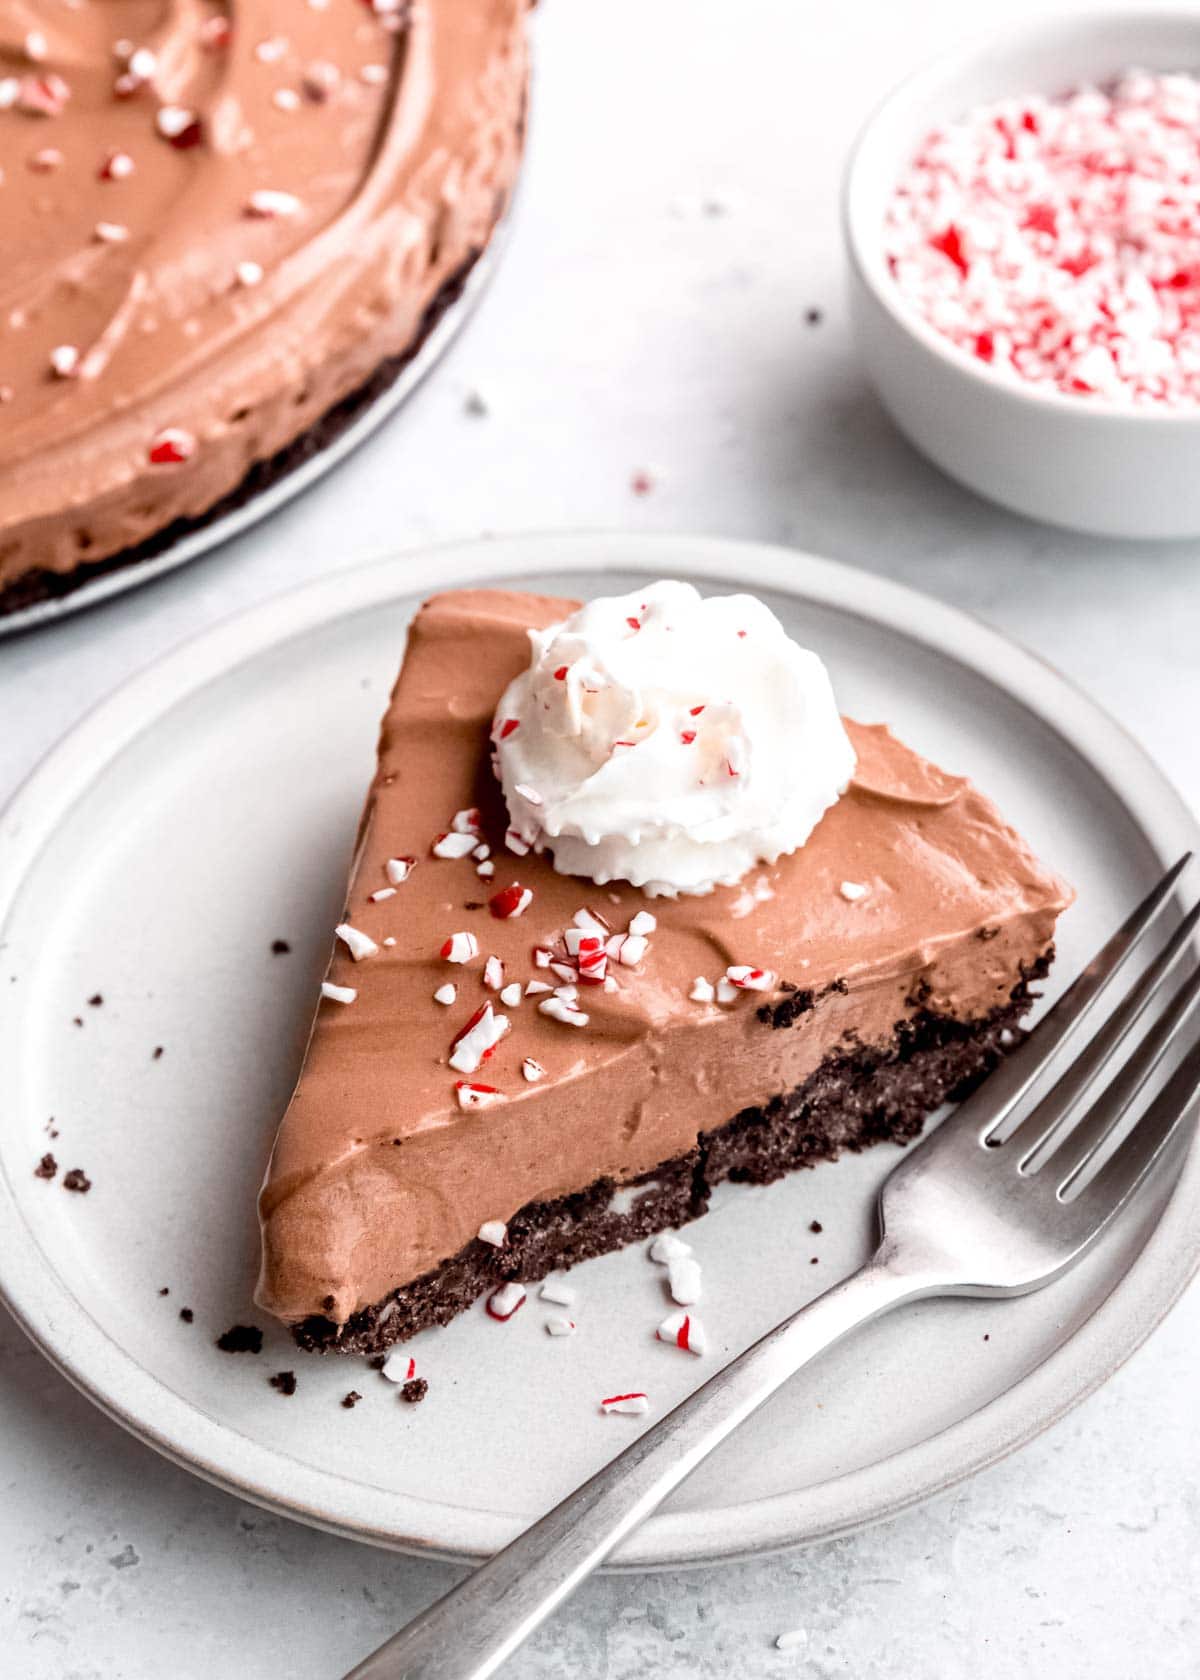
Easy Mocha Pie
This delicious pie is the perfect combination of three of our favorite flavors—Chocolate, Peppermint, and Coffee! The peppermint mocha pie has a tasty Oreo cookie crust (thank goodness they make them gluten-free!) that is baked for just 7 minutes, but you could replace this with a pre-made crust at the store if you want it to truly be “no bake” (but we haven’t found one that is gluten-free). This step-by-step tutorial will help you whip up your new favorite dessert. You might want to make two because you won’t have much leftover later!
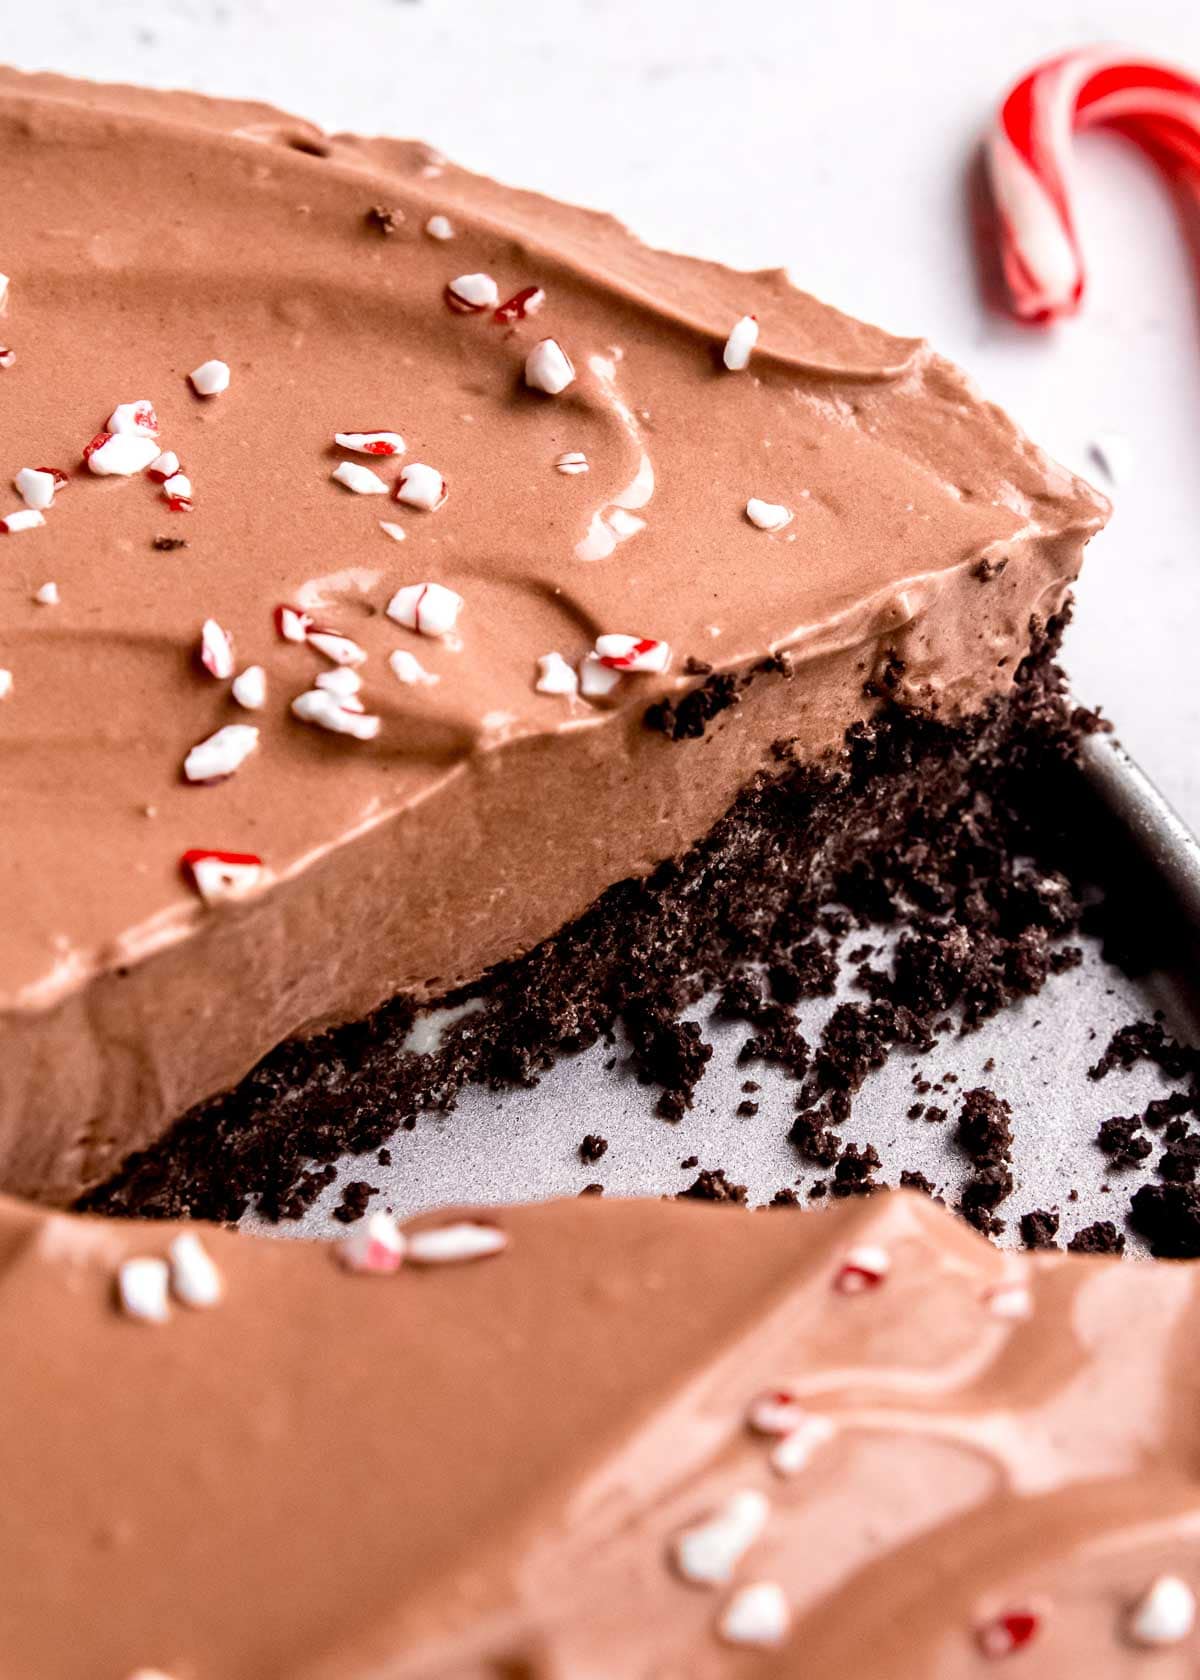
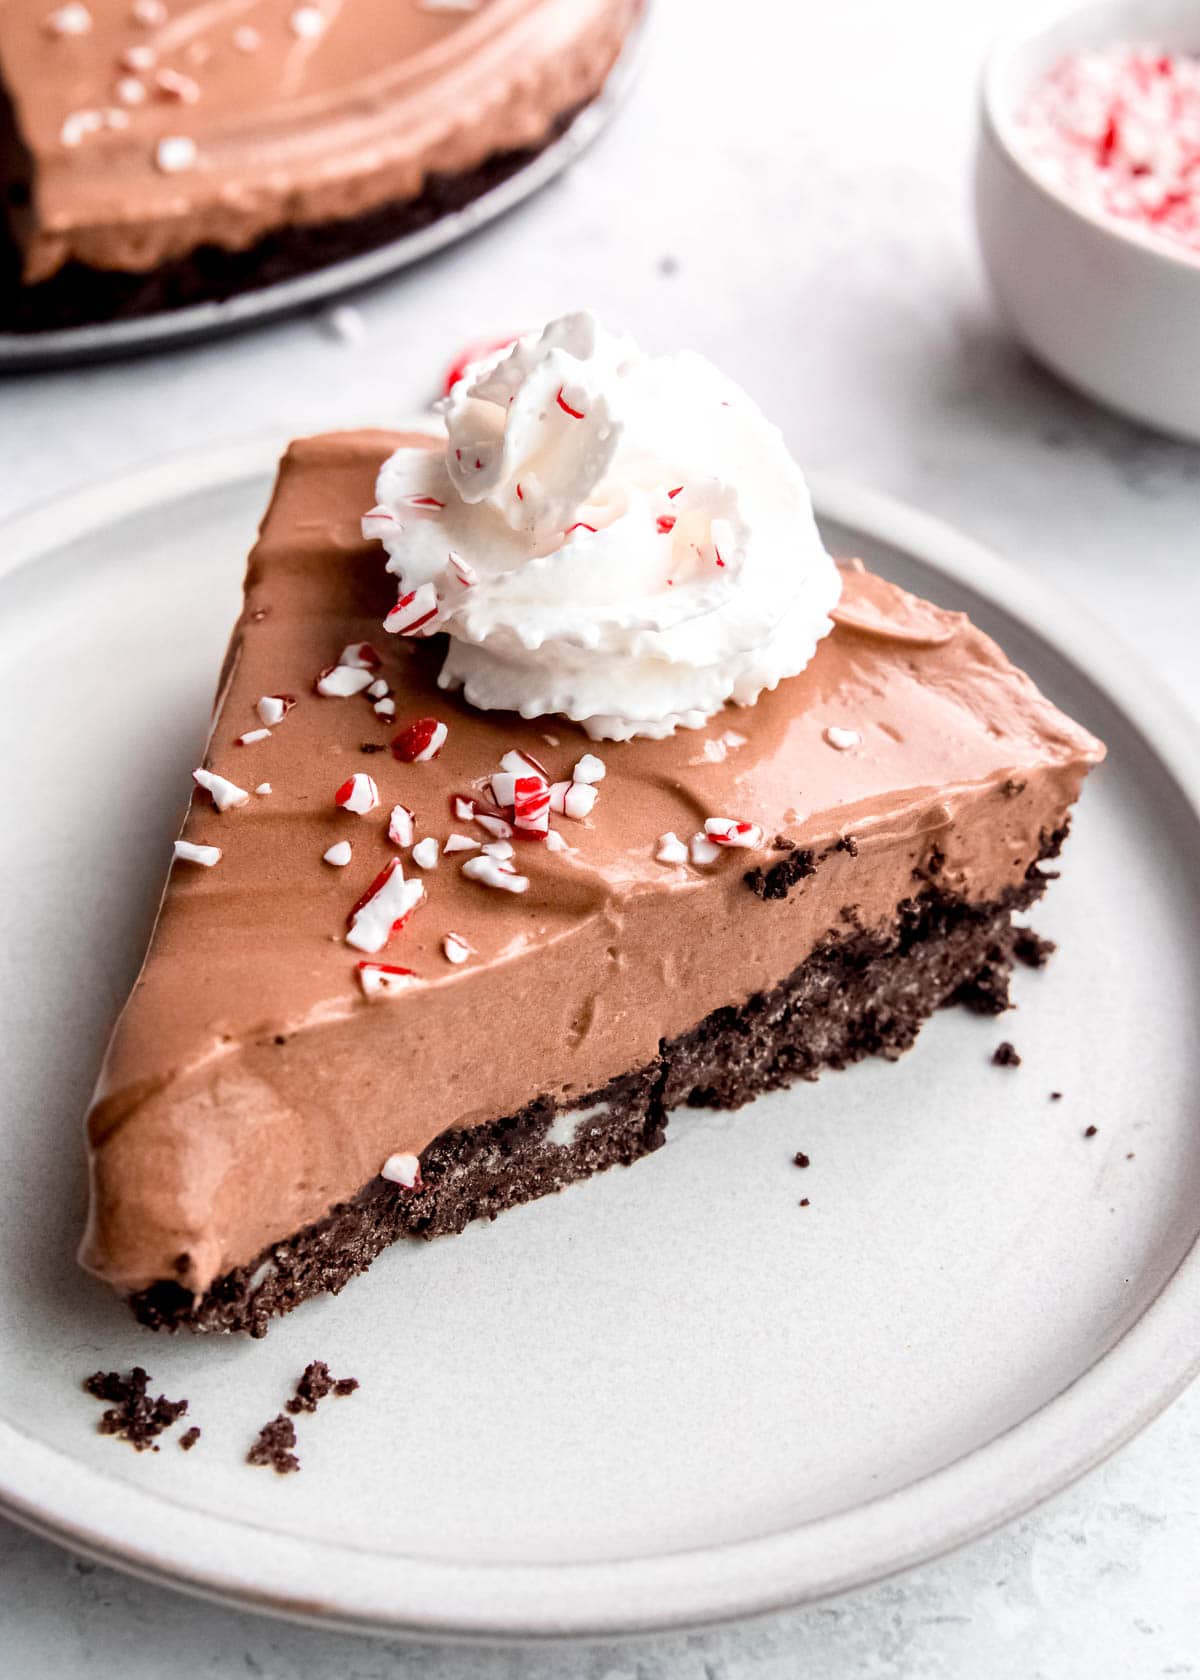
Why you’ll love it:
- Easy – While there are a couple of steps to this recipe, it’s actually incredibly easy! The pie crust is baked for just 7 minutes, but you could always pick up a pre-made crust at the store if you’d like to skip this part entirely. The pie filling isn’t baked at all, so you just mix it up and let it set in the fridge.
- Gluten-free – This recipe uses no specialty ingredients besides a package of gluten-free Oreos. This cookie makes the perfect crust super easy and is safe for all the Celiac and gluten-free friends you’re inviting.
- Meal prep friendly – This pie can easily wait in the freezer for your next get-together or unexpected guests! You can make a double batch and rest easy knowing you have an impressive dessert just waiting in the wings.
No Bake Mocha Pie Ingredients:
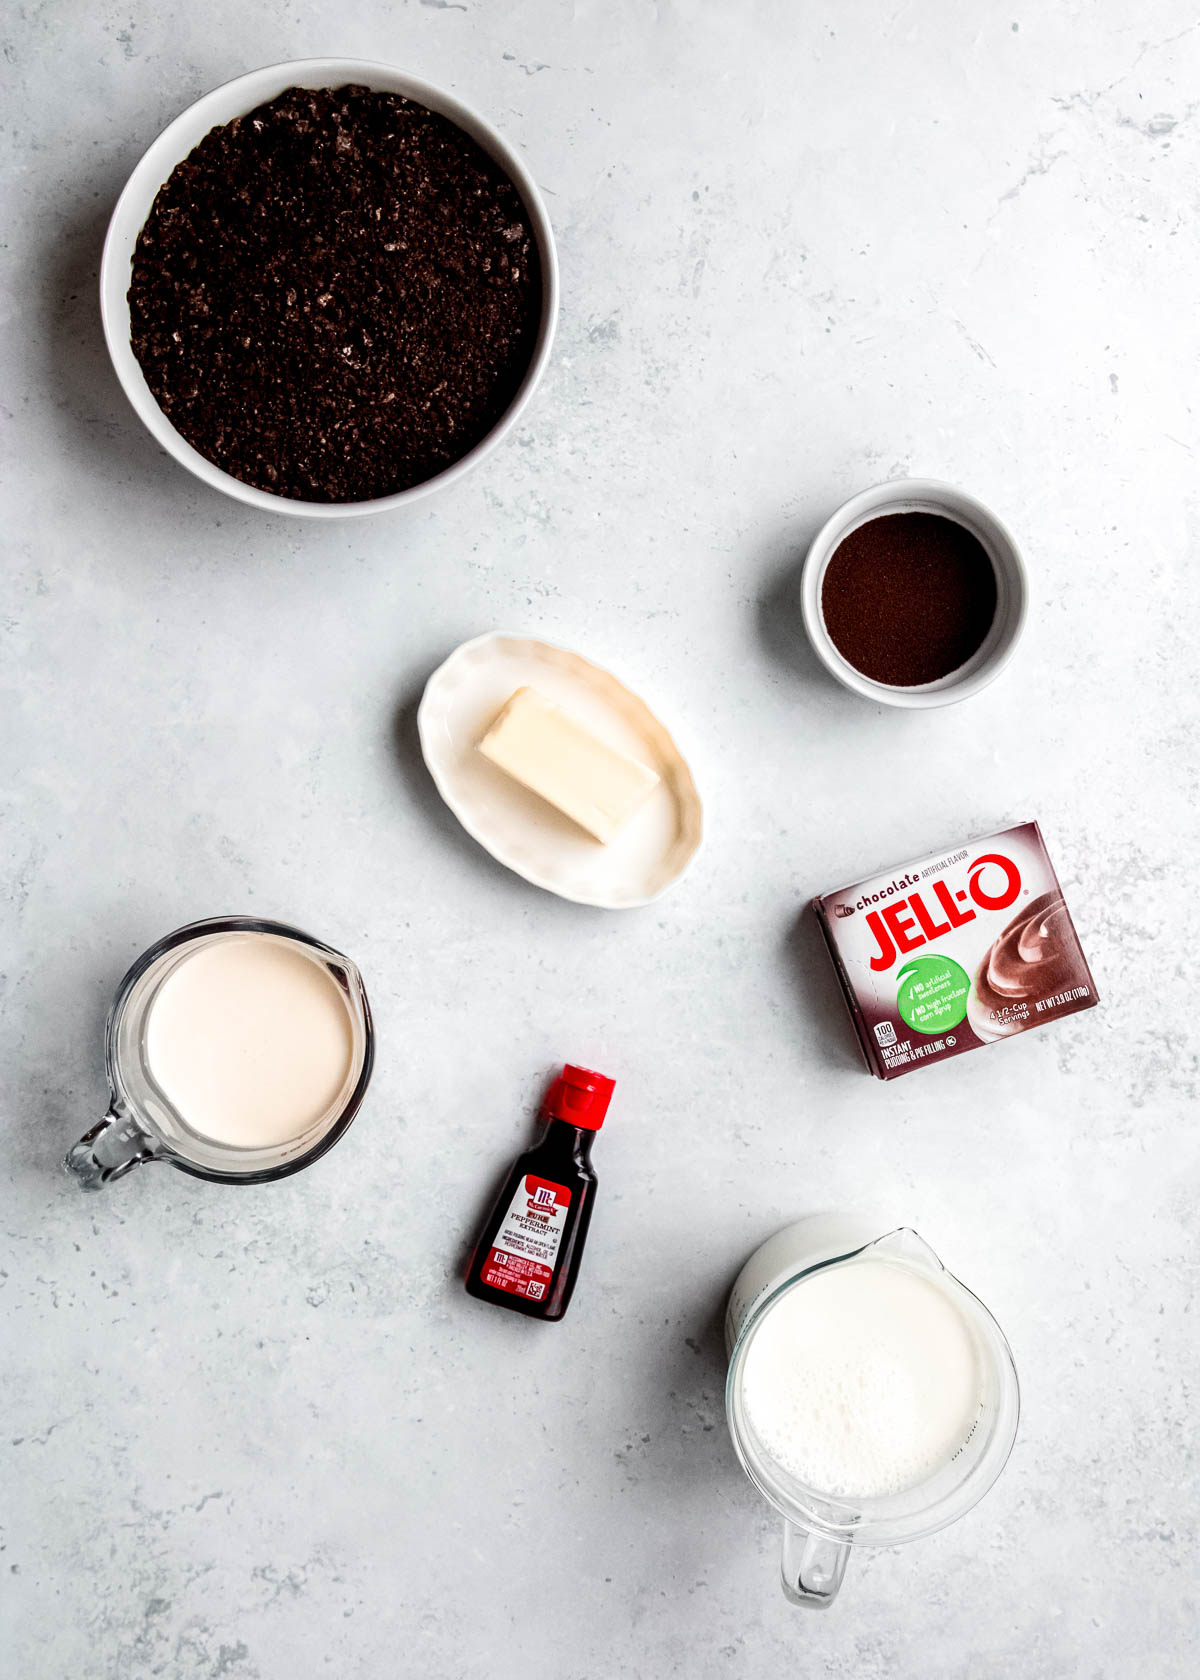
Here’s a quick overview of what you’ll need for this recipe. Scroll down to the printable recipe card at the bottom of the page for exact measurements and instructions.
- Oreos and Butter (unsalted) – This is all you need for the perfect crust! Make sure to grab gluten-free Oreos for a safe crust. If you want this to be a true no-bake pie start to finish, you could pick up a pre-made chocolate pie crust instead.
- Instant chocolate pudding mix, Milk, and Heavy whipping cream – This makes the base of the no-bake pie filling. It’s super easy and works best if your milk and whipping cream are nice and cold. I have not tried this with any dairy-free substitutions.
- Instant espresso powder and Peppermint extract – This is how our favorite flavors shine through! You don’t need much because both of these ingredients are very strong.
- Optional garnishes: whipped cream, crushed candy canes, chocolate shavings, etc.
How to Make a No-Bake Peppermint Mocha Pie
This easy pie is simple, but there are some tools that will make it easier. You want a 9” pie pan (deep dish to have ample room) or a spring-form pan, a stand mixer with whisk attachment, and a couple bowls. Here’s a step-by-step guide to making this delicious dessert.
Make the crust
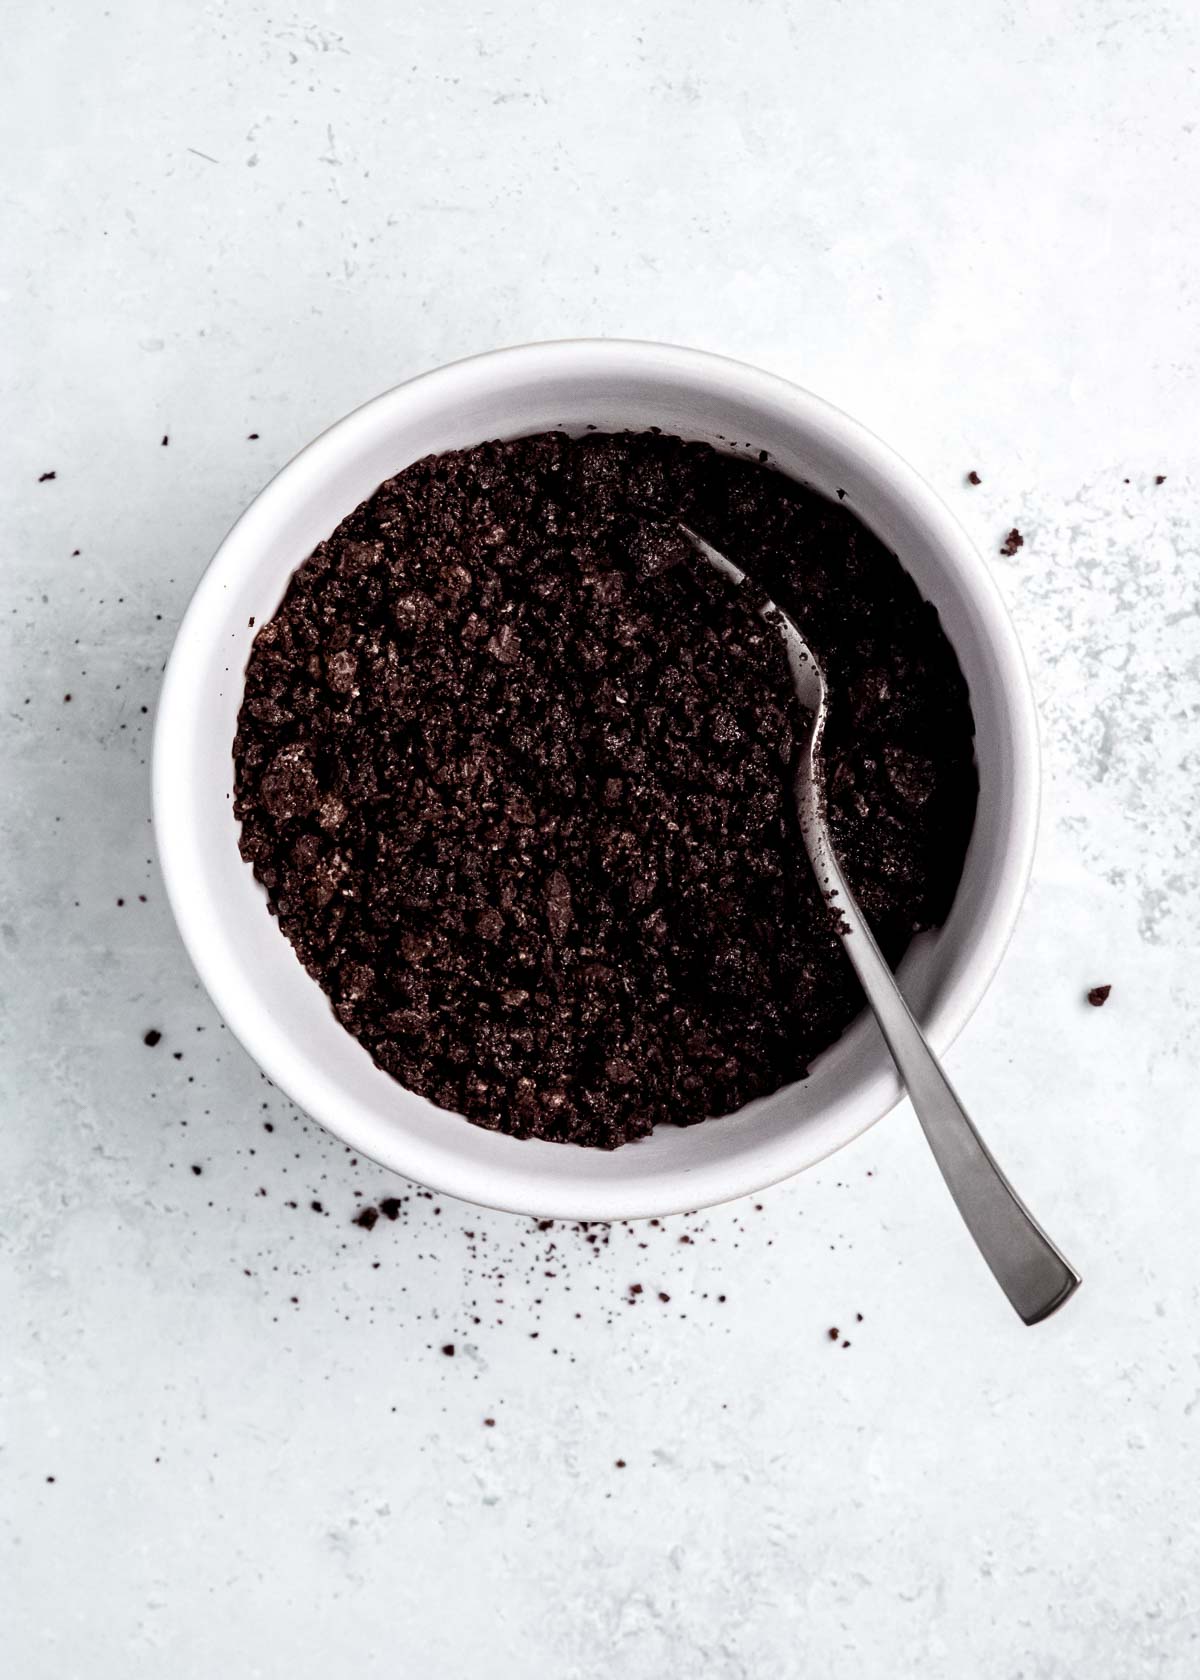
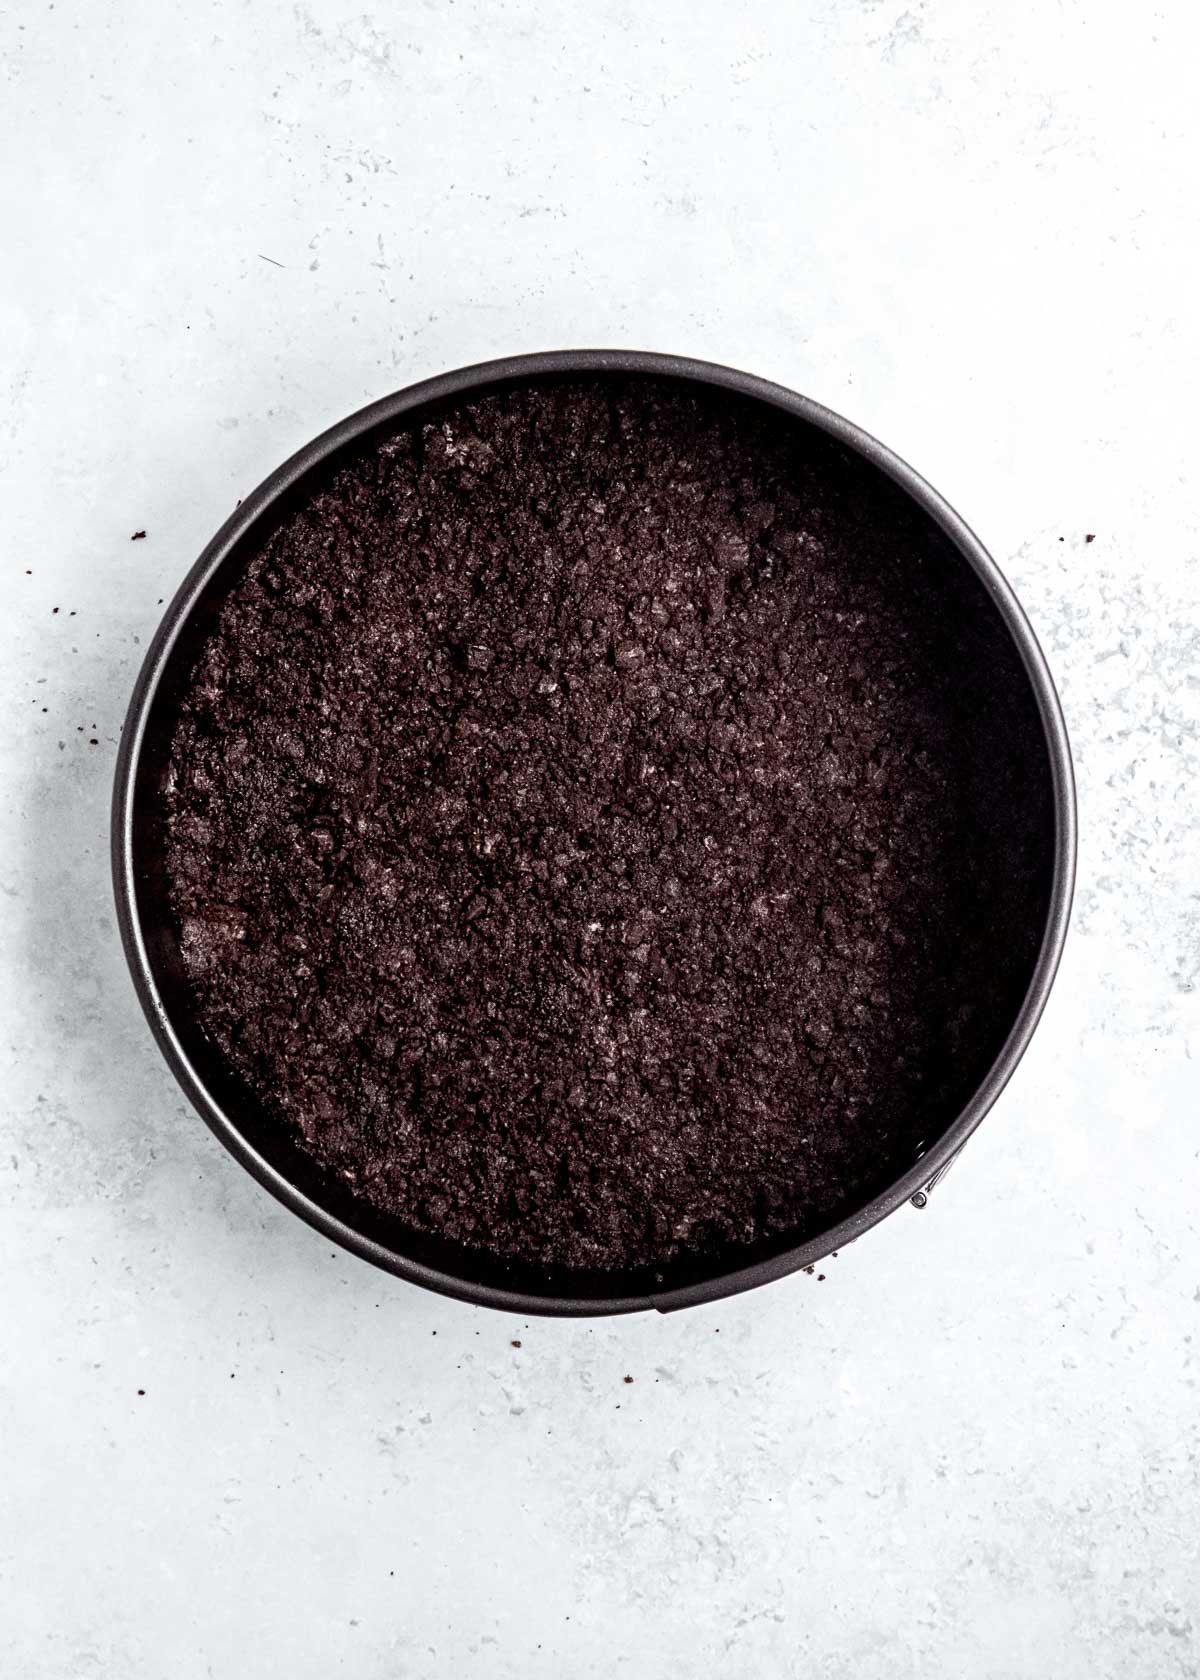
Start by preheating your oven to 350 degrees, then grease a 9-inch pie pan or springform pan. Stir together your Oreo crumbs and melted butter until they’re well combined. Press the buttered crumbs into the greased pan, smoothing it into an even layer.
Bake the crust in the preheated oven for 10 minutes, then allow it to cool for at least 15 minutes. I recommend placing it in the fridge while you’re making the filling so that it’s cool when your filling is ready.
Make the pudding
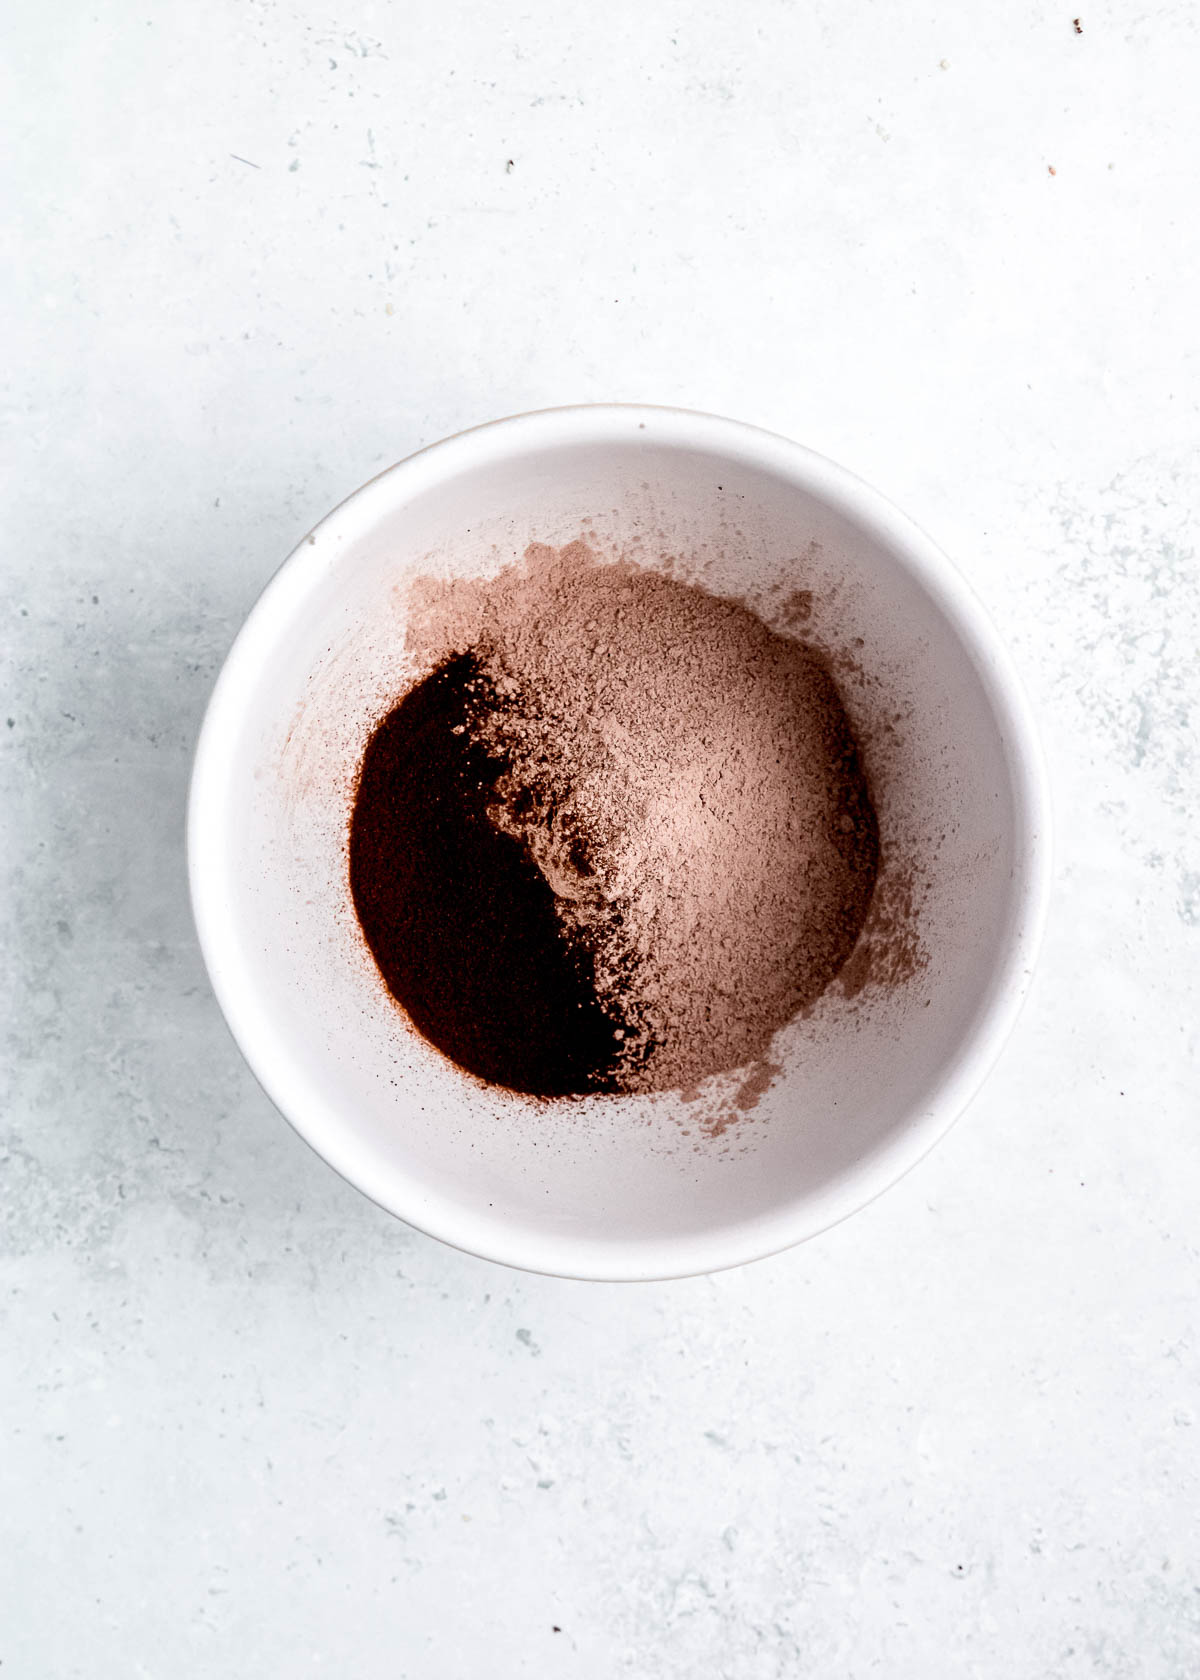
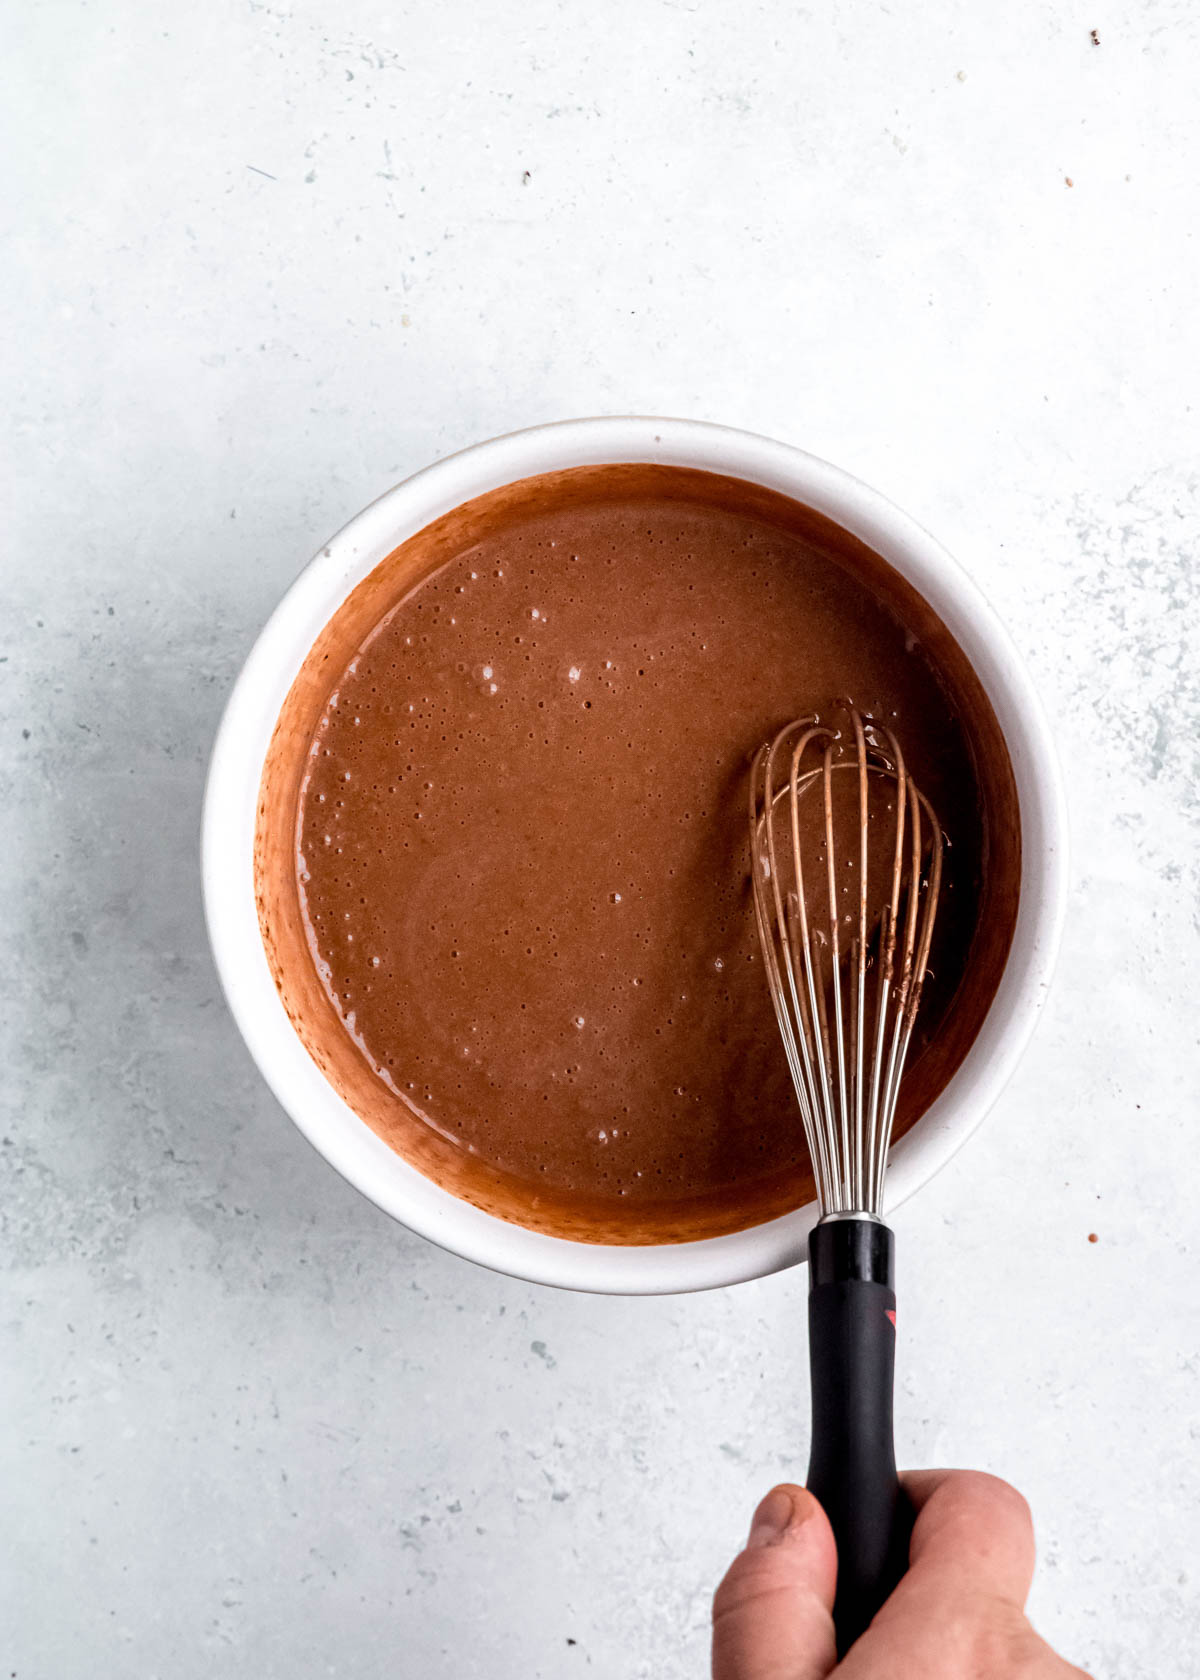
In a medium bowl, stir the pudding mix, milk, espresso powder, and peppermint extract together. Whisk for 1-2 minutes until the mixture is smooth, then place it in the fridge to set for at least 5 minutes.
Whip the cream
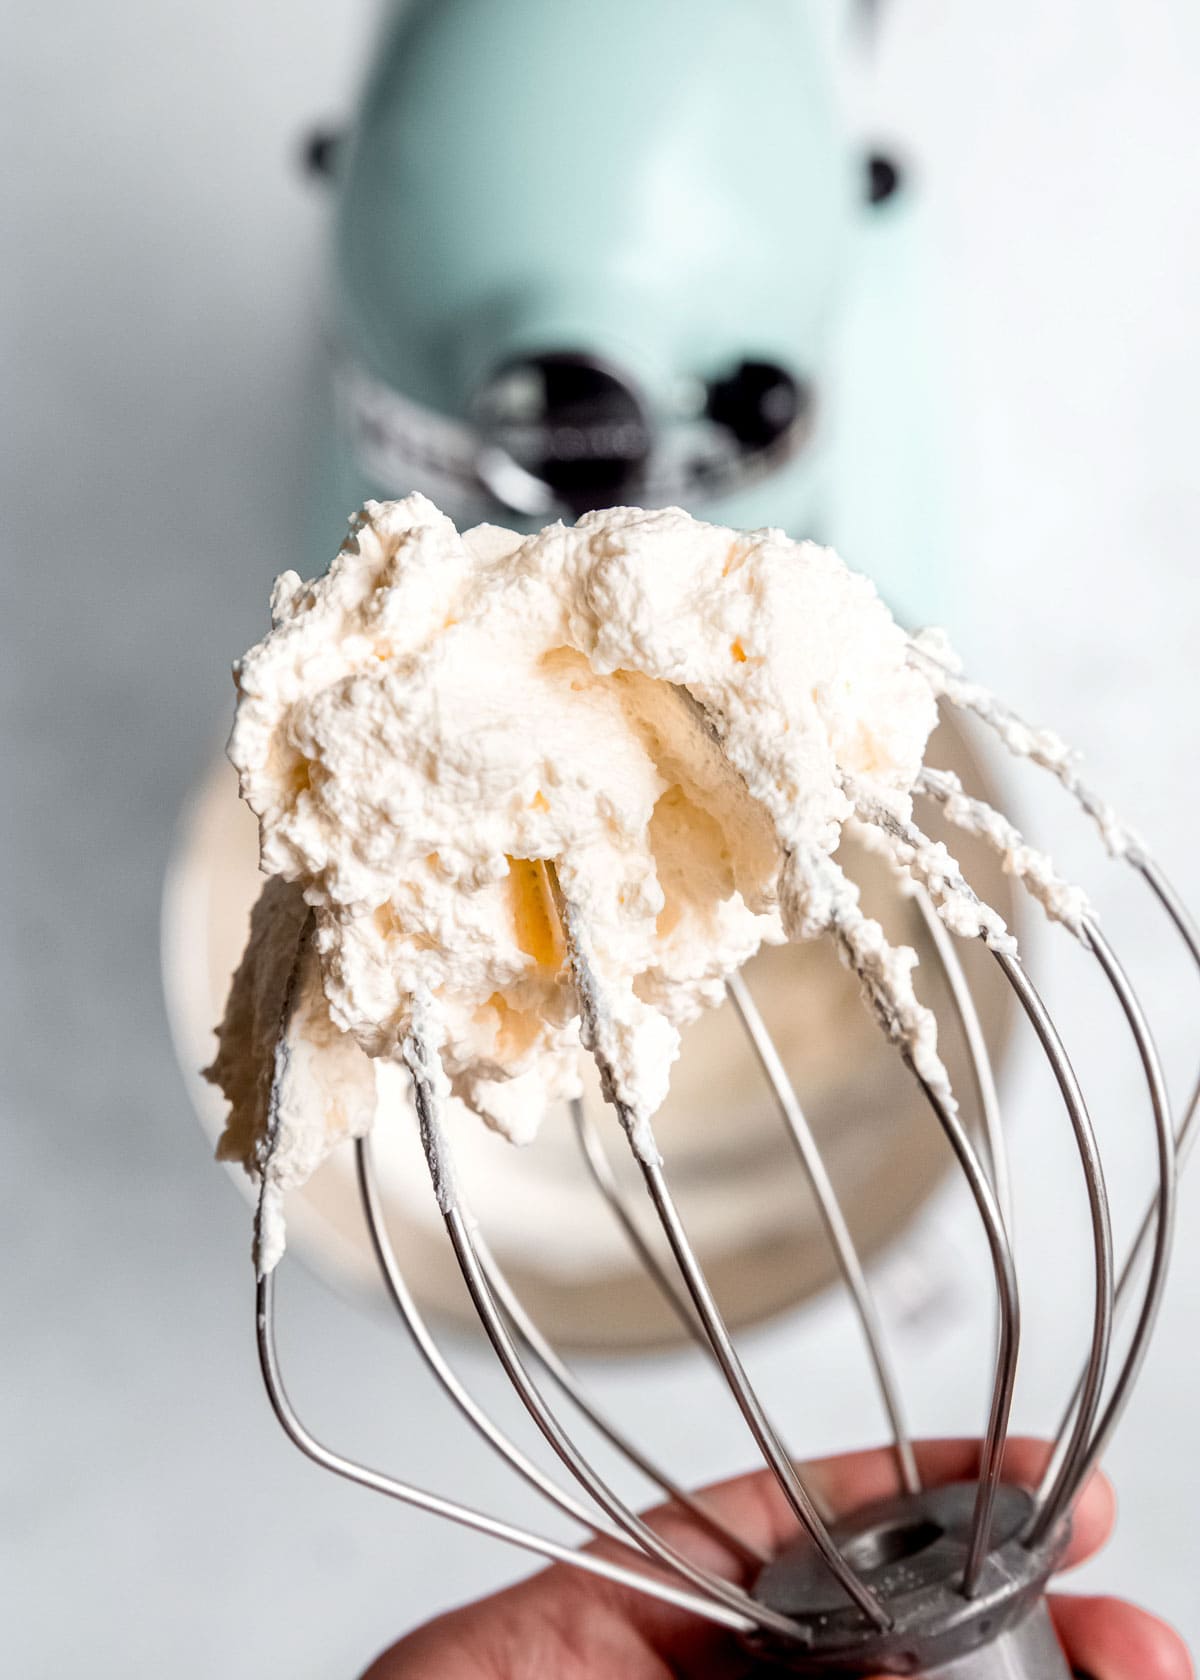
While the pudding is setting in the fridge, add the cold whipping cream to a stand mixture with a whisk attachment. Whip until stiff peaks form—This is very important as it is what will give the pie its fluffy, tall structure.
Finish the filling
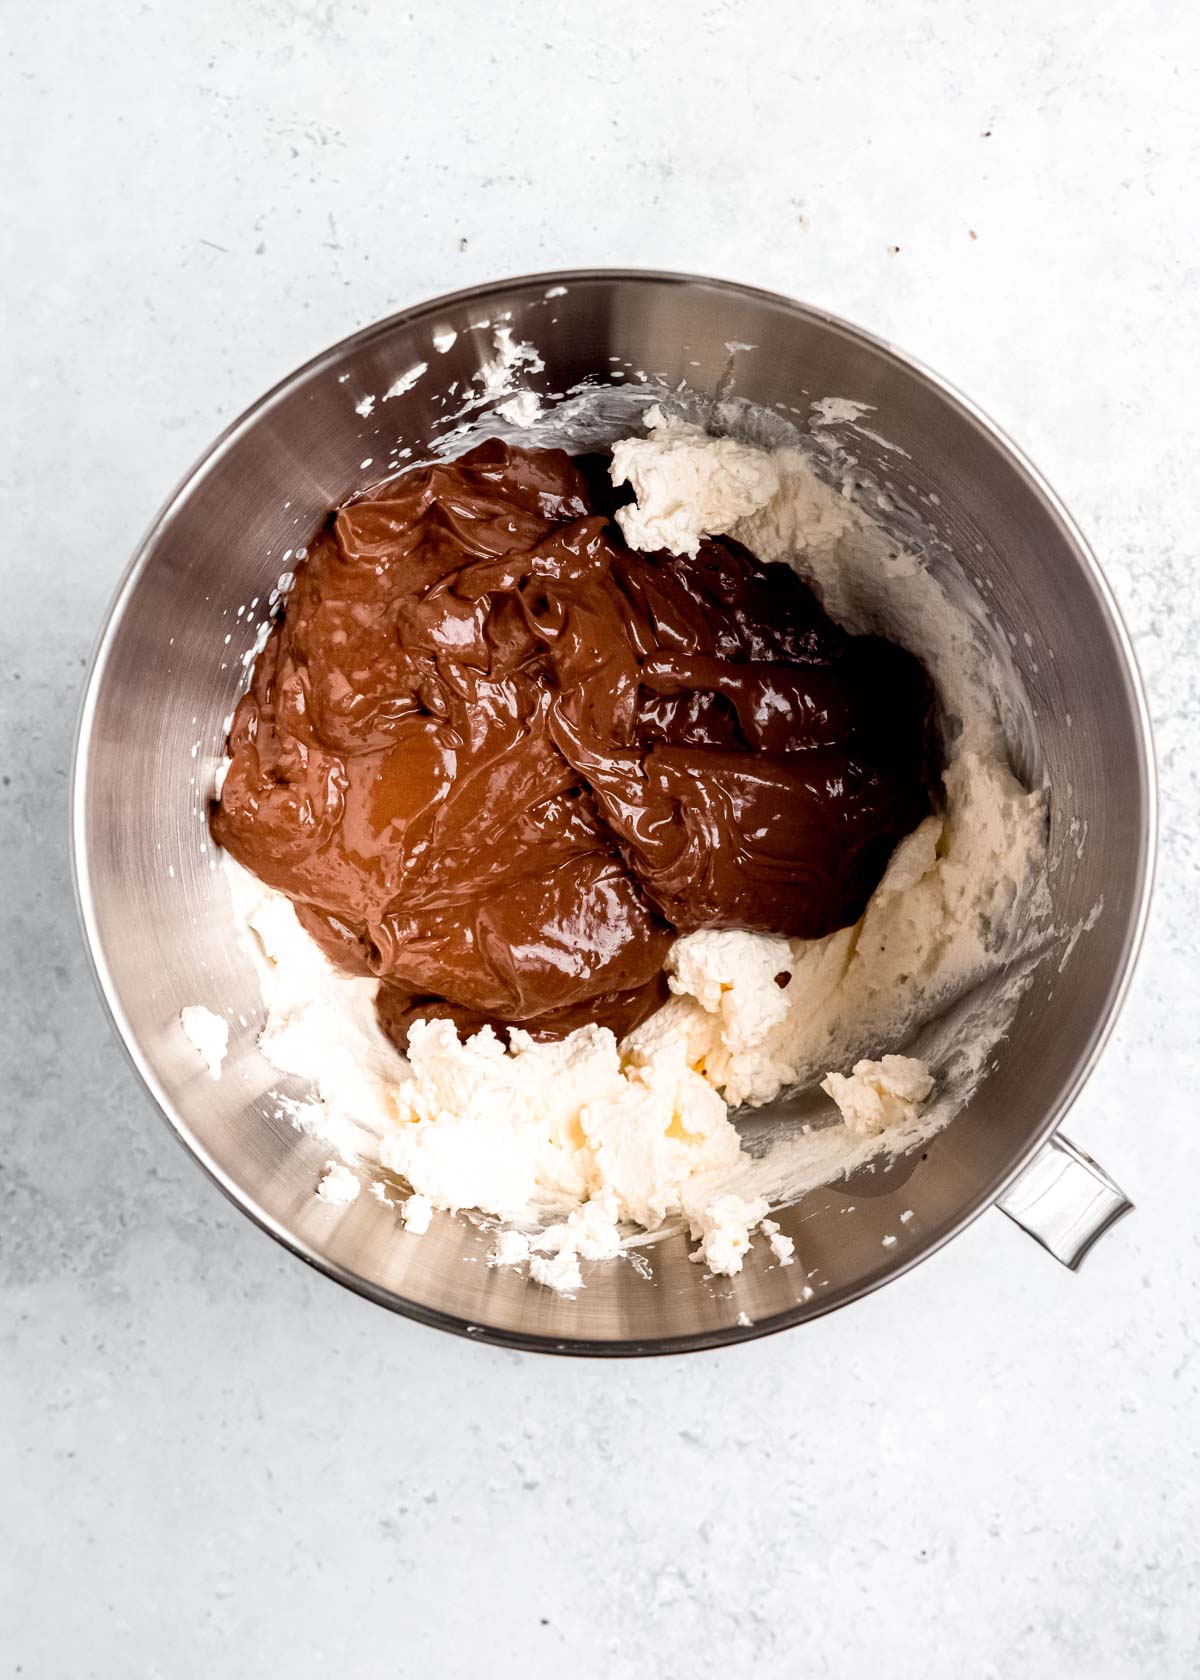
Now that the pudding is set and the cream is whipped, we’re going to combine them. Carefully fold the chocolate pudding into the whipped cream. You want to gently mix until it’s well combined and there are no streaks throughout the mixture. However, you must be gentle and work carefully—If you work it too much, you will deflate the whipped cream.
Assemble & Chill
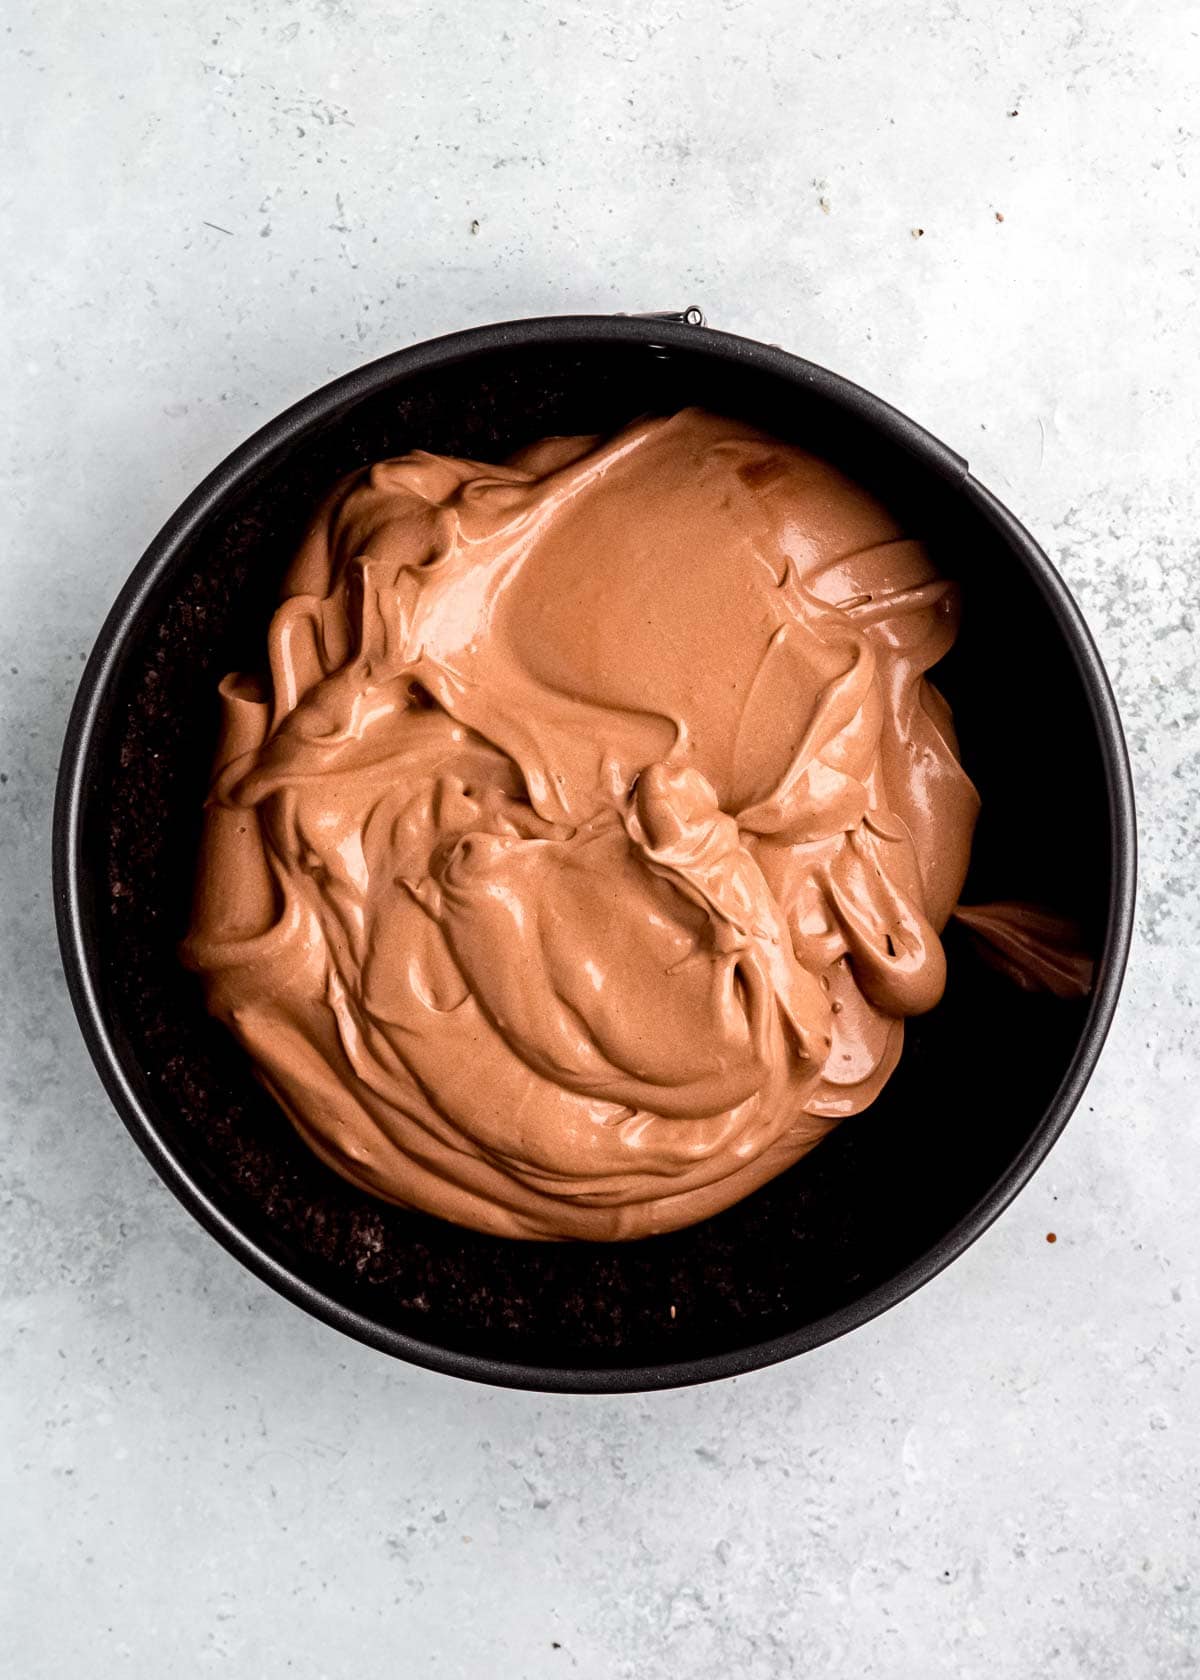
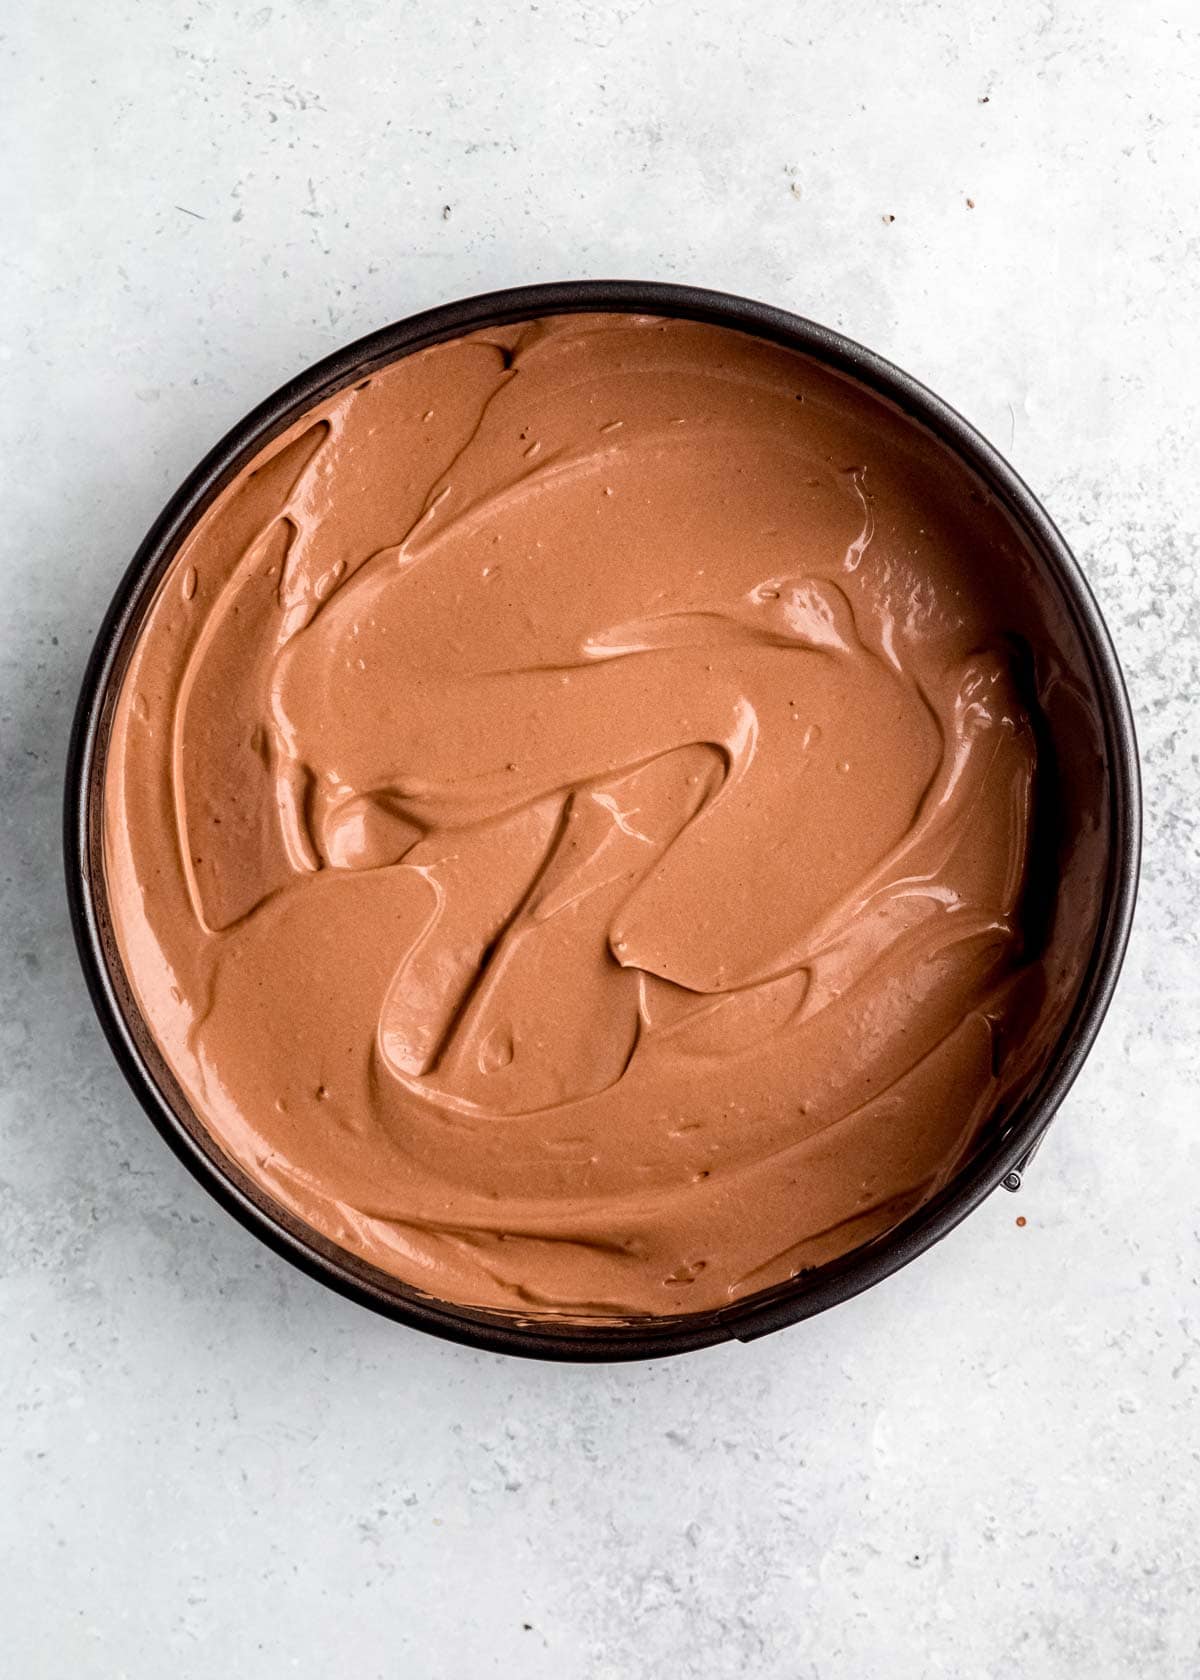
Pour the mixture into the cooled pie crust, smoothing it out into a beautiful, uniform layer as you go. Cover and refrigerate the pie for at least 4 hours, but overnight is best.
How to serve a No-Bake Mocha Peppermint Pie
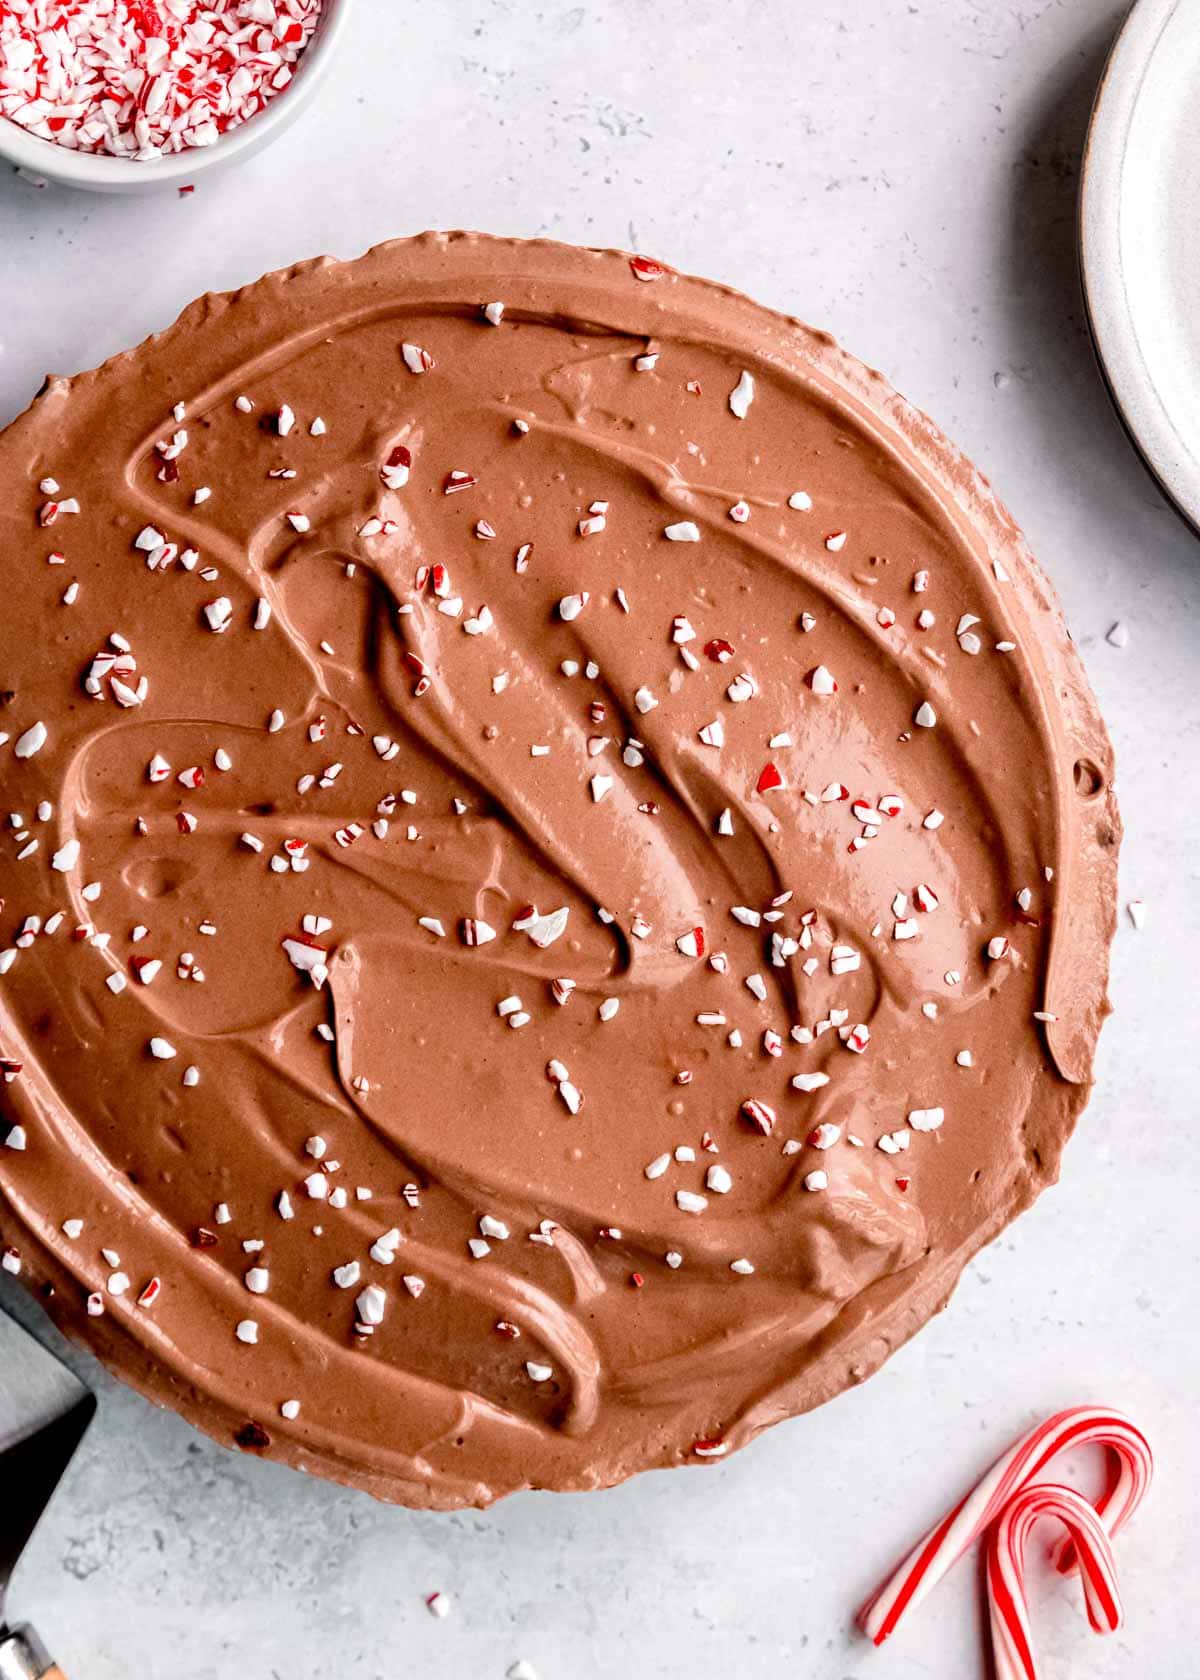
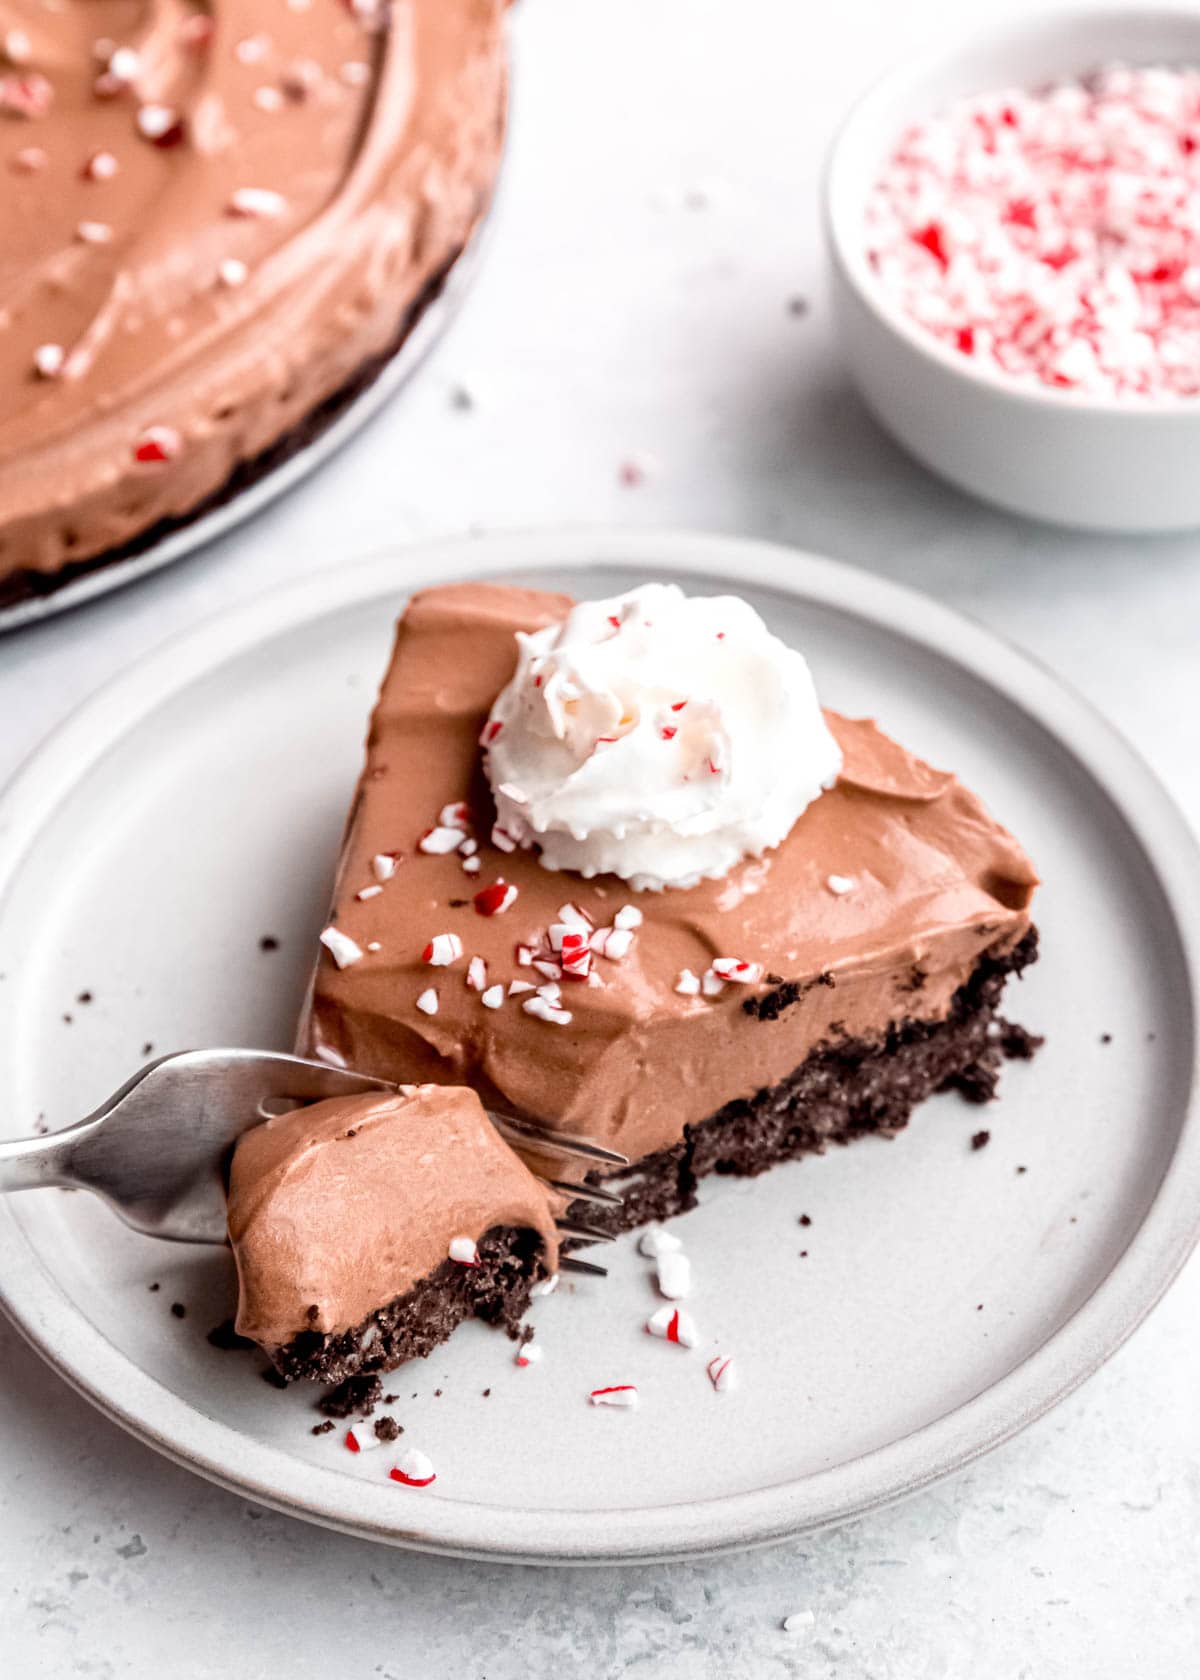
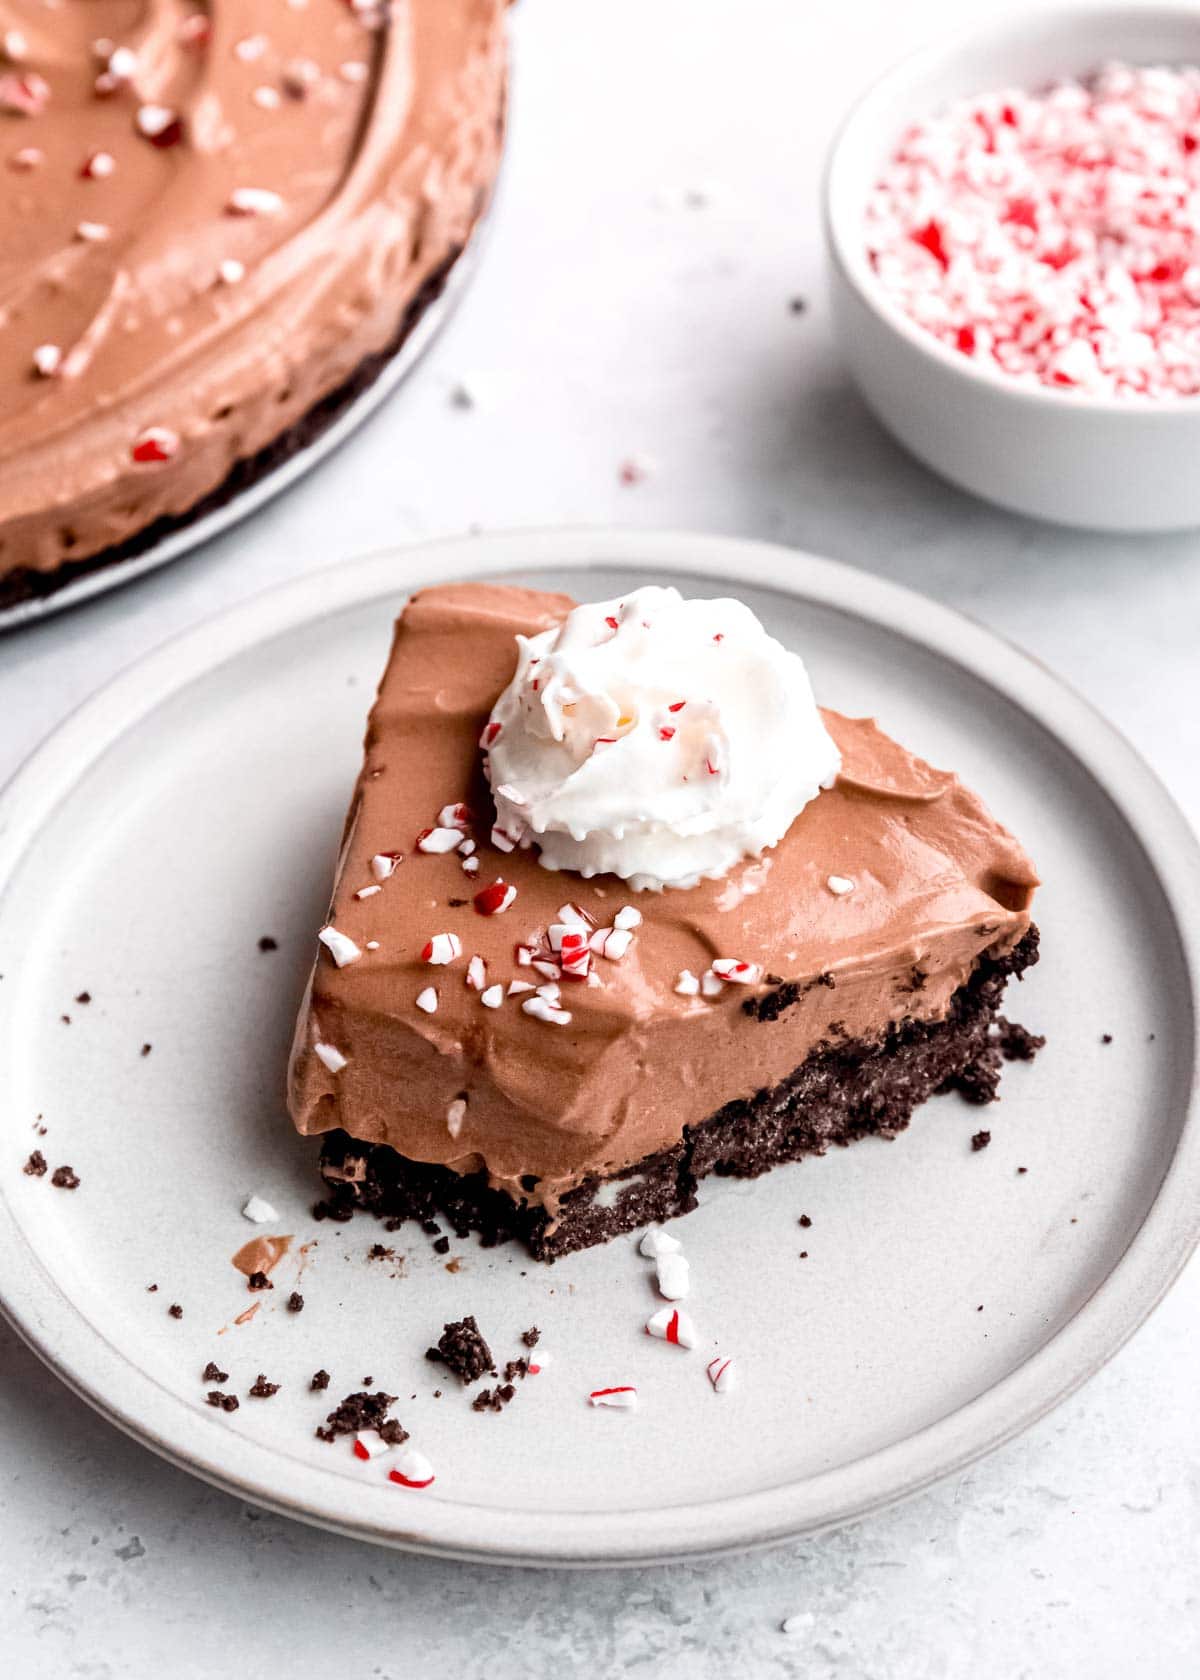
We garnished this gorgeous pie with a dollop of whipped cream and crushed peppermints, then served to a happy crowd. You could add some chocolate shavings, sprinkles, or even a light dusting of espresso or cocoa powder for an attractive, impressive finish, too. If you want to add even more coffee flavor, add a spoonful of this homemade espresso whipped cream or garnish with some of this mocha bark.
How to store no-bake pies:
You want to store this mocha pie in the fridge up to 3 days. To get nice, clean slices, you may want to put it in the freezer for 10-30 minutes, then use a knife that has been run under hot water and wiped dry. You can freeze this, but the pudding can start to change texture after a few weeks. I recommend enjoying within a month if you are freezing it—Perfect for prepping for holidays or keeping a cold dessert handy during the summer months!
If you like this chocolate pie, you are going to LOVE these chocolate desserts!
Get the Recipe: No Bake Peppermint Mocha Pie
Ingredients
For the crust
- 30 Oreos, crushed into small crumbs
- ¼ cup unsalted butter
For the filling
- 1 3.9 oz box instant chocolate pudding mix
- 2 cups cold milk
- 1 tbsp instant espresso powder
- ½ tsp peppermint extract
- ¾ cup heavy whipping cream, cold
Optional garnishes
- Whipped cream, crushed candy canes, sprinkles, chocolate shavings, etc.
Equipment
Instructions
- Preheat oven to 350 degrees and grease a 9-inch pie pan or springform pan.
- Stir together the Oreo crumbs and melted butter until well combined. Press the crust mixture into the prepared pan, smoothing into a uniform layer. Bake in the preheated oven for 10 minutes, then allow to cool at room temperature for 15 minutes. Place in the fridge while you make the filling.
- In a medium bowl, stir together the pudding mix with the cold milk, espresso powder, and peppermint extract, whisking for 1-2 minutes until the mixture is smooth. Set in the fridge to set for at least 5 minutes.
- While the pudding is setting, add the cold whipping cream to a stand mixture fitted with the whisk attachment, and whip the cream until stiff peaks form.
- Fold the chocolate pudding into the whipped cream until well combined, be careful not to deflate the whipped cream too much.
- Pour the mixture into the cooled pie crust, smoothing as you go. Cover and refrigerate for another 4 hours or overnight. Garnish with whipped cream and crushed candy canes, then serve.
Notes
- This pie is chocolatey with a cooling peppermint taste and a hint of coffee. It’s honestly so delicious.
- Store leftovers in the fridge for up to 3 days.
- I used both a spring form pan and a pie pan for testing. The springform works great, and so does the pie pan! If you use a pie pan, make sure to use a deep dish pie pan so there’s plenty of room for the filling.
- To make this a true no-bake pie, use a storebought, prebaked Oreo or chocolate crust!


I keep seeing all the flavored creamers and wondering what fun things I could make with them. I’ve never really played around with them other than coffee! I love this idea! I love the story about the elderly couple in the grocery store – they sounded adorable! Have a great weekend, Annie! 🙂
Thanks Sarah! They really were darling!
I love this. Easy, simple and festive. I love easy. And the story is so sweet! I enjoy watching older couples that are sweet with each other. I am a people watcher. 🙂
Thanks KayKay! I am such a people watcher too! I know I looked like a creepy stalker because I was just standing there watching and smiling but it was so cute! And who would have thought a cute old Southern man would have advocated for Peppermint Mocha creamer so hard!! haha!
I love flavored creamers! I’m always trying new kinds, especially when the holiday flavors come out. And peppermint mocha is my favorite one! This pie looks gorgeous, Annie! I love how you incorporated coffee creamer into this. Such a festive dish and even better that it’s no-bake!
I love the peppermint mocha too! And the pumpkin! I could drink it year round! 🙂
This pie looks absolutely delicious Annie! I love chocolate pudding pie, so good! I used to buy those flavoured creamers all the time, and then one day decided that I really didn’t need a bunch of chemicals in every cup of coffee, so now I just make it, which is perfect since it’s the exact sweetness I like then! But that man probably would have sold me on the chocolate peppermint one too, since I haven’t found a good way to make chocolate creamer yet, the chocolate doesn’t stay dissolved very well! 🙂
I need to experiment with making my own creamers Stacey! What a great idea!
I seriously want to face-plant into the pie!! It look so fluffy and chocolately, mmm Pinned!
Isn’t it great?! Chocolate for days! 🙂 Thanks Kelly!
My fiancé and I looked at this pie and went “well damn!” It looks so thick and luscious Annie!! Yummmmmm. Pinning!
Haha! Yay! Thanks Jessica! I hate to admit it, but this pie did not last very long at all in our house and it is just two of us! 🙂
I’m not a coffee drinker, but I did used to love all the creamers and the delicious flavors they came in! This pie sounds awesome and looks perfect for a Christmas dessert!
Yes! I am enjoying using the flavored creamers in other things too! It adds so much flavor!
I have to admit, I’m addicted to my flavored coffee creamers. They’re on my grocery list pretty much every week, and I always buy a bunch when they’re on sale. You can never go wrong with a pudding pie though — especially with chocolate and mint!
I agree completely! I know they are so super easy but they are also good and there are never any leftovers!
This pie is the perfect holiday pie — nice and creamy, with loads of peppermint, chocolate and coffee! This looks amazing, Annie!
This is seriously one stunner of a pie, Annie! Peppermint and mocha is currently my favorite combo and I’m totally craving a slice of this gorgeous pie!
Thanks so much Sarah!
That couple deciding about the coffee creamer is too cute! I bet it was the biggest decision of their day. I love that you used flavored coffee creamer in the pie! So smart!
Thanks Natalie! I think little old people are just darling!
Yum! Love this!! And it sounds so easy– perfect for busy holidays!
Yes! I have a friend that reads the blog and she said I need some recipes because I can’t bake or cook hahaha! So this was right up her alley!
I love how easy this is! Big fan of mint + chocolate and the mocha makes it better! 😉
Leah I am right there with you!! I have been making “mocha” everything! Non-coffee drinkers are going to hate me! 🙂