Chocolate Lava Cake
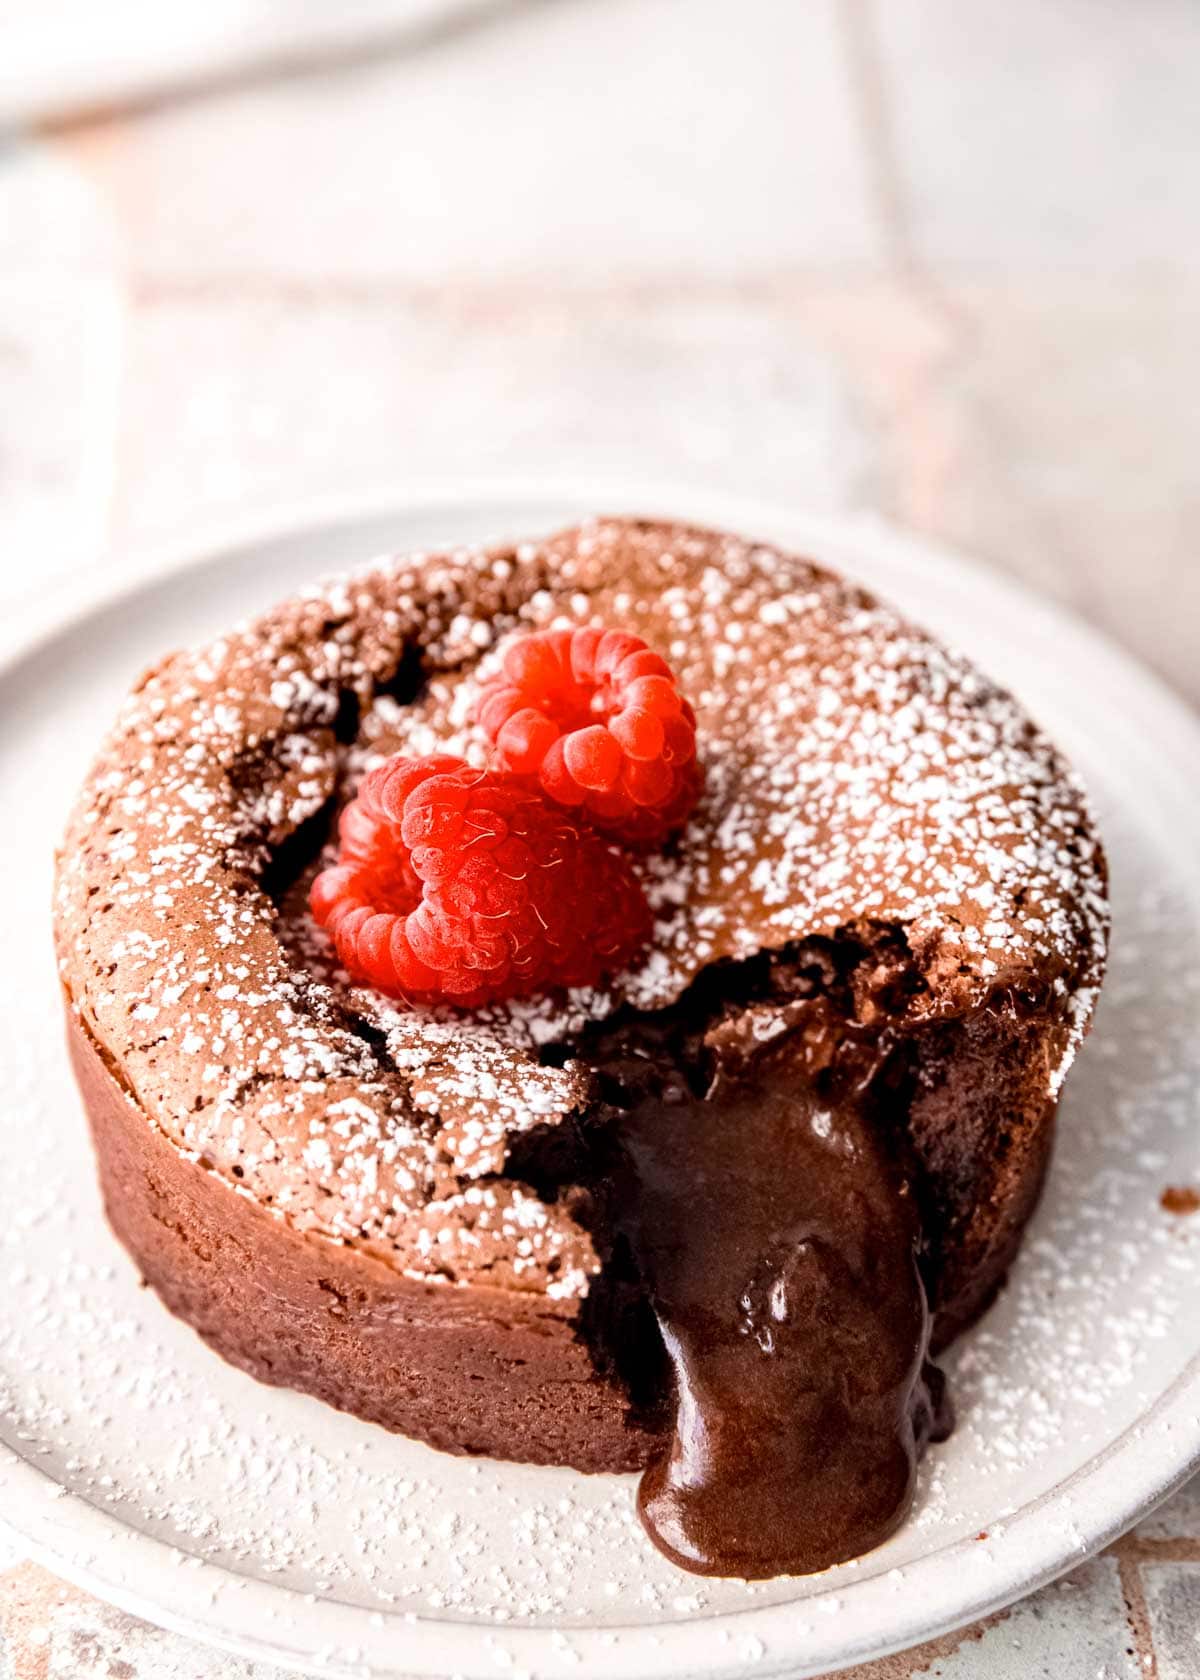
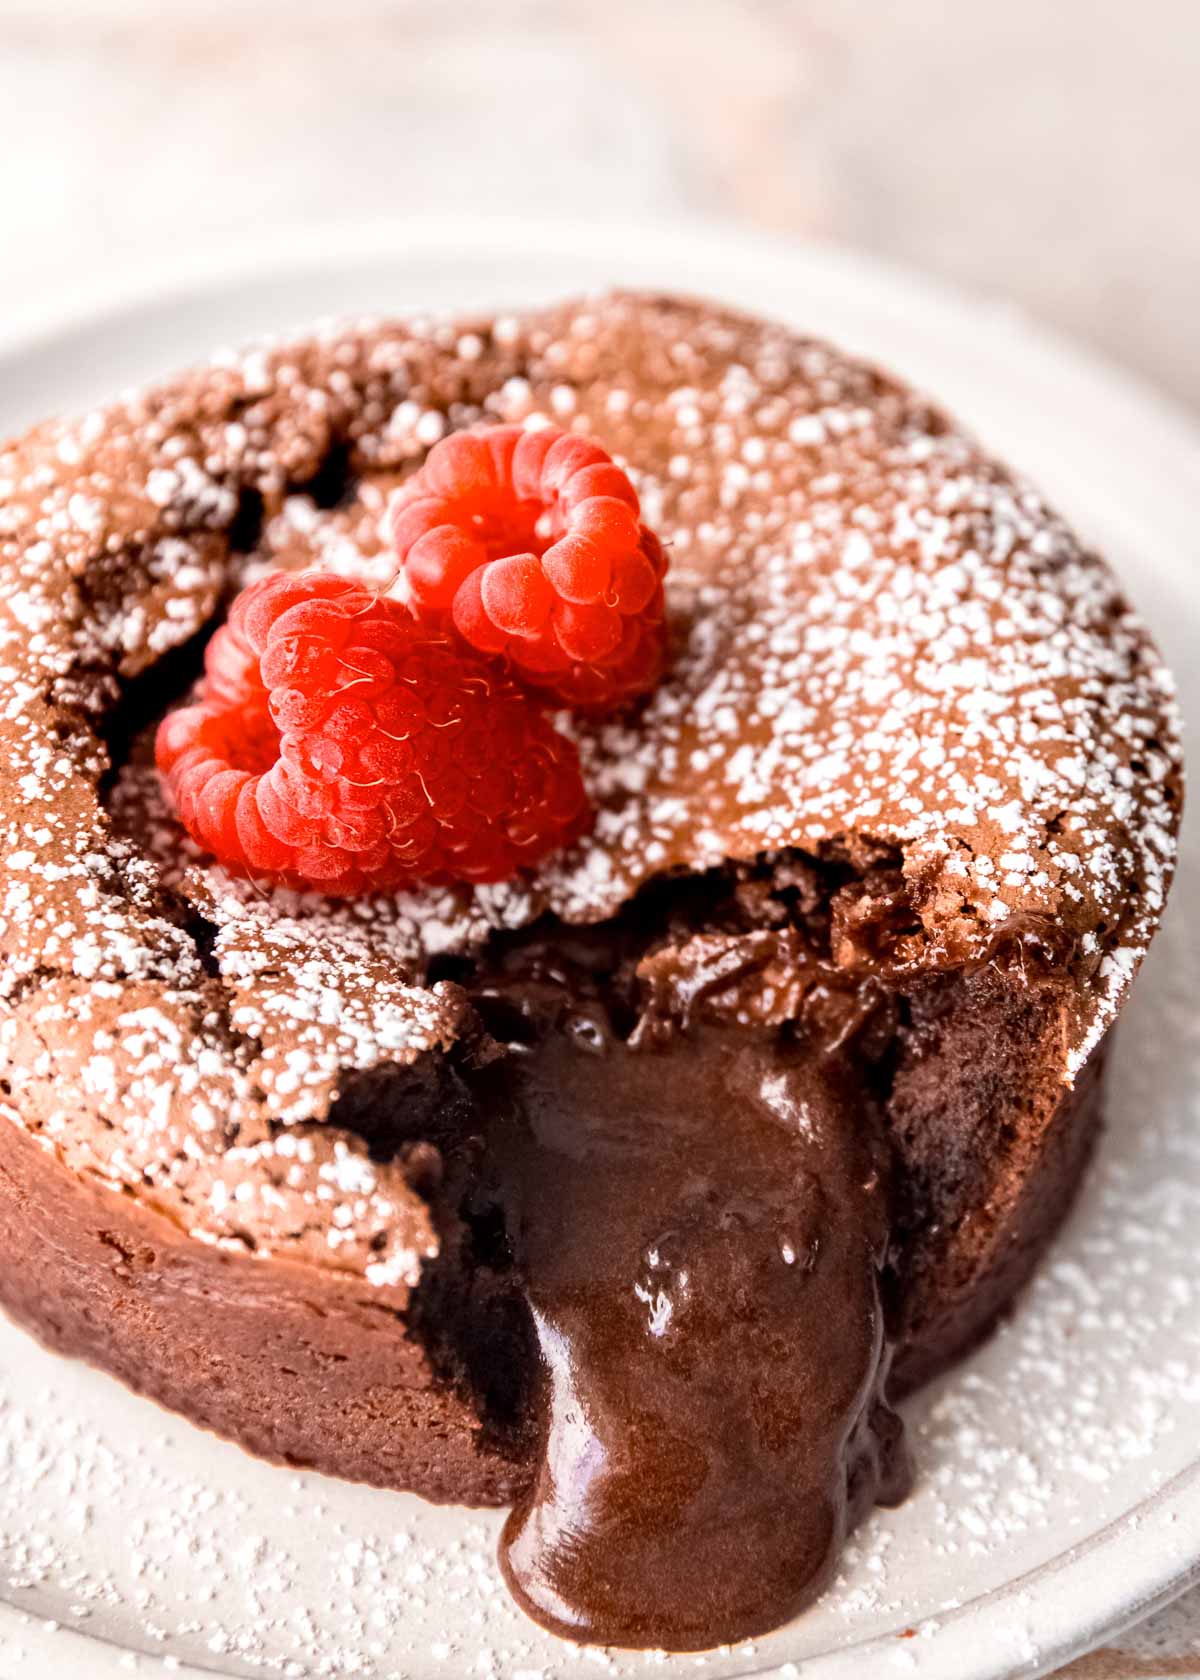
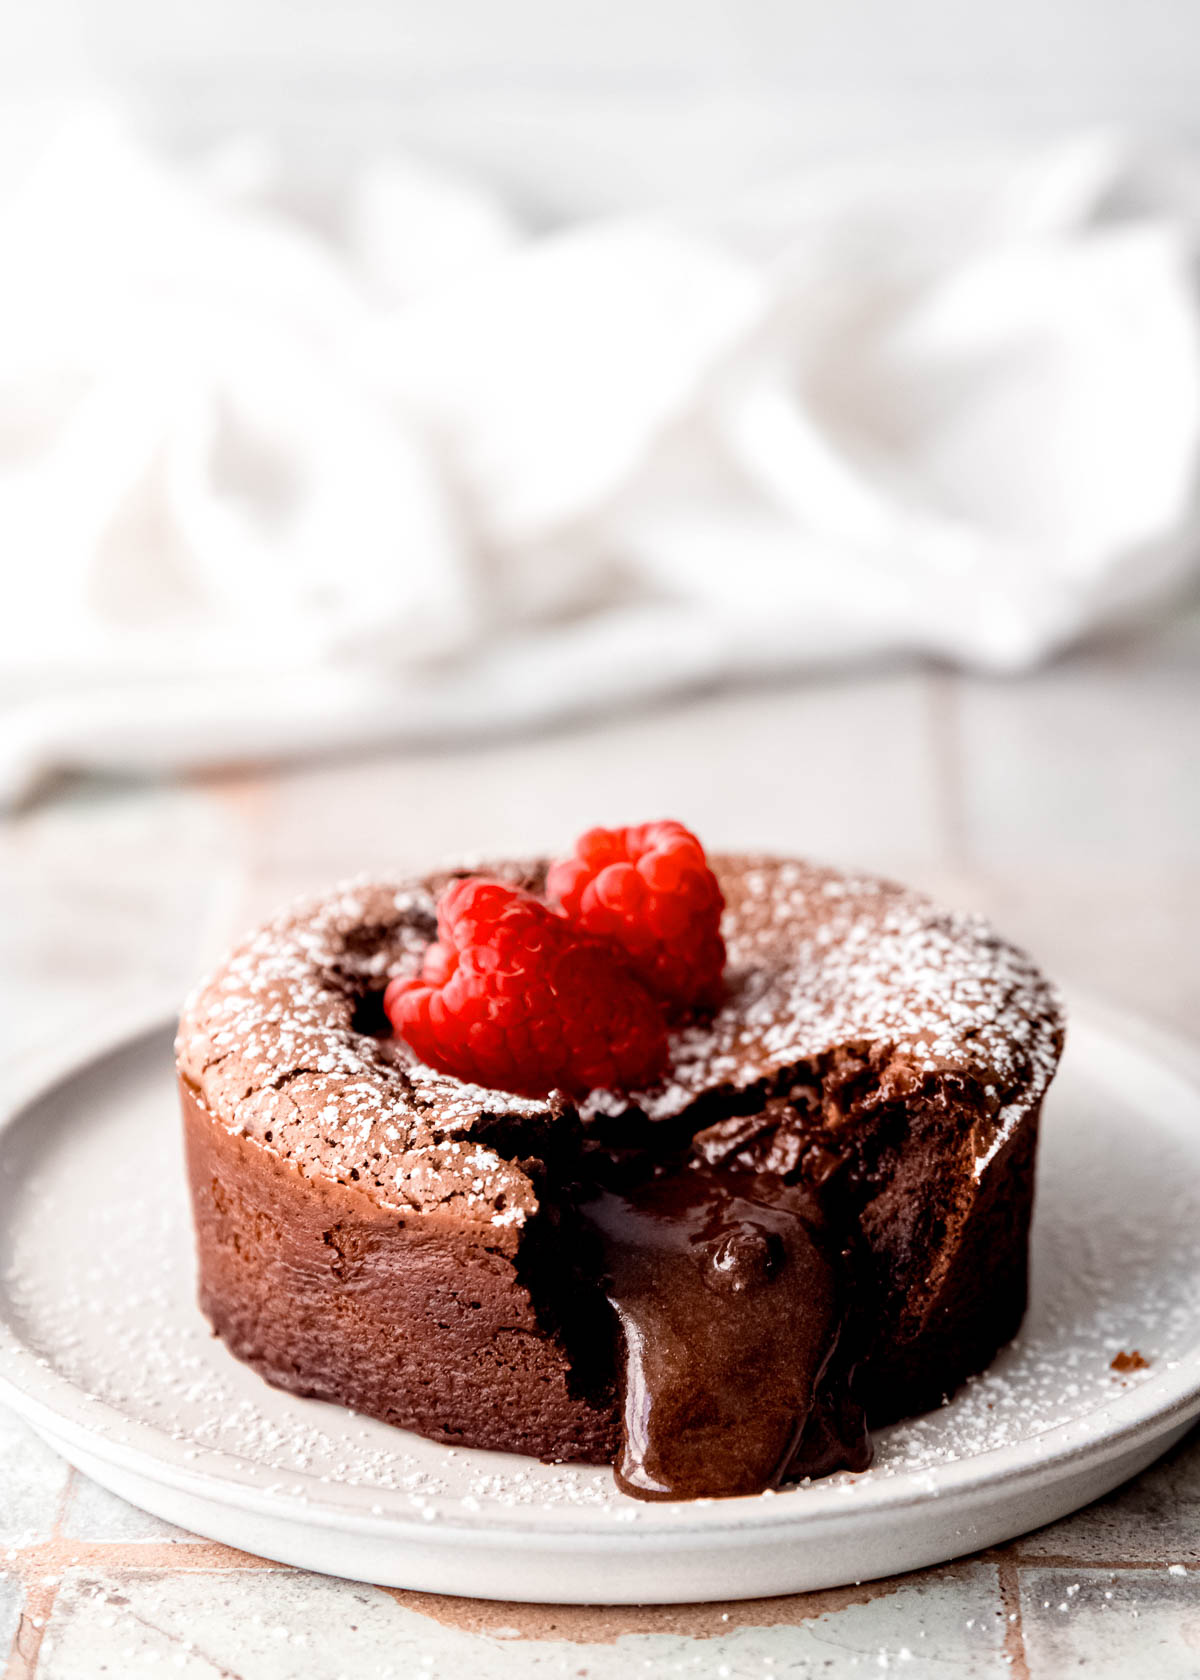
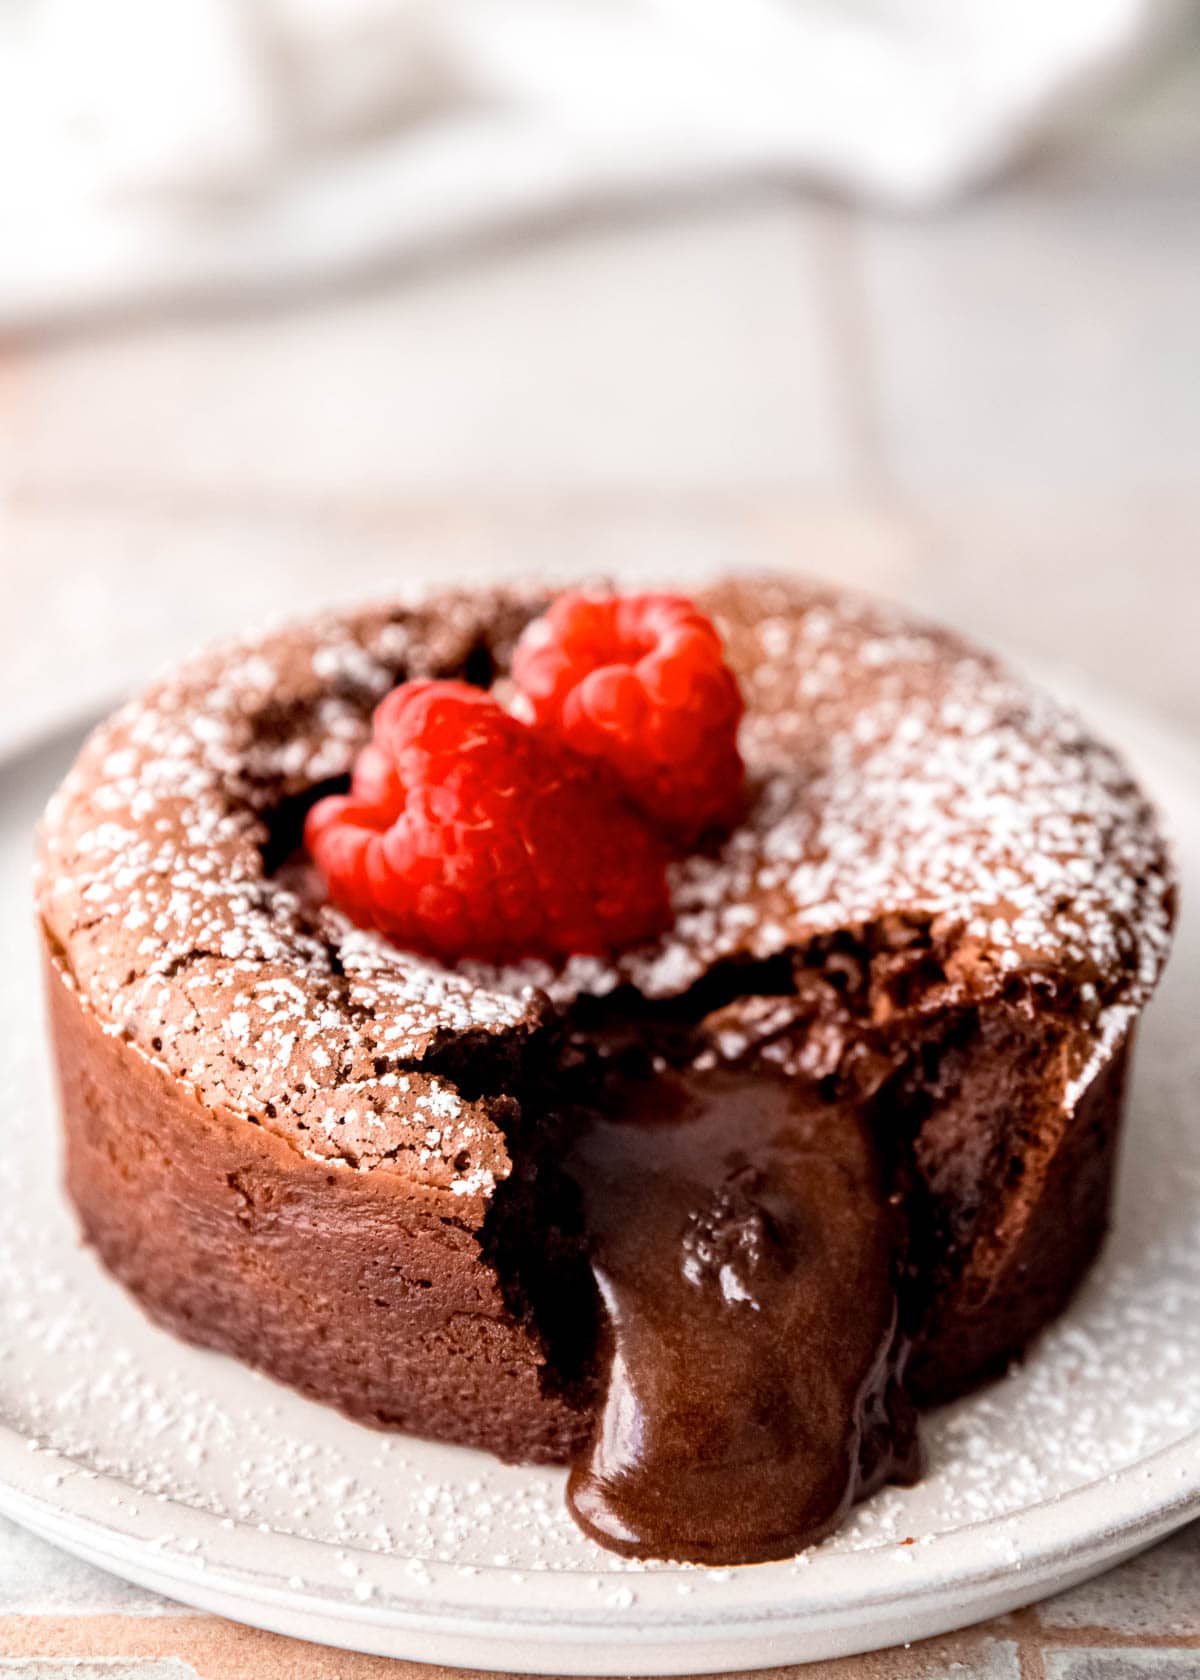
This easy Chocolate Lava Cake is the best dessert for two! This gluten-free chocolate cake has a gooey, melted center sure to make a great impression.
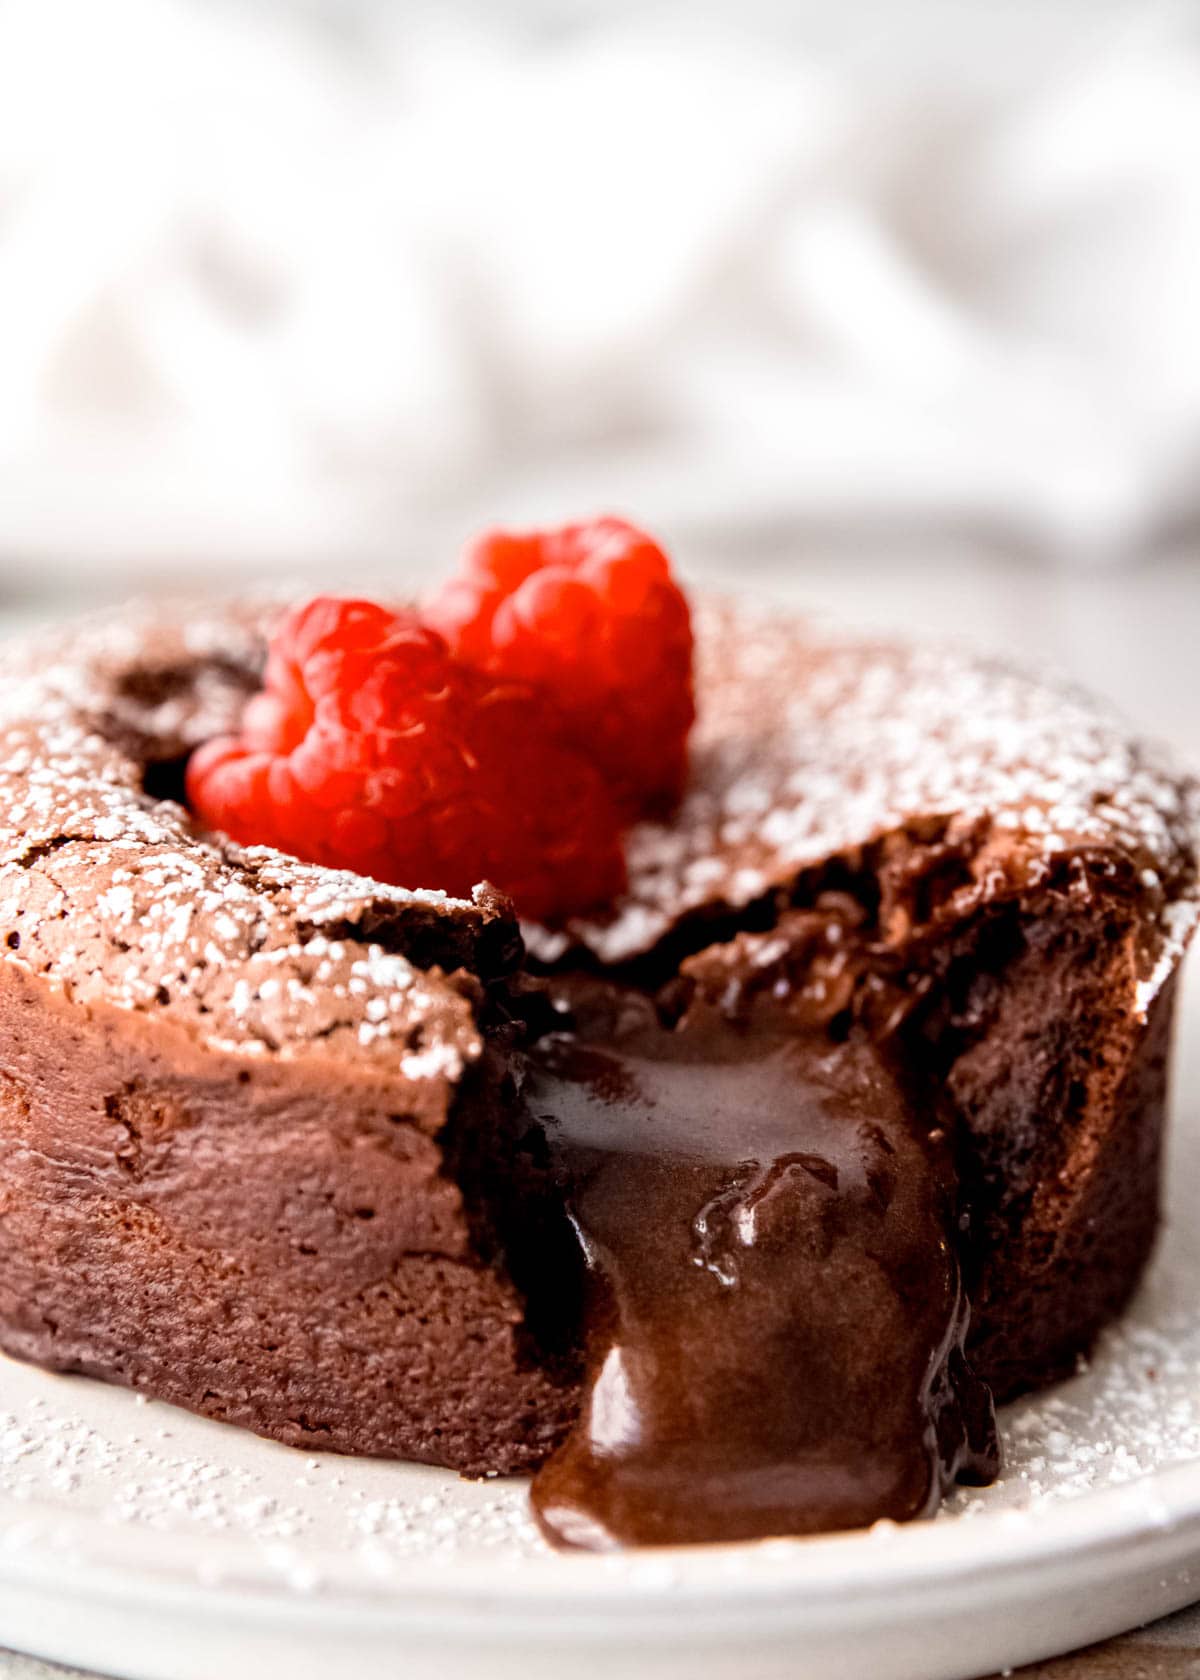
Gluten-Free Lava Cake
This delicious molten chocolate lava cake is amazingly rich, super decadent, and completely gluten-free! One simple swap gives you the perfect gooey texture on the inside with the thin, crisp crust on the outside. This easy dessert for two is ready in under 30 minutes, making it perfect for date nights at home!
Why you’ll love this recipe:
- Super rich – If you love decadent, luscious desserts that make you feel like you’re in heaven, this is your recipe! It’s not over-the-top sweet, but it delivers an intense, deep chocolate flavor. Cold vanilla ice cream is the perfect companion to cut through the chocolate.
- Convenient – This recipe is so impressive but doesn’t require a ton of ingredients, a lot of time, or even much kitchen experience! A stand mixer does most of the work, and the entire cake can be mixed and baked in 30 minutes. No chilling is necessary, either.
- Meal prep friendly – While this cake is best baked and served fresh, you can very easily do the prep work well ahead of time. You can make the batter and store it in the fridge for 2 days or in the freezer for 3 months, making it easy to quickly serve this delicious dessert for a party or date night.
Ingredients for Chocolate Lava Cake
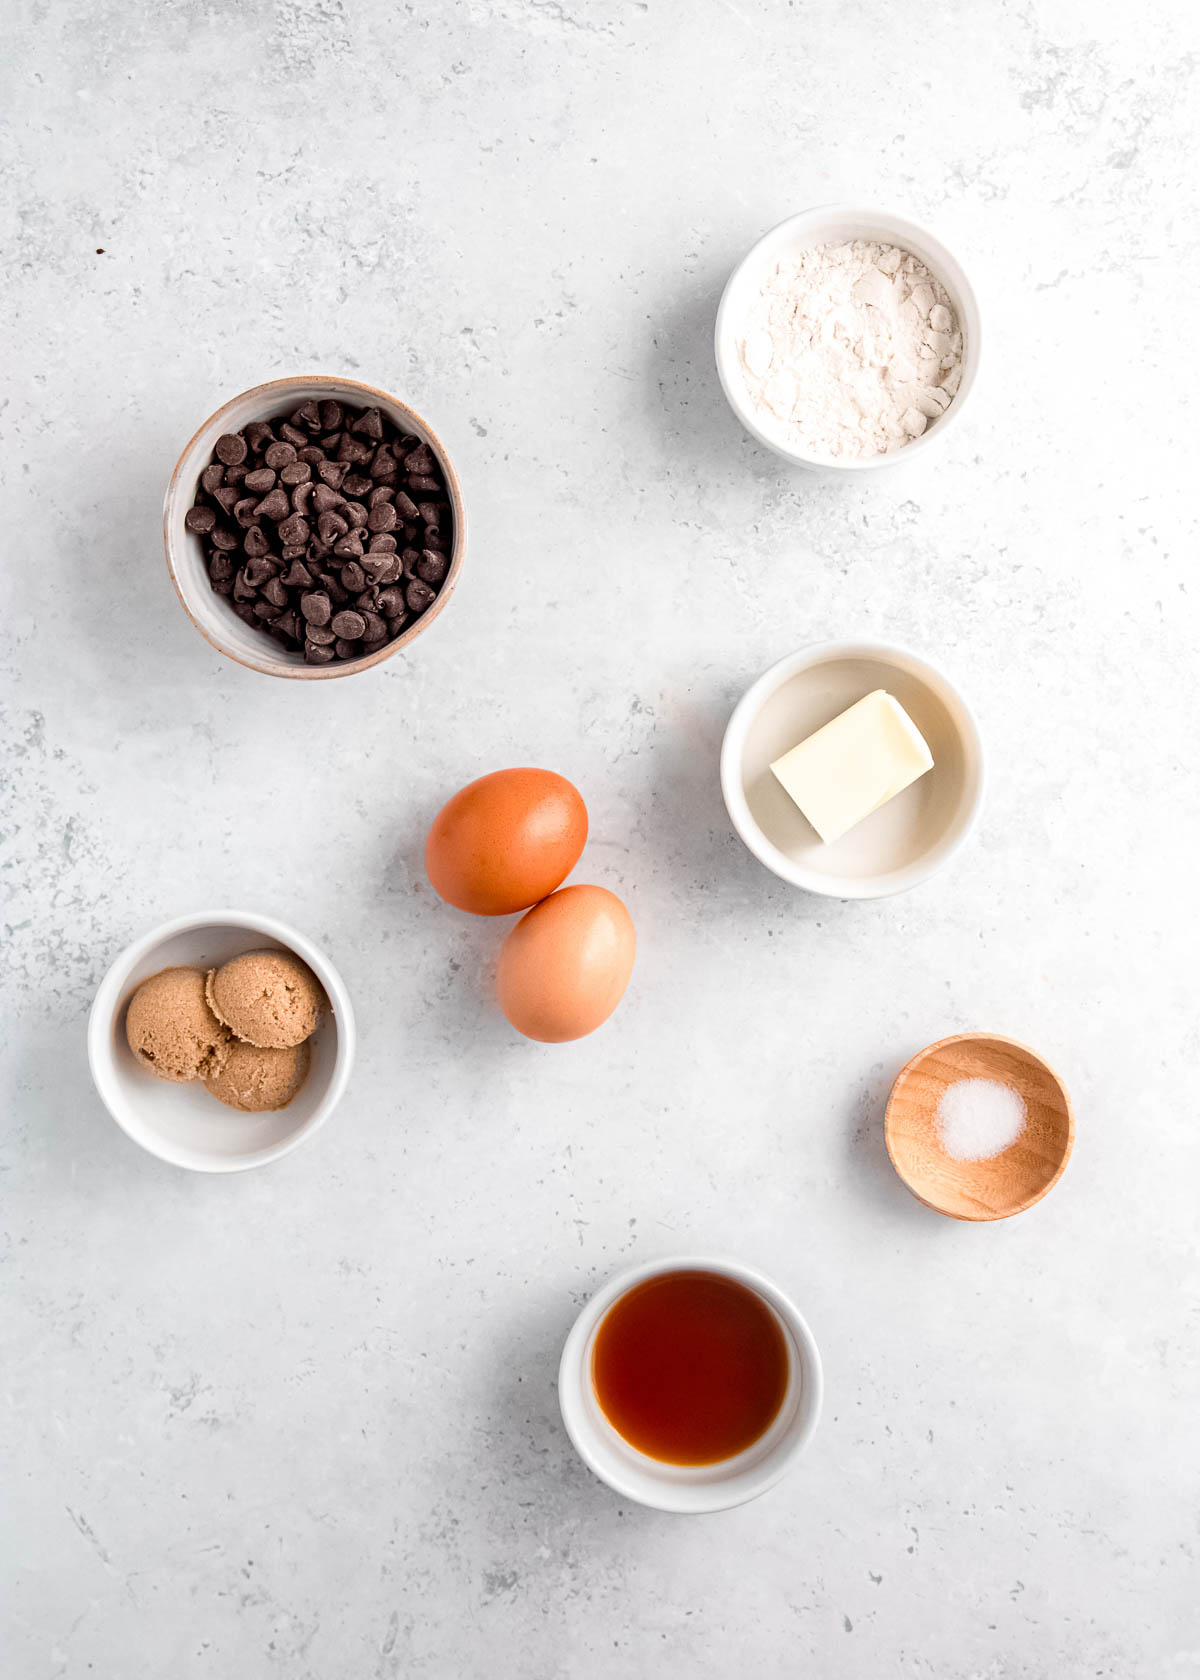
Here’s a quick overview of what you’ll need. For exact measurements, keep scrolling down to the printable recipe card near the end of the page.
- Semi-sweet chocolate – I used chocolate chips for mine because they’re convenient and easily accessible. Some say you get smoother lava by chopping up chocolate bars, so feel free to do that instead to test it out!
- Unsalted butter, Brown sugar, Egg + Egg yolk, Vanilla extract, Salt – These help create that rich chocolatey lava! I’ve not tried using any egg substitutes or butter substitutes.
- Gluten-free 1-to-1 flour – I used Bob’s Red Mill Gluten-Free 1:1 Flour. It’s a blend of different flours, starches, and xanthan gum that’s formulated to work well for baked goods. Please note that this flour is not grain-free nor low-carb. I’ve not tried this recipe with any flour substitutes.
- To prepare the ramekin, you’ll need a little extra butter and some unsweetened cocoa powder. You’ll also likely want powdered sugar to dust over the cake at the end–This is the traditional presentation, but it is optional if you’d like it otherwise!
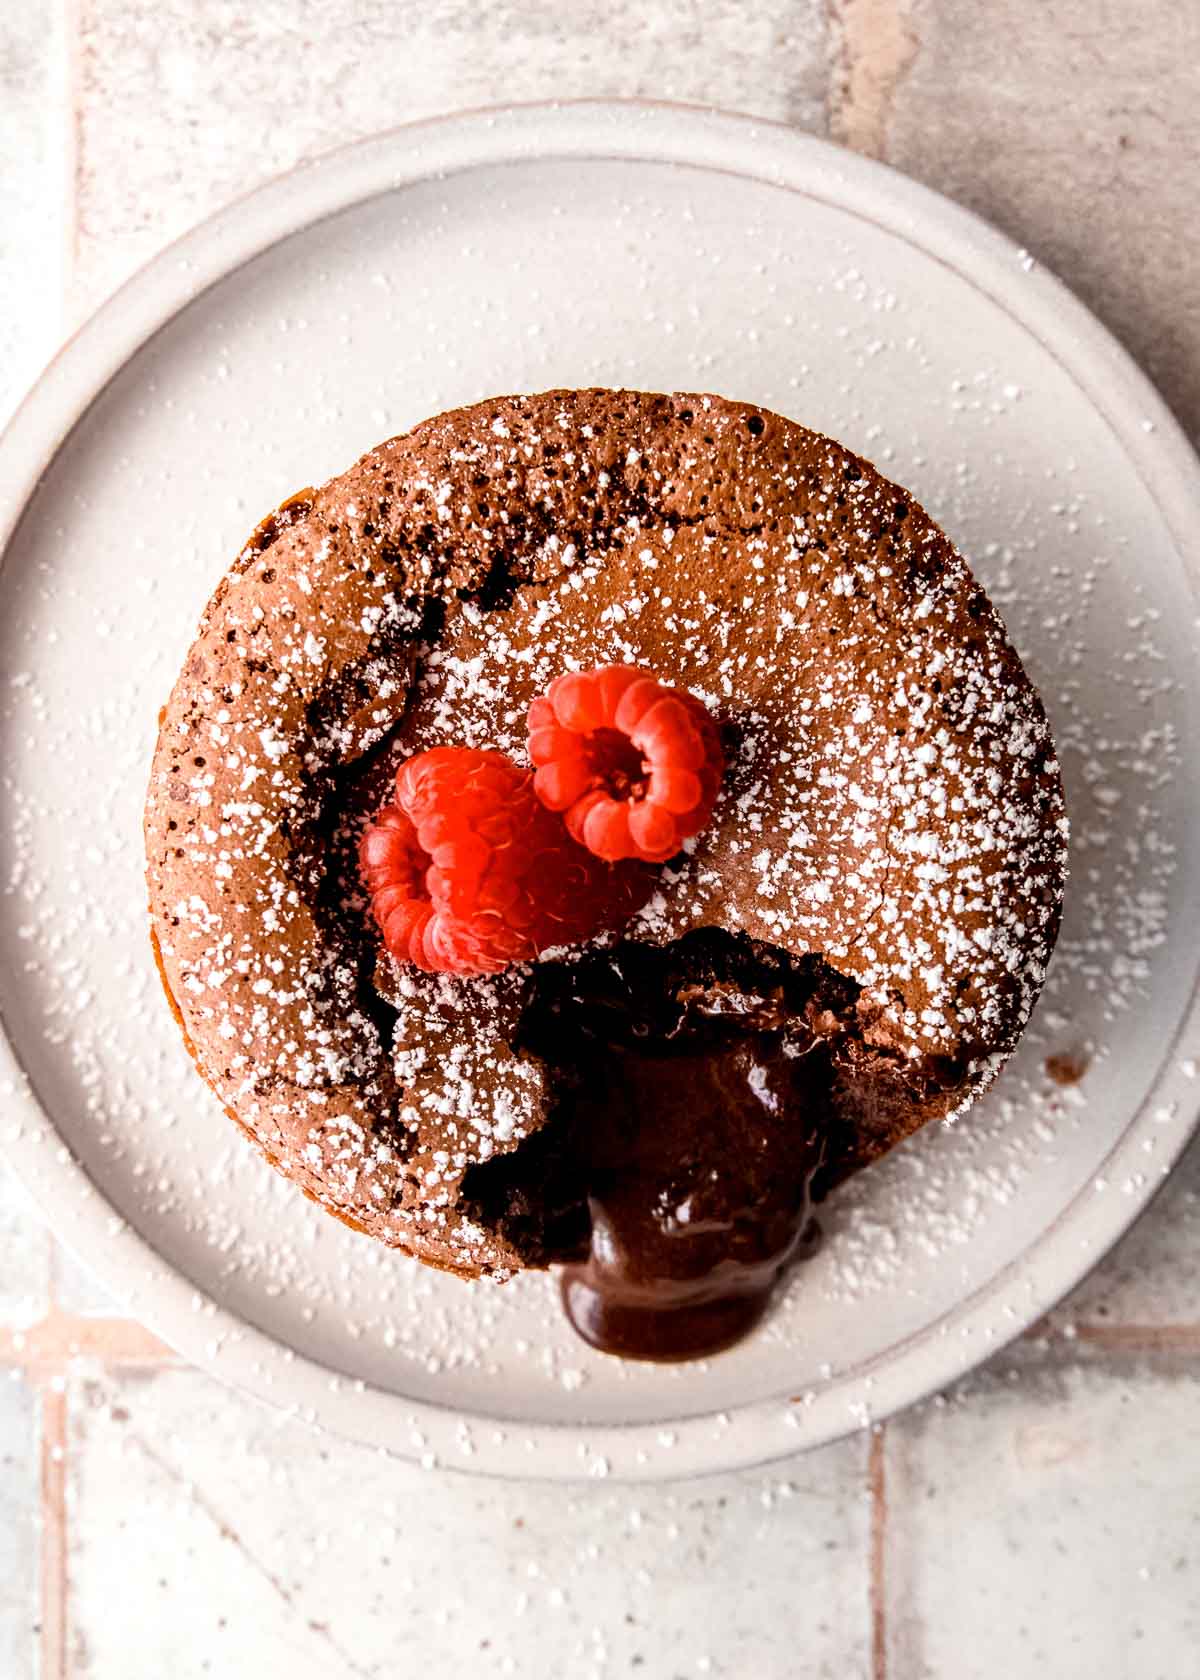
How to Make Chocolate Lava Cake for Two
While this fancy dessert looks complcated and impressive, it’s actually pretty easy! For this recipe, you’ll need a 12-ounce ramekin, a couple mixing bowls, a stand mixer, and an oven. Here’s a step-by-step guide to making a gooey gluten-free molten chocolate lava cake.
Prepare the ramekin
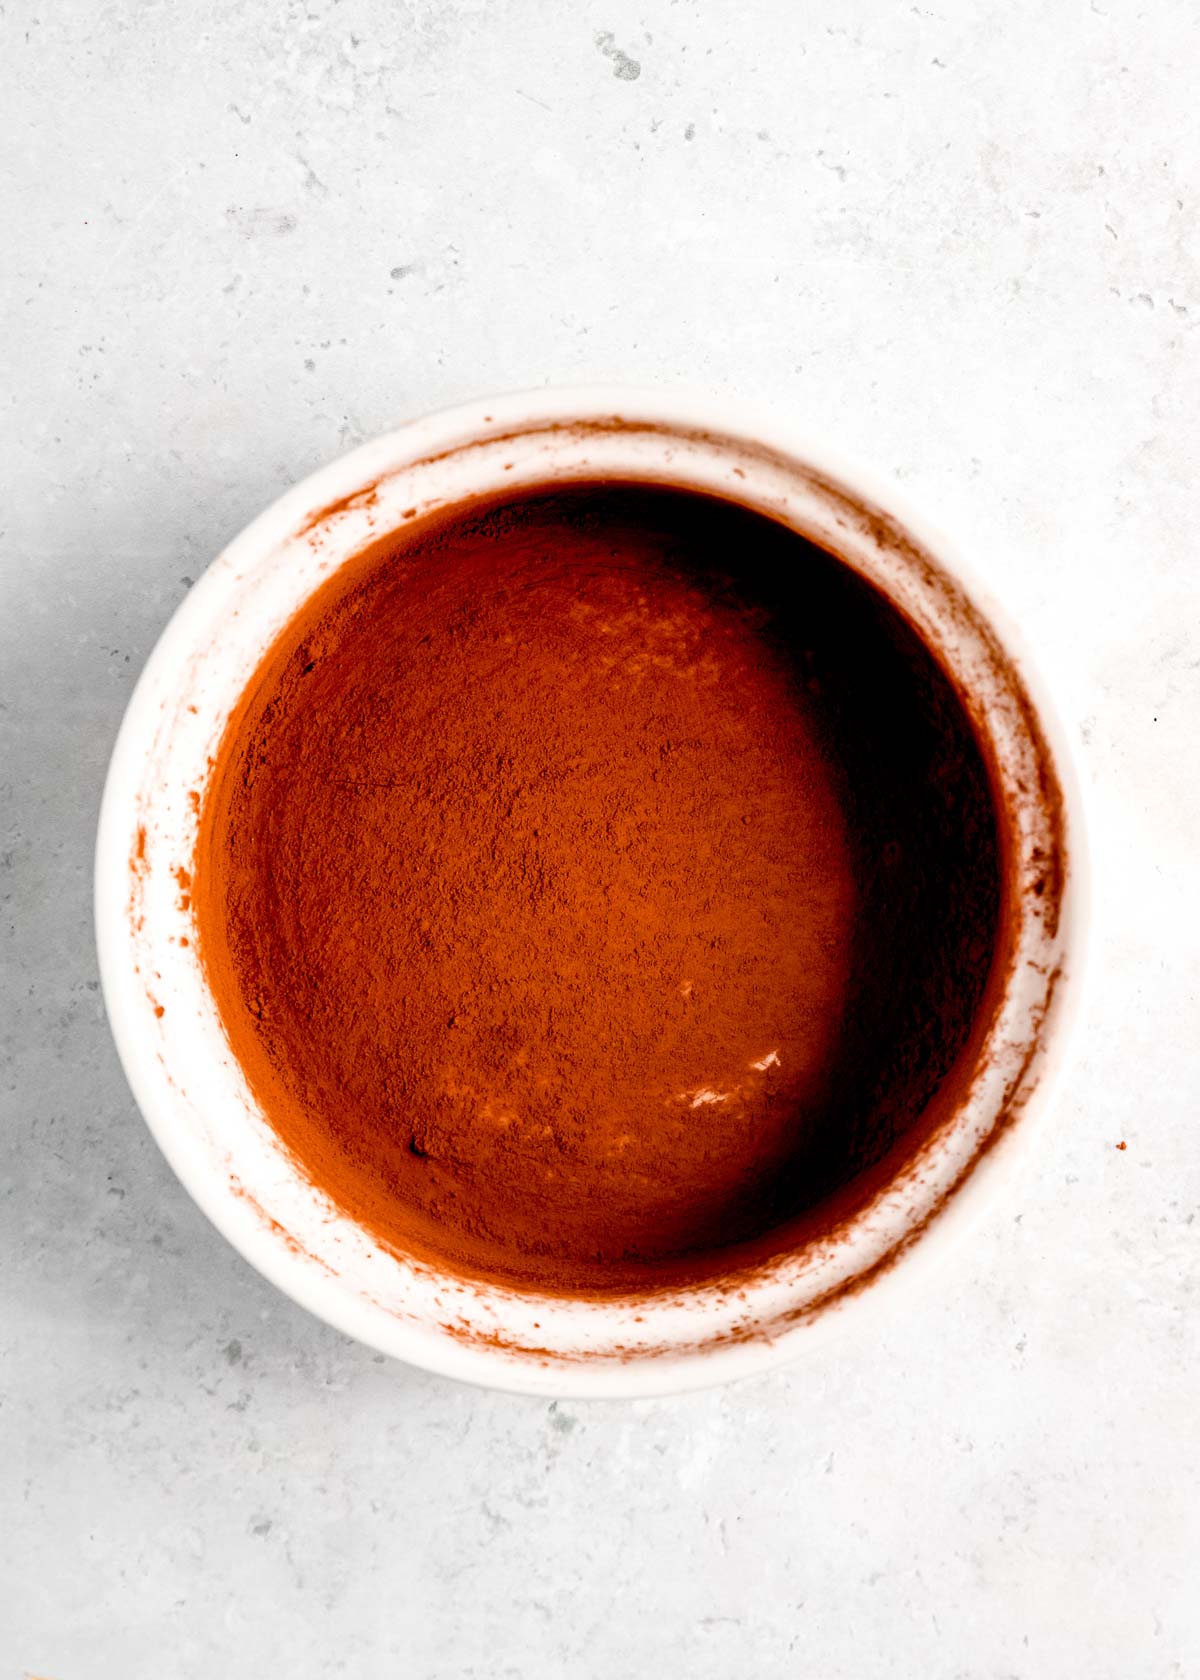
First, preheat your oven to 400 degrees. Butter or grease a 12 oz ramekin, then sprinkle it with cocoa powder. Turn the ramekin over and shake out the excess and set the ramekin aside for now. This will help ensure the cake will easily slide out of the ramekin at the end–This step is very important for the final presentation!
Make Chocolate Mixture
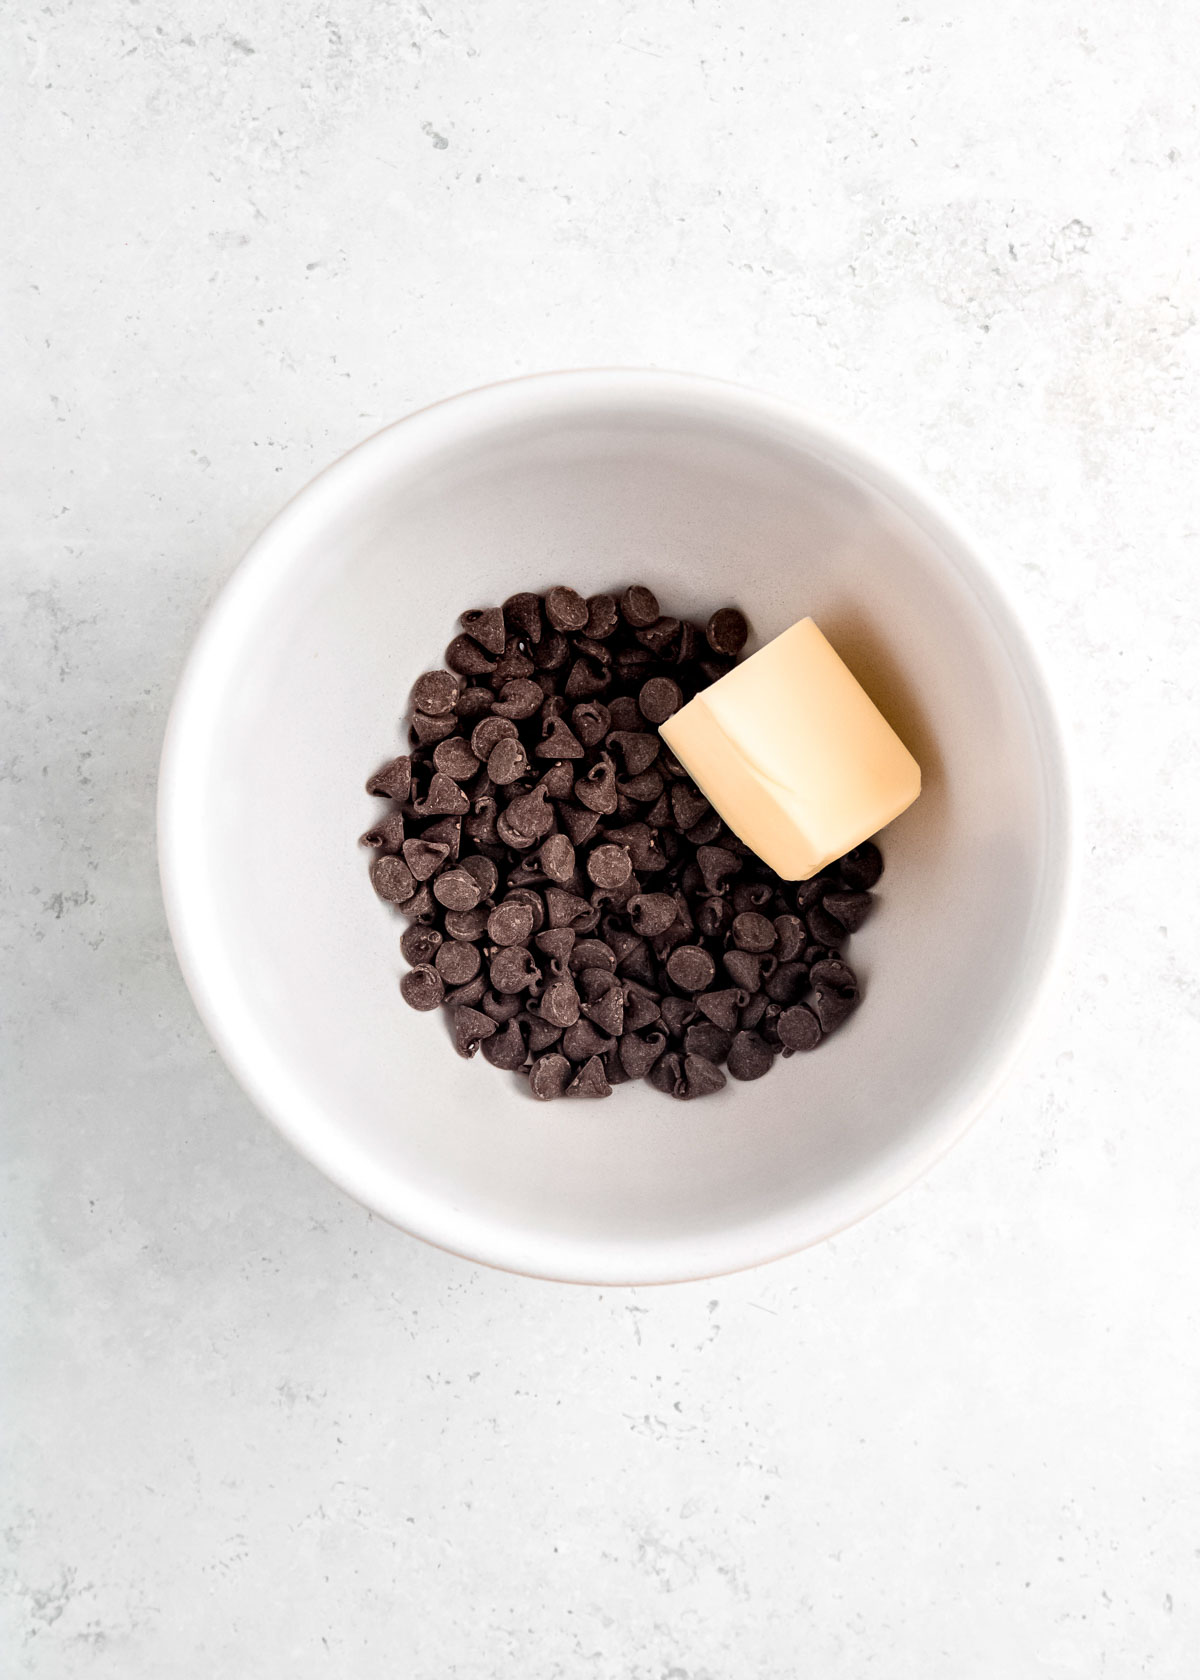
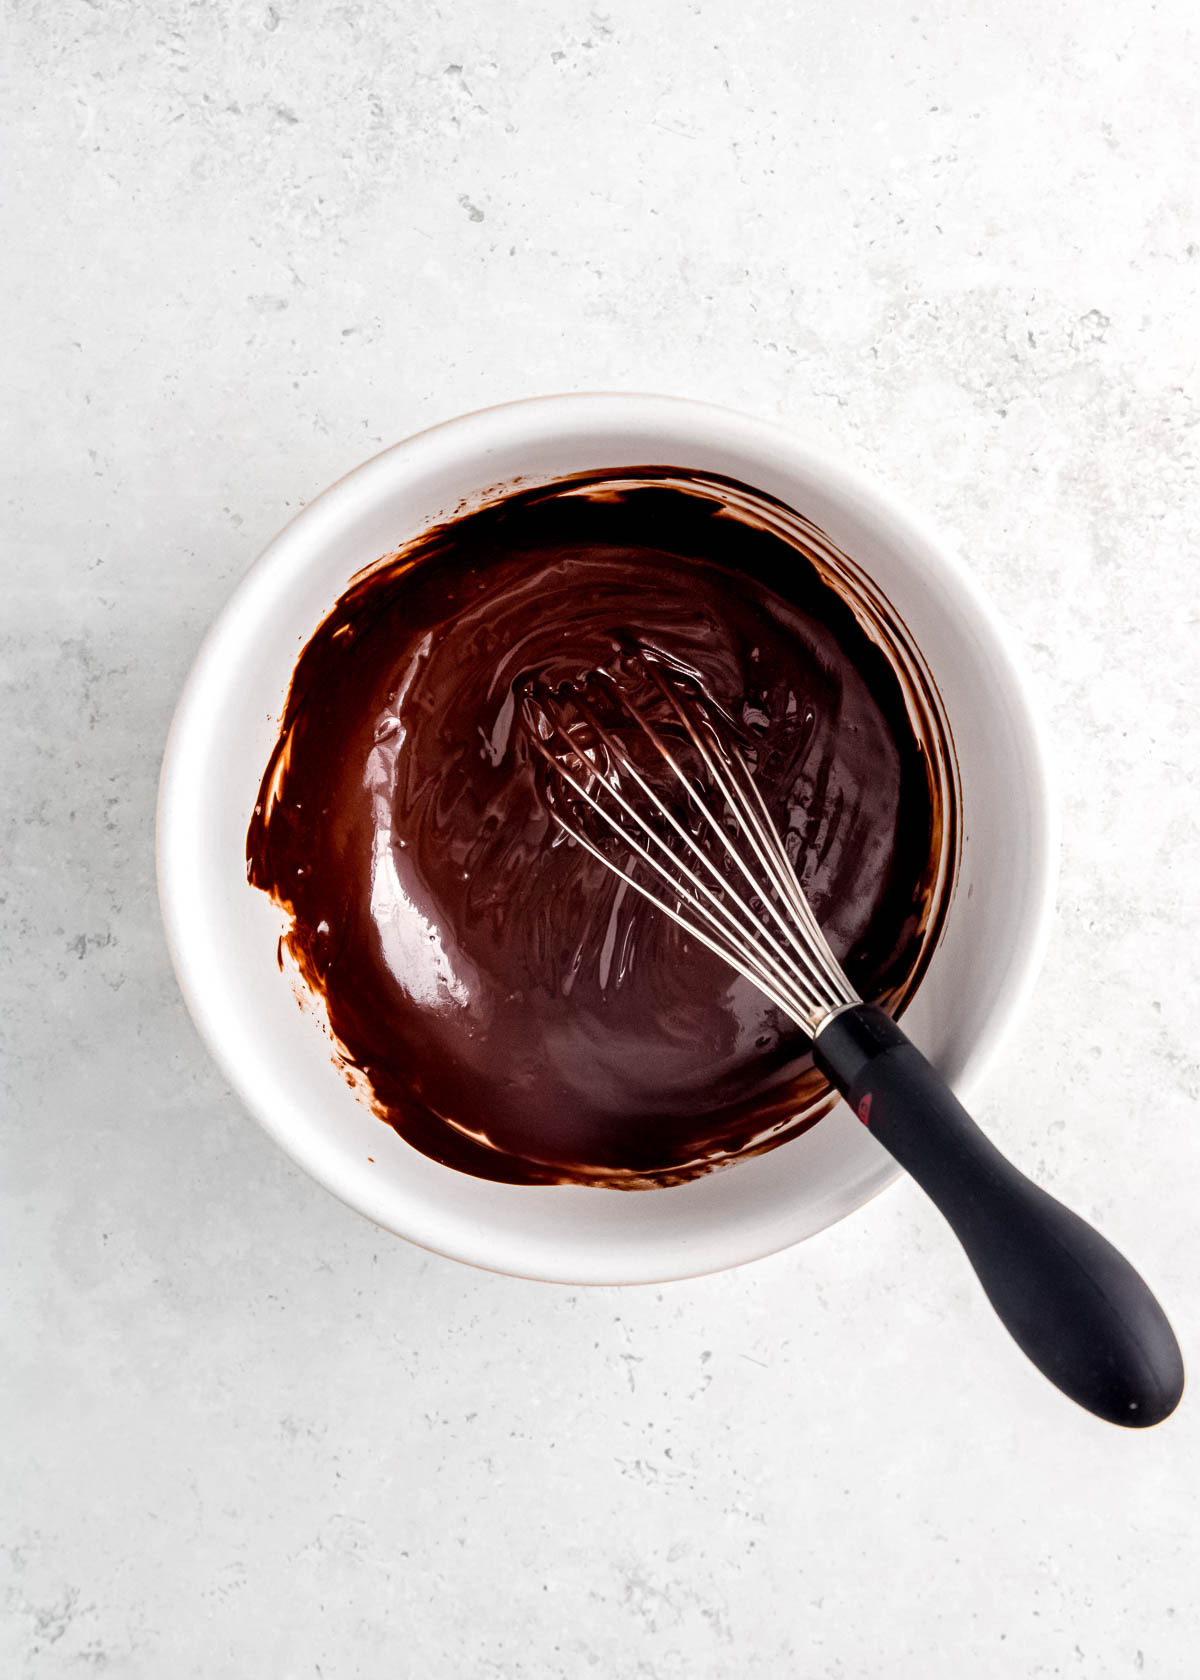
Place the chocolate and butter in a small microwave-safe bowl, then microwave for 30 seconds. Stir, then continue microwaving in 15-second increments, stirring between each heat cycle. Once mixture is fully melted and combined, set aside.
NOTE: Make sure to not rush this! Chocolate can burn very quickly, and you’ll have to start over with new chocolate if that happens.
Make Cake Batter
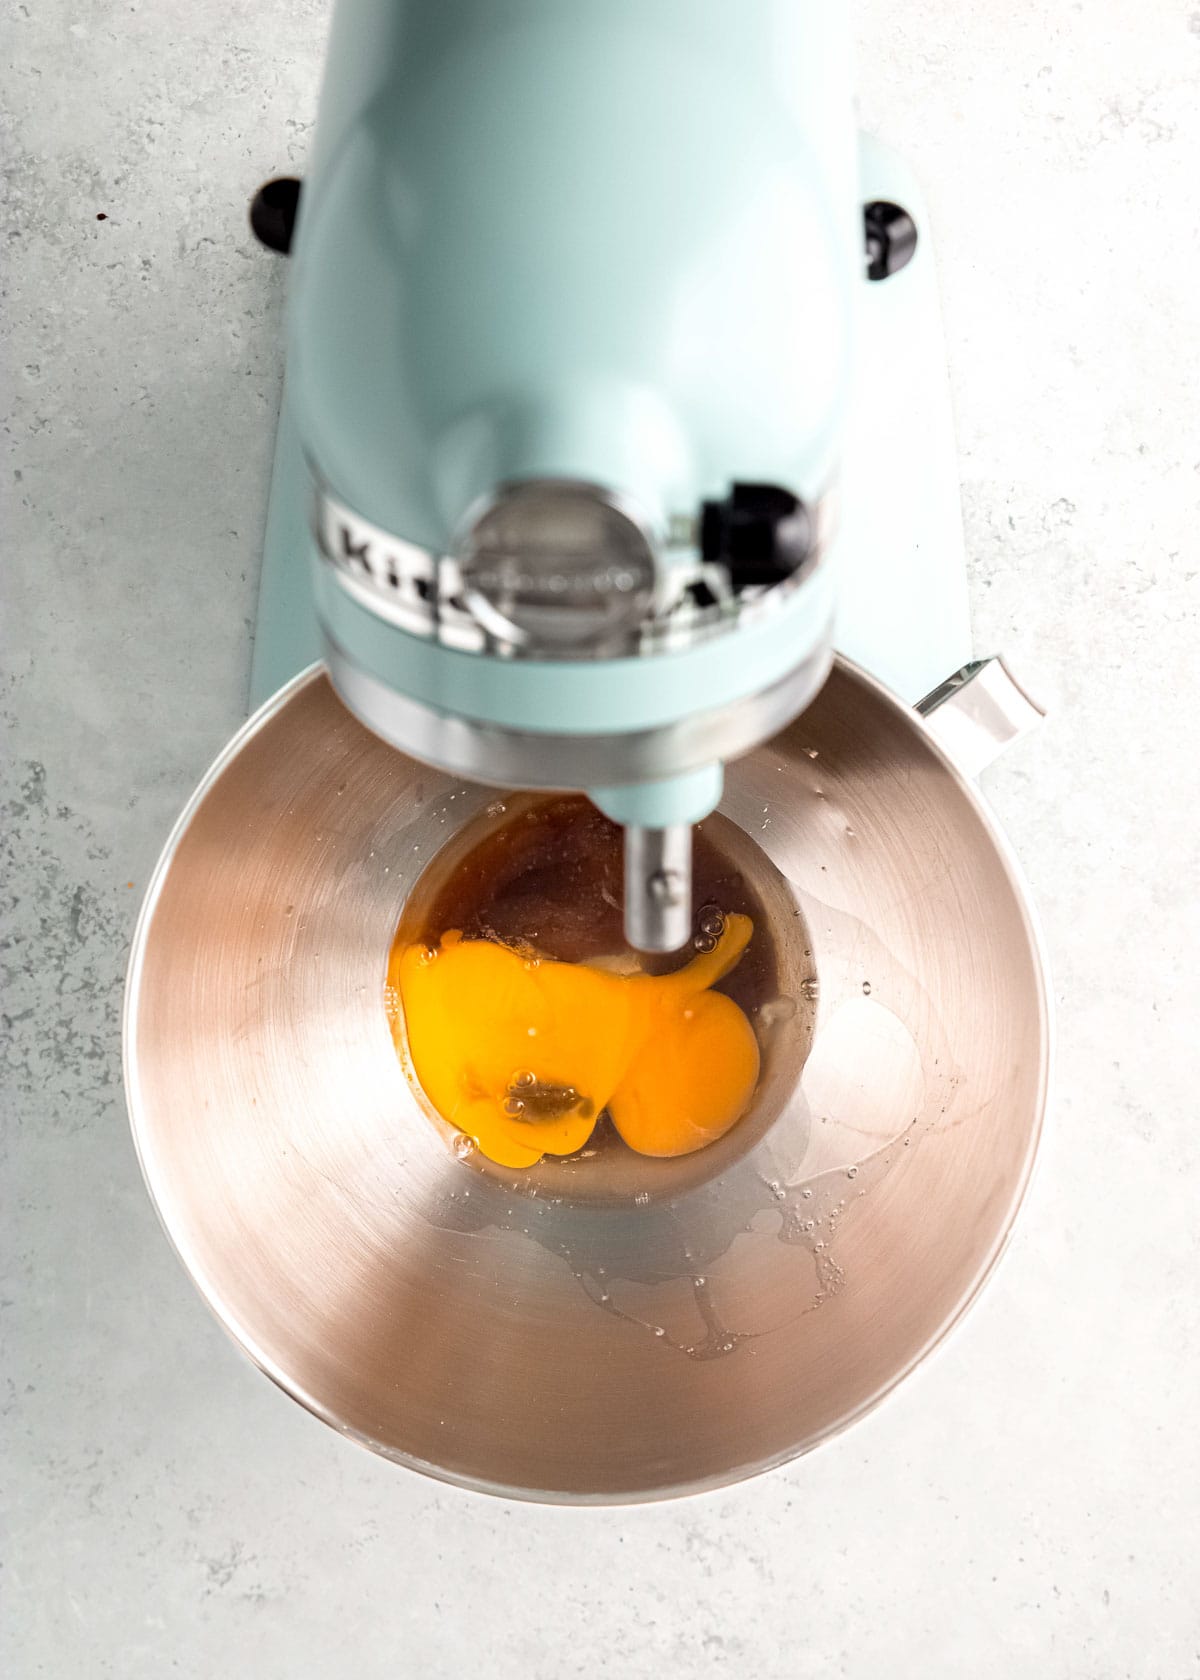
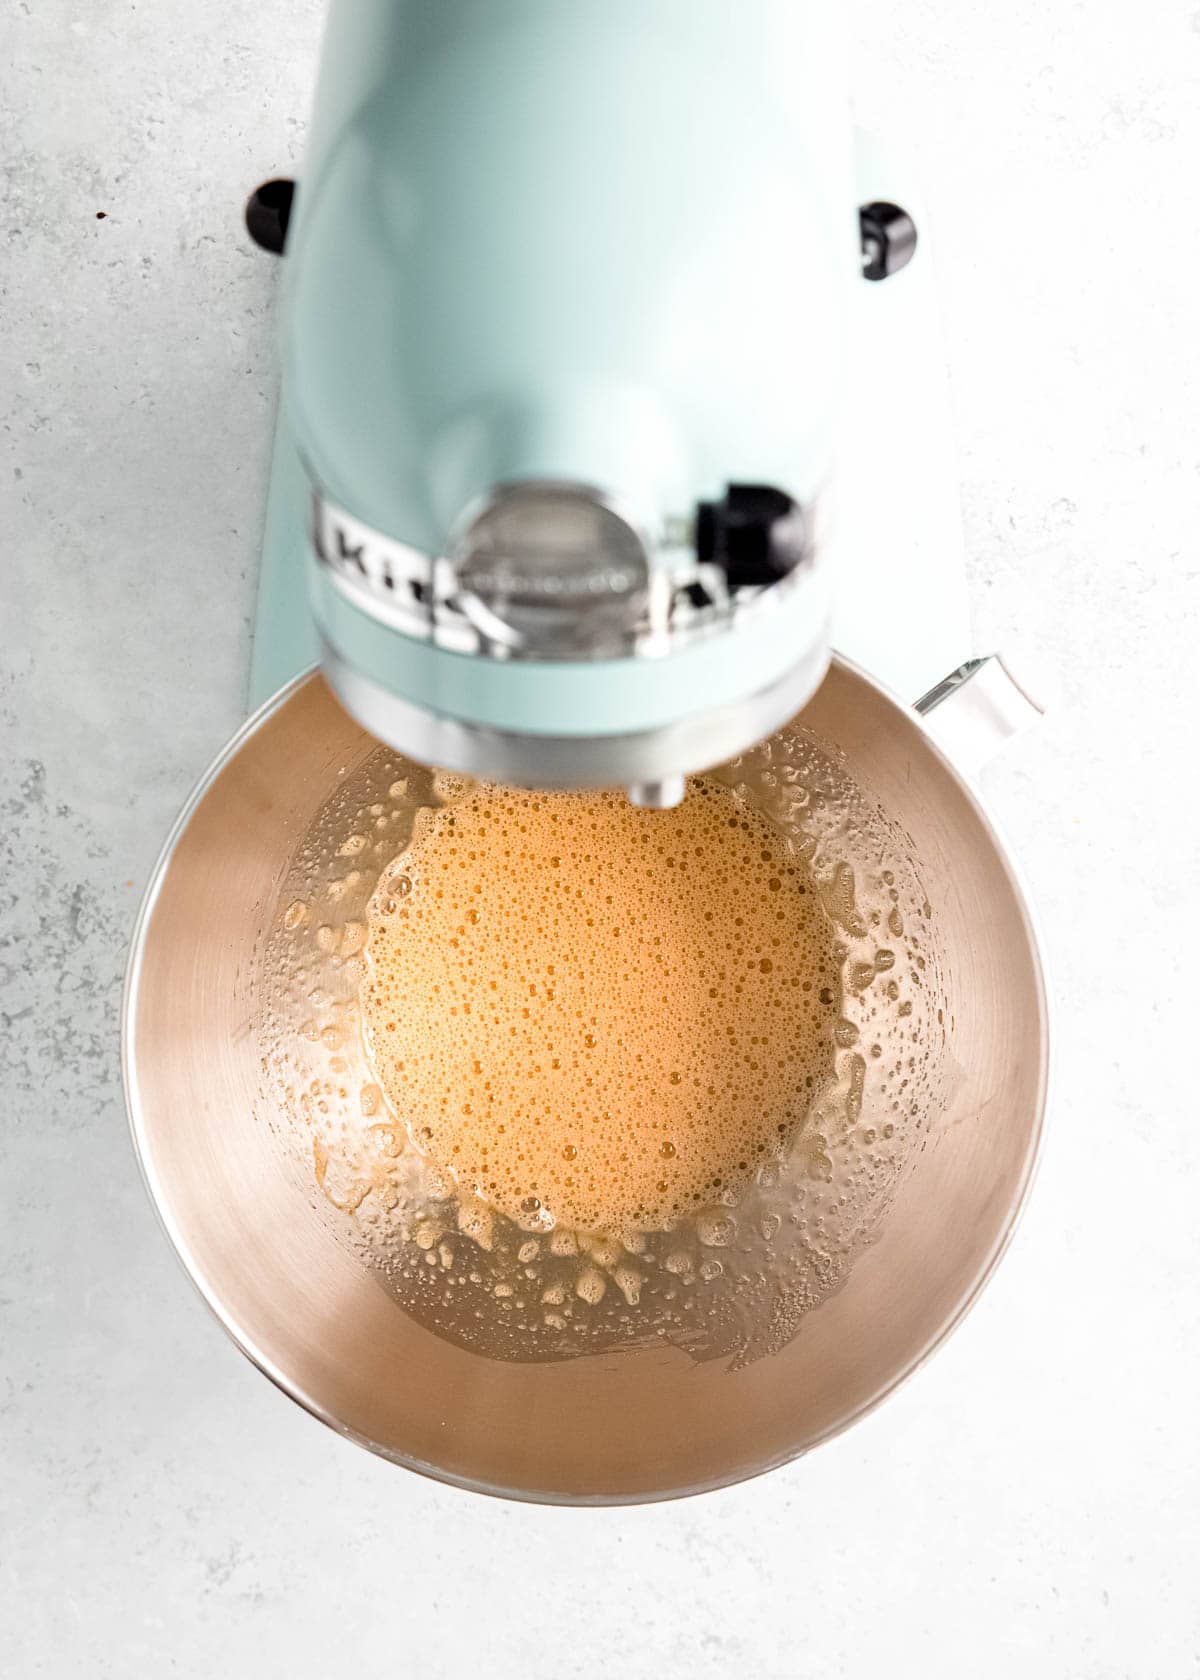
Using a large mixing bowl, combine the brown sugar, egg, egg yolk, vanilla, and salt. Whisk with a stand mixer on medium speed for about 2 minutes.
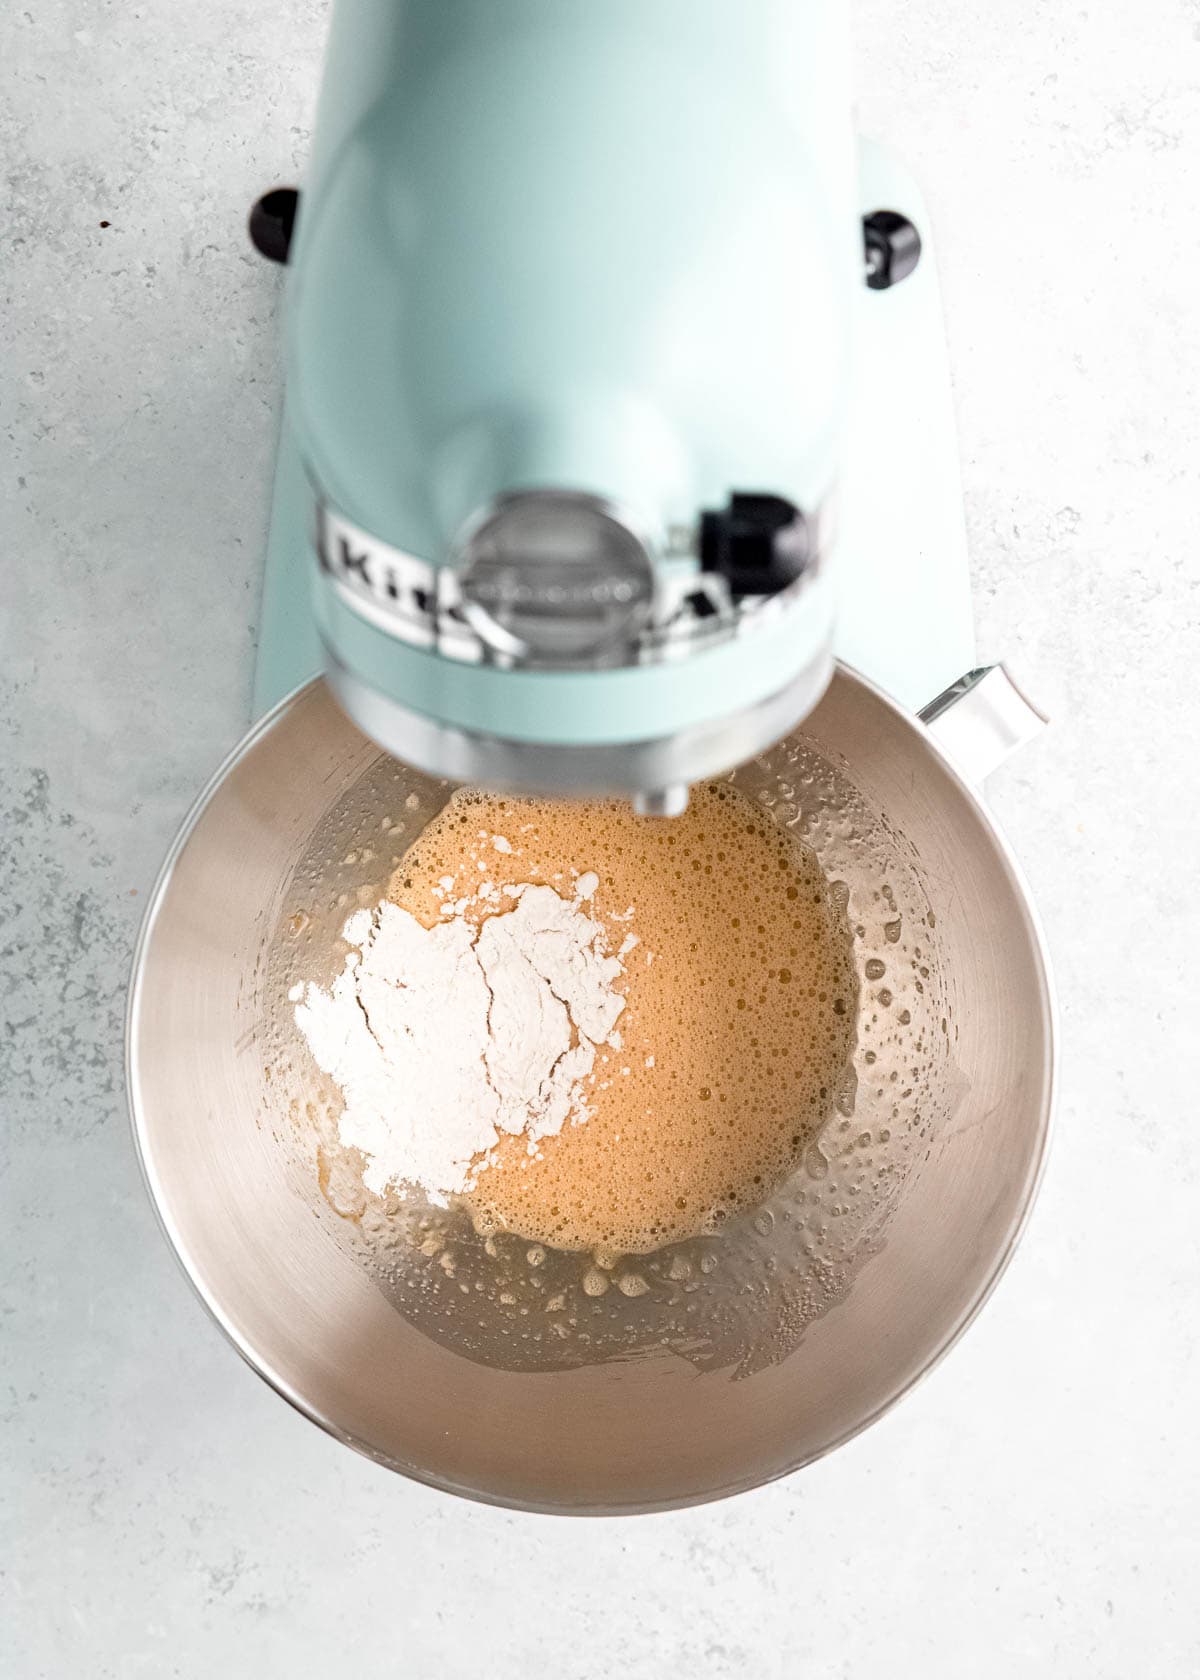
When the mixture is light and fluffy, stop mixing and add in the gluten-free flour. Whisk on low speed until just combined. Make sure to not overmix as this can create a gummier texture instead of the velvety smooth lava we want.
NOTE: You can use a handheld electric mixer; it just takes more time and effort.
Combine
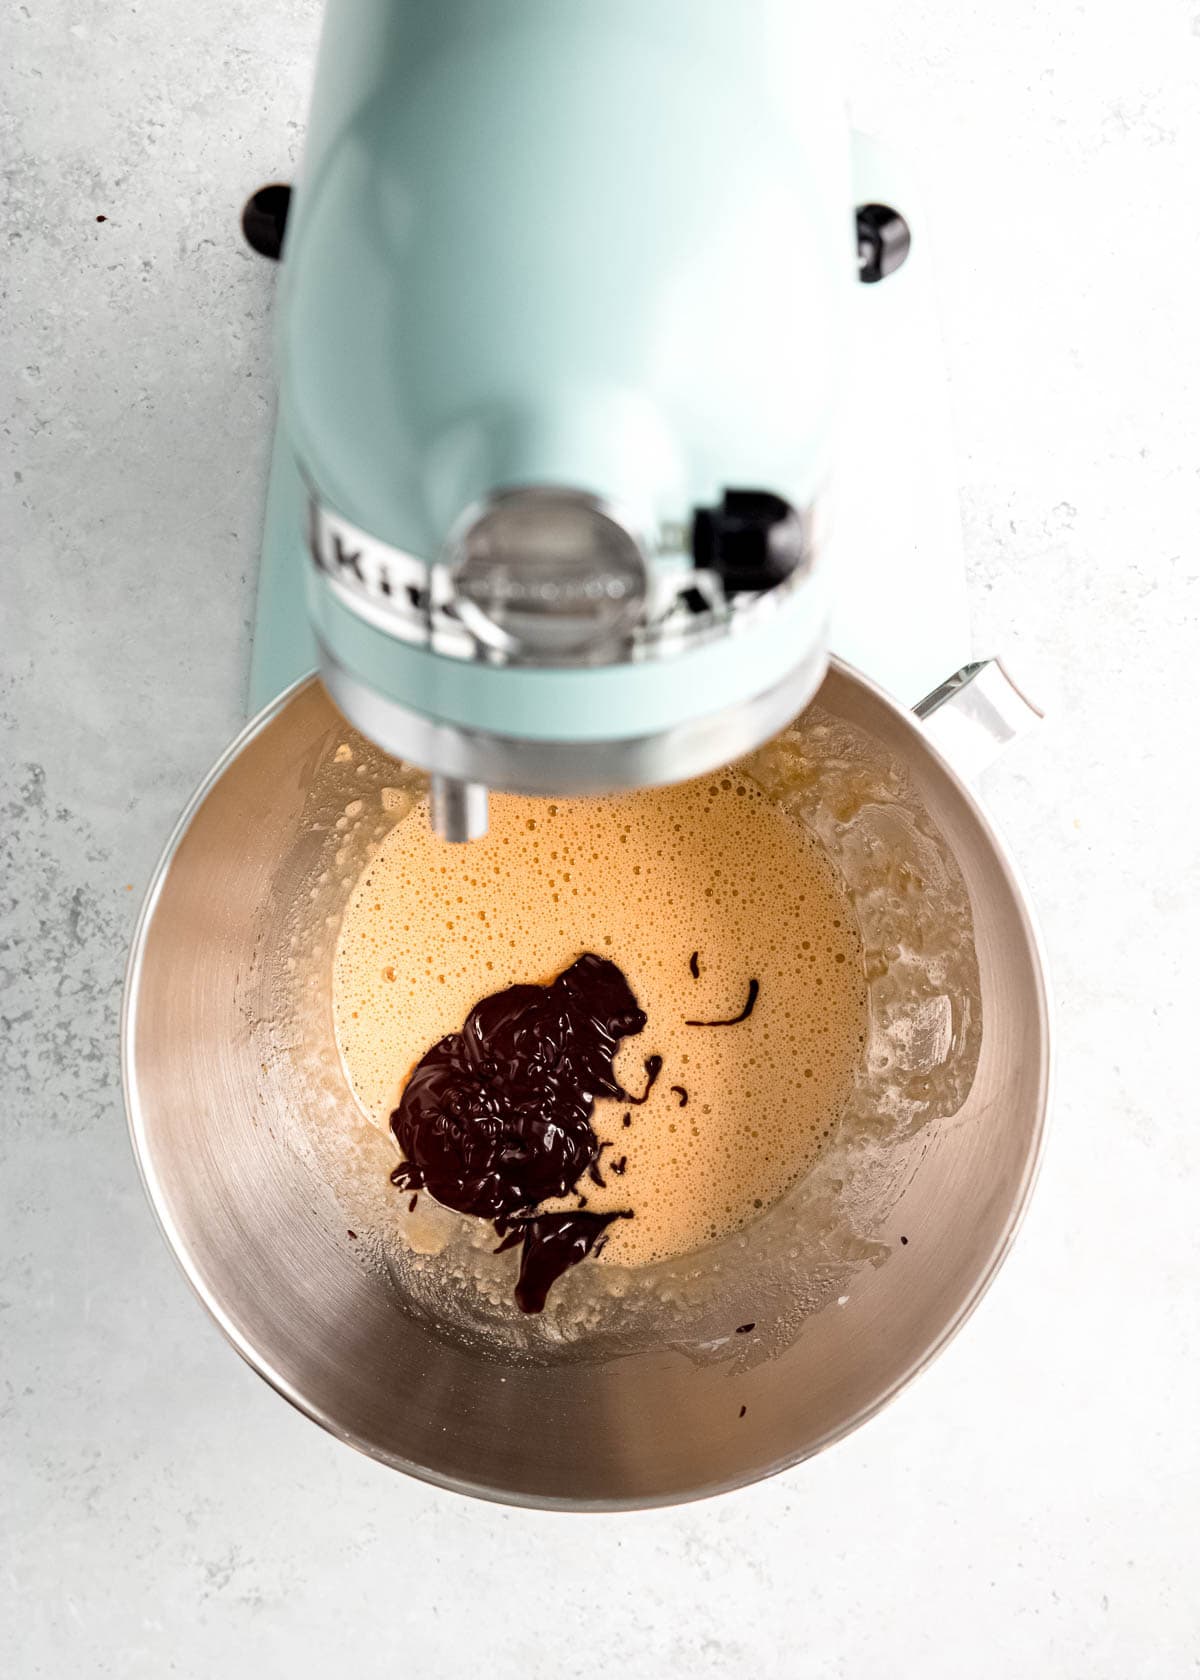
Add the chocolate mixture to the egg mixture, then mix on low speed until just combined–Don’t overmix. Carefully pour this into the prepared ramekin.
Bake
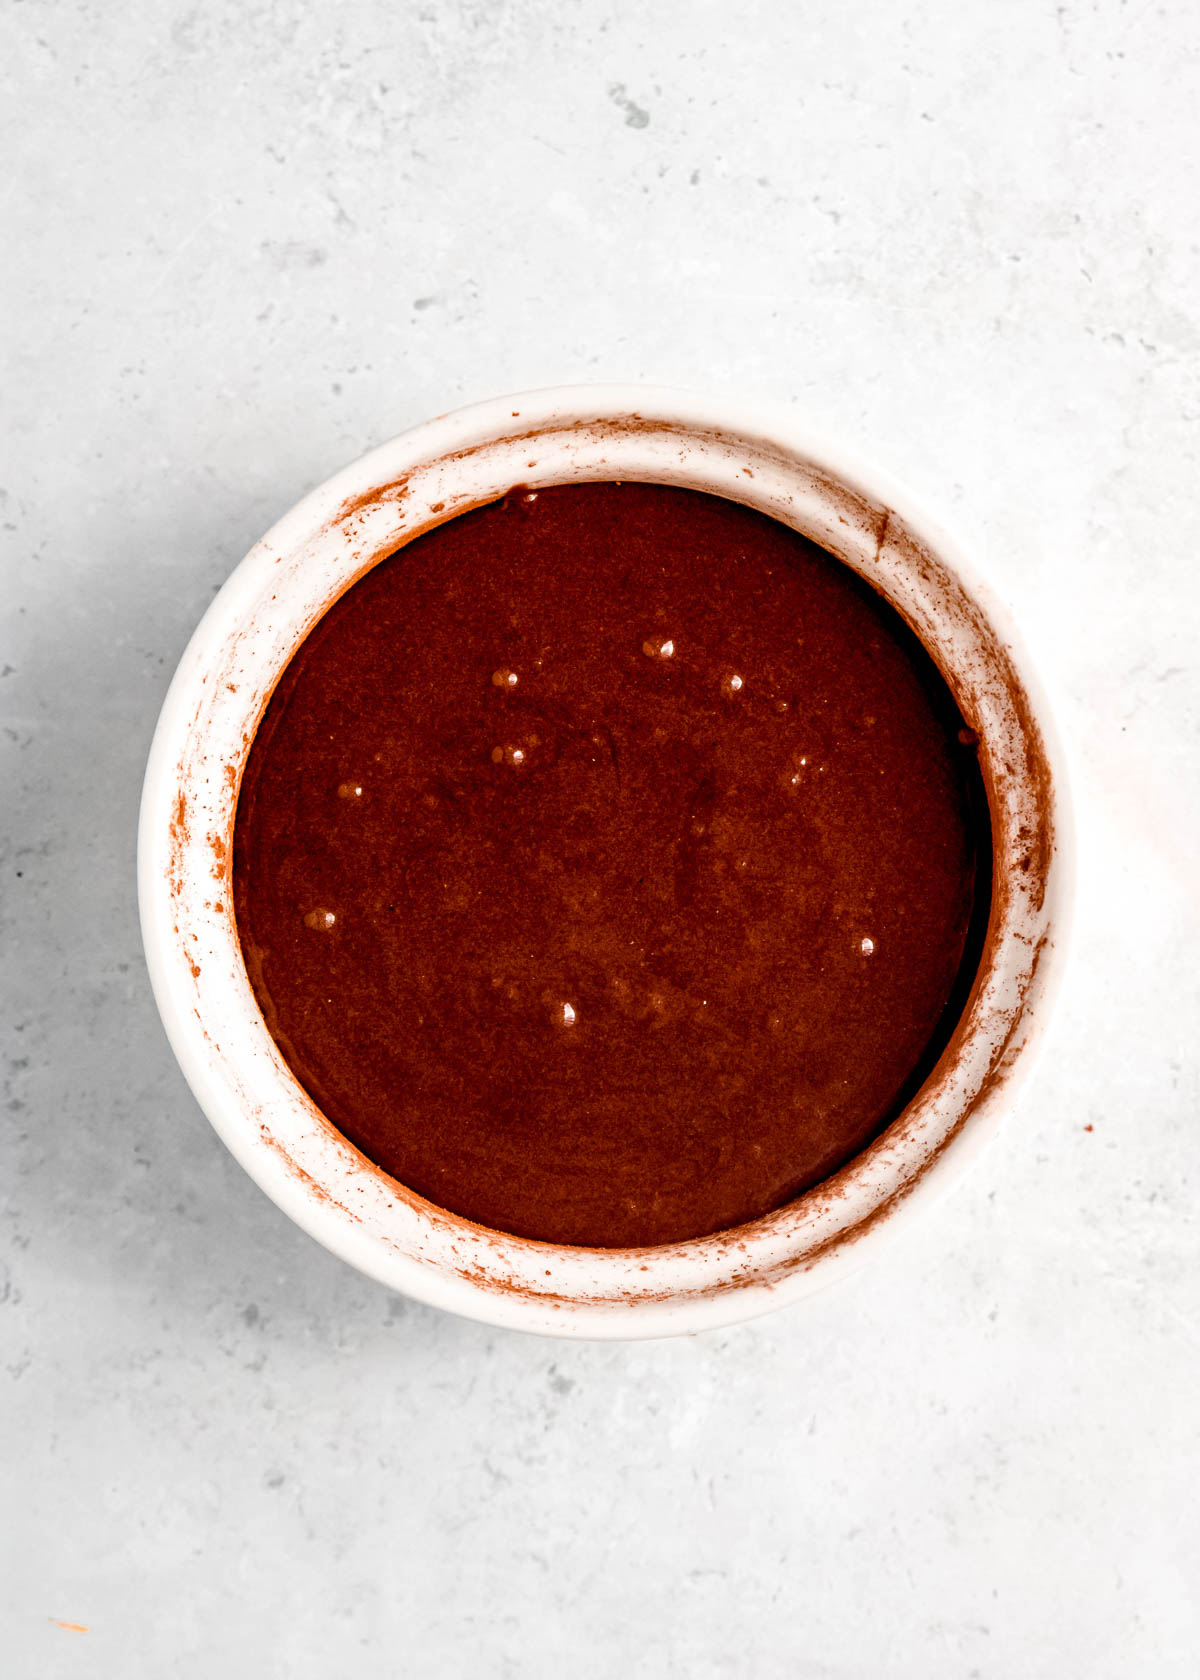
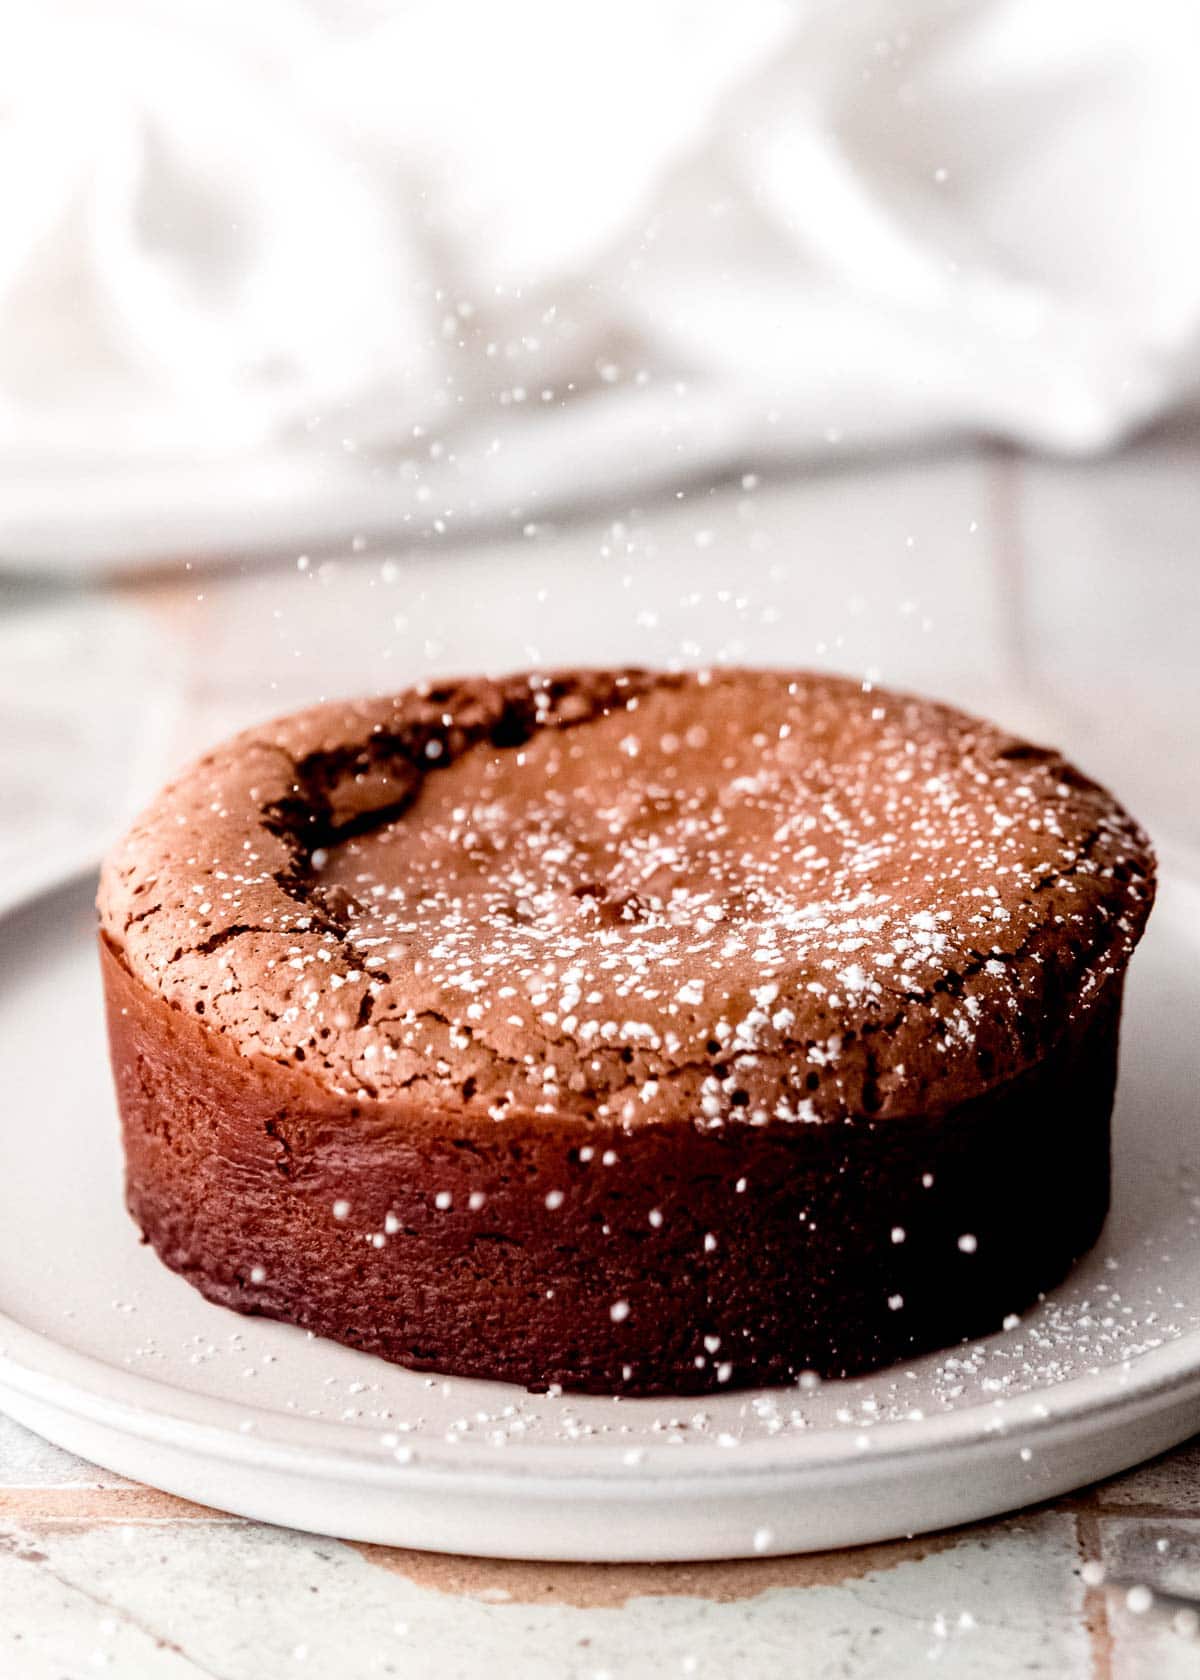
Bake for 16-18 minutes on the middle rack. Once it’s firm on the outside but still soft on the inside, pull it from the oven. Make sure to not overbake–Too much time in the oven will result in a solid, non-molten-lava center.
Allow the cake to cool for 10 minutes at room temperature. Turn a plate upside down and place it on top of the ramekin. Carefully, holding the plate and warm ramekin, flip/invert the ramekin and plate to release the cake out onto the plate. If it doesn’t immediately come out, be gentle–Forcefully but carefully tap the bottom of the ramekin several times until the cake comes out, giving it a few seconds between taps to loosen up. Sprinkle with powdered sugar and enjoy immediately!
How to Serve Chocolate Lava Cake
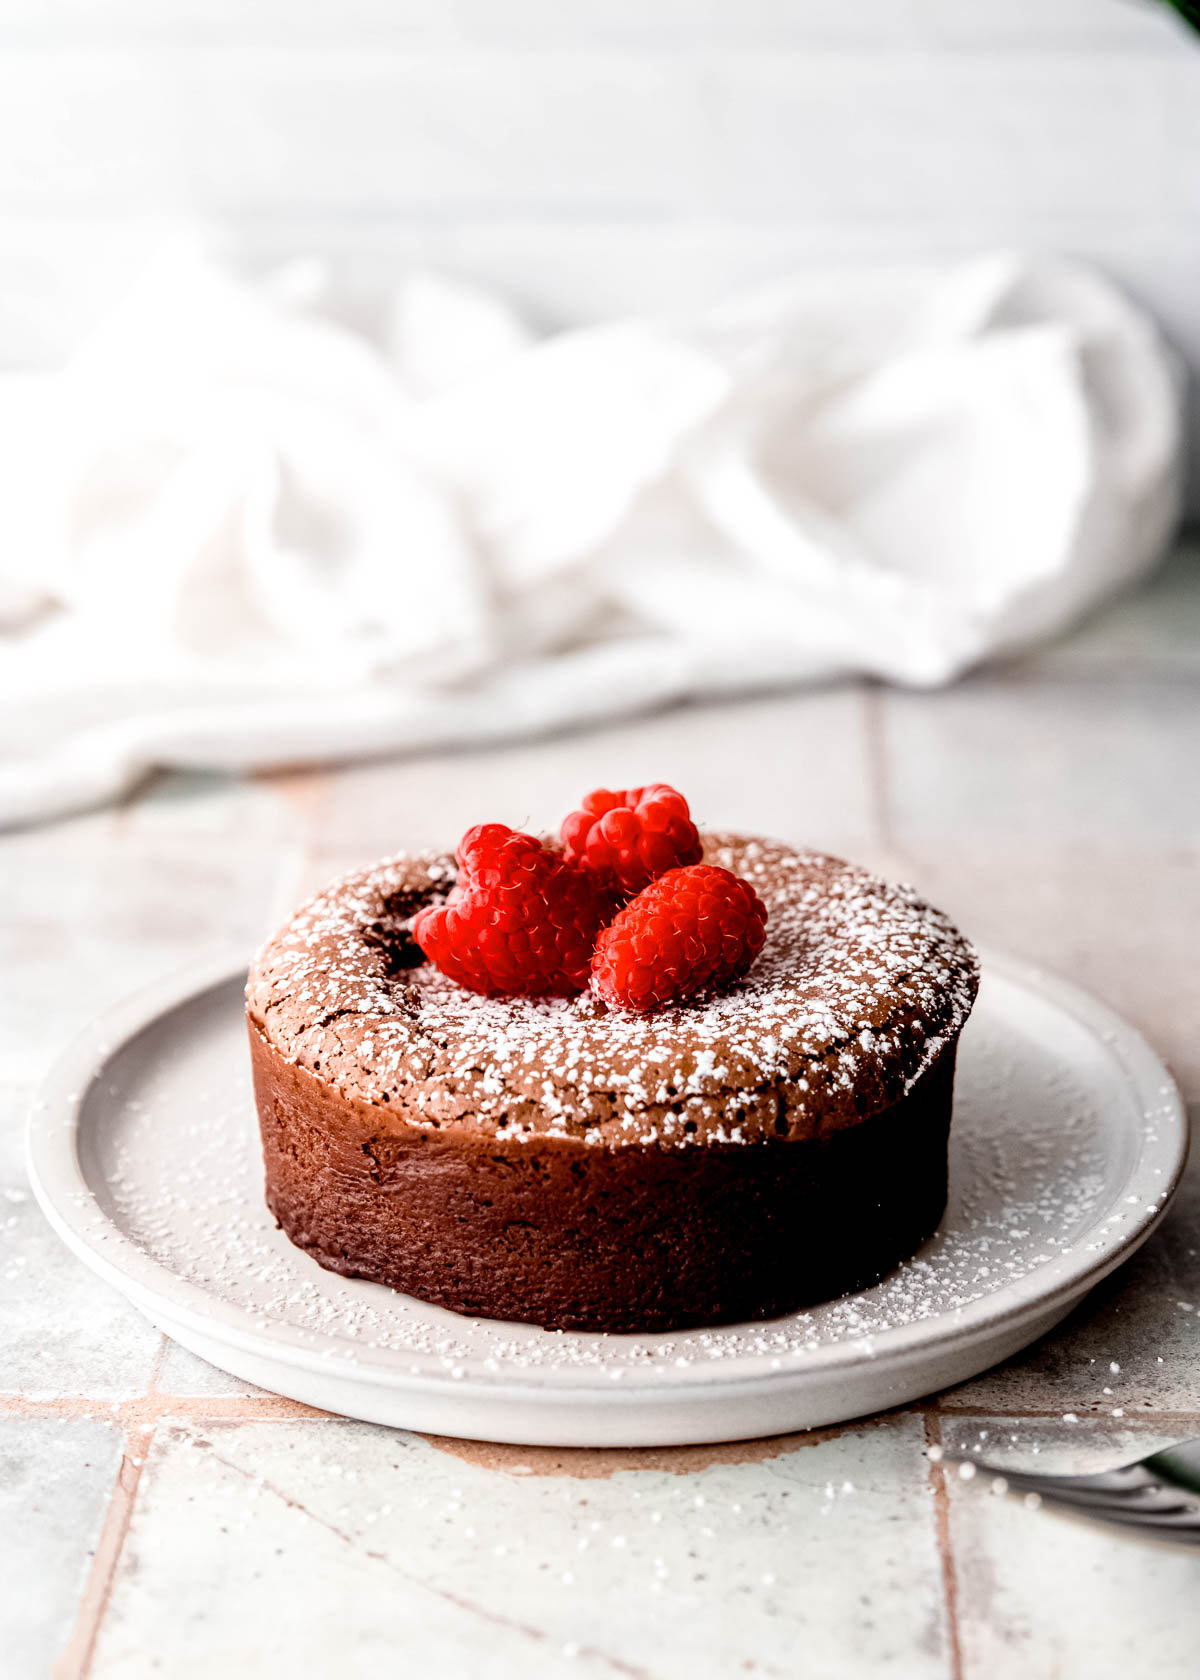
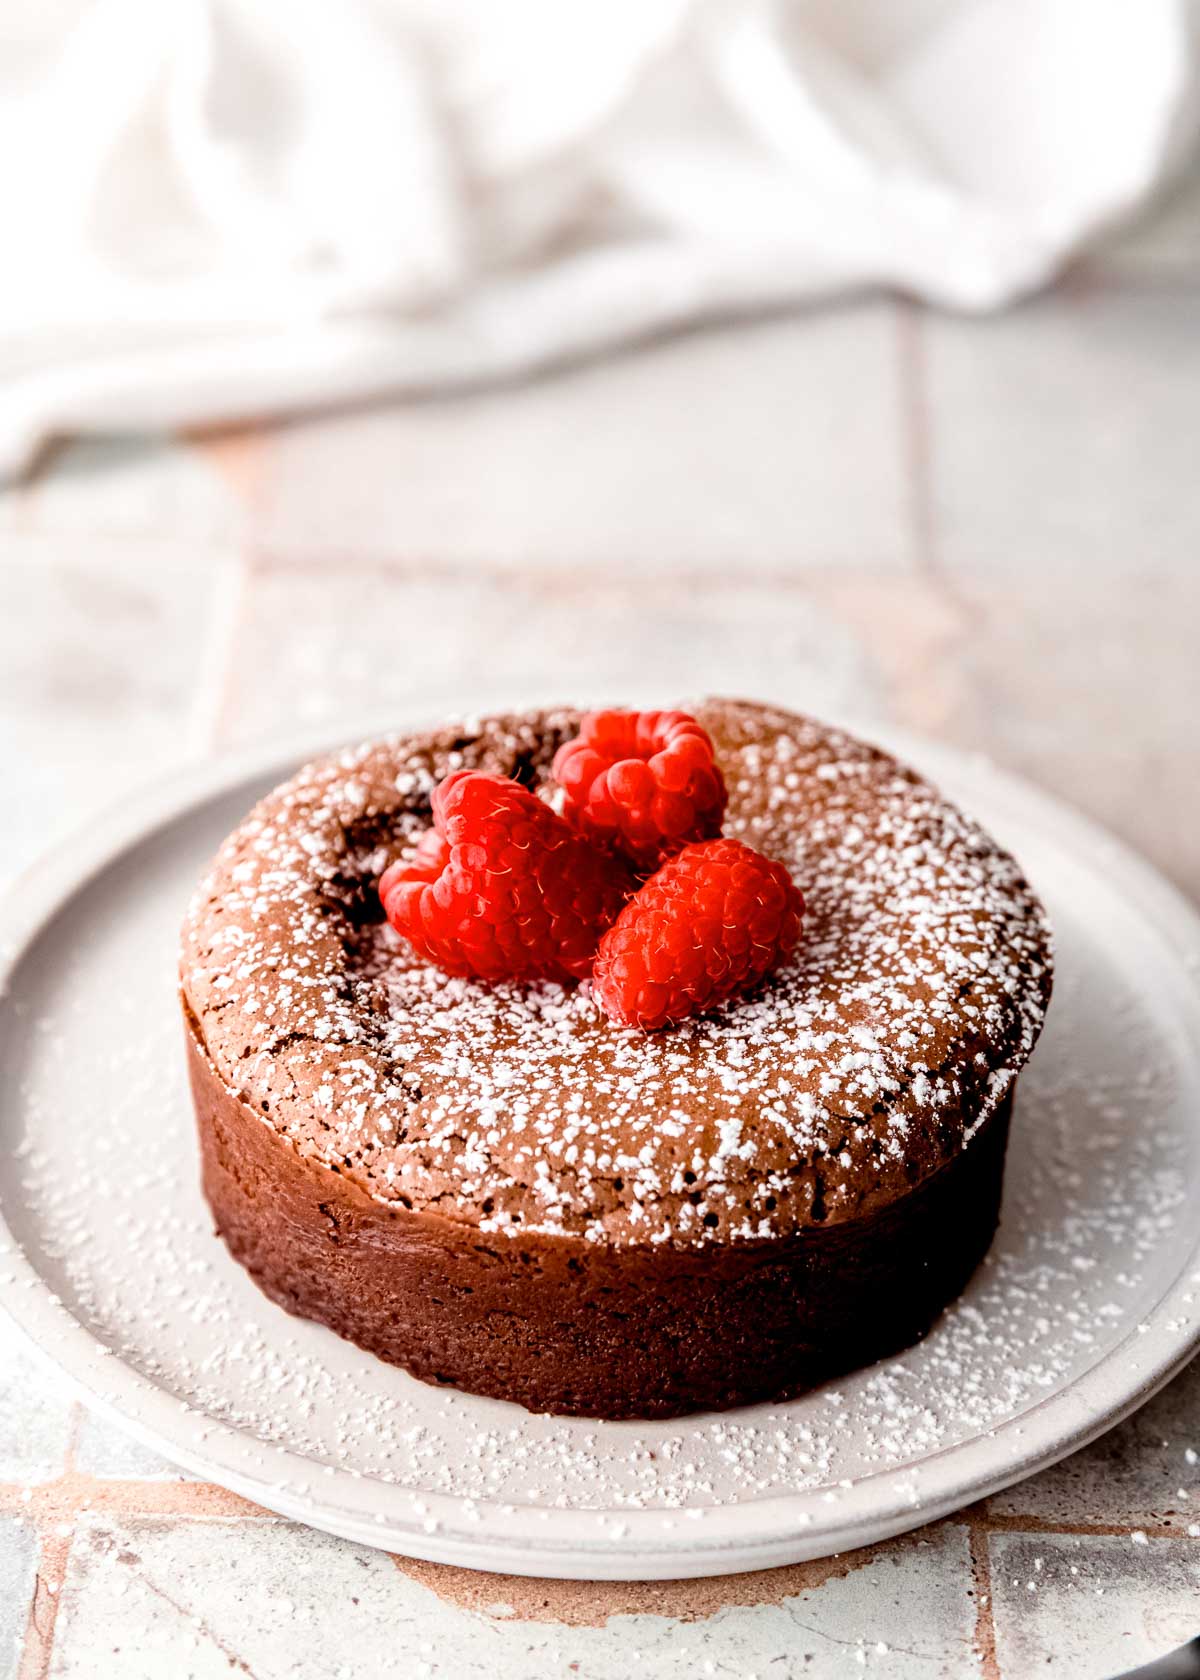
We love this cake dusted with powdered sugar and topped with berries! You could add homemade chocolate whipped cream or some caramel sauce to make it even fancier if you want, too. If you’re making it for a special occasion like a birthday, consider adding some nice little candies around the plate like cookie dough bites or almond butter cups! A scoop of chocolate mint ice cream (or keto ice cream if you’re keeping the carbs lower) really sets it over the edge!
More dessert topping ideas:
- Chocolate covered strawberries
- Espresso whipped cream
- Raspberry frosting
- Sugar-free strawberry sauce
- Keto chocolate ganache
How to store molten lava cakes
This is not a dessert that is best made ahead. The gooey lava center will firm up the longer it cooks or sits, so it’s best eaten immediately after eating. Of course, even if the center firms up, it is still chocolate cake and still delicious! Wrap your leftovers in plastic wrap and store in an airtight container in the fridge up to 3 days.
Can I make the batter ahead of time?
If you want to prep the cake but bake it fresh, simply mix up the batter, lightly press plastic wrap on the batter so that it has no contact with any air, and store in the fridge up to 2 days. You could also freeze the batter in the ramekin and cook later!
Can you freeze lava cakes?
Yes, this recipe can be frozen either before or after cooking! The best is to freeze them raw so that you get to bake them fresh and enjoy the melty center. Prep the ramekins, pour the batter in, and then wrap tightly multiple times with plastic wrap, gently pressing the wrap onto the batter to prevent any air from touching the mixture. Store in a freezer bag up to 3 months, then thaw overnight in the fridge before baking according the original instructions.
You can freeze cooked lava cakes as well! Allow them to cool completely, then wrap multiple times in plastic wrap. Store in a freezer bag up to 3 months and thaw in the fridge before eating.
Best ways to reheat chocolate lava cake
- Oven – Preheat oven to 350 while lava cake comes to room temperature. Place on a baking sheet and reheat about 7-10 minutes (timing will depend on oven and number of cakes reheating at once). This is the easiest way to keep the center a bit gooey and keeps that lightly crisp texture on the outside.
- Microwave – Dampen a paper towel and place it over the cake on a plate. Reheat in 20-second increments at 50% power. This will take a few zaps, but it’s quick and has a chance for keeping some of the center molten.
- Air Fryer – Allow cake to come to room temperature, then preheat air fryer to 350. Cook for 4-5 minutes or until it’s warmed through. The outside texture will be pretty crisp as the convection can dry out the cake a bit.
If you love this chocolate cake, you’ll love these gluten-free desserts!
- Brownie Pie – If you love a gooey, rich dessert, this is for you! Gluten-free and works great with alternative sweeteners so perfect for keto & low-carb dieters!
- Flourless Chocolate Cake – So decadent and rich! This naturally grain-free dessert is a big hit at holidays.
- Chewy Gluten-Free Chocolate Chip Cookies – These are made as large, bakery-style cookies that are perfectly chewy and moist. The xanthan gum really helps nail the texture!
- Triple Chocolate Cheesecake Bars – A chocolate crust, a creamy chocolate cheesecake, and a sugar-free chocolate ganache… A chocolate lover’s dream!
- Air Fryer Brownies – This is the perfect single-serving dessert! Gooey and rich, this recipe uses almond flour or coconut flour to stay gluten-free and low-carb.
- Check this list for more gluten-free cookies or this list for gluten-free holiday recipes!
Get the Recipe: Chocolate Lava Cake
Ingredients
- ½ cup semi-sweet chocolate chips
- 3 tbsp unsalted butter
- 3 tbsp brown sugar
- 1 large egg, room temperature
- 1 large egg yolk, room temperature
- 1 tsp vanilla extract
- ¼ tsp salt
- 1 tbsp + 2 tsp gluten-free 1:1 flour
For prep & garnish
- Butter and unsweetened cocoa powder, for ramekin
- Powdered sugar, for dusting over cake at the end
Instructions
- Preheat oven to 400 degrees. Butter a 12 oz ramekin, then sprinkle with cocoa powder. Shake out the excess and set the ramekin aside for now.
- Place chocolate chips and butter in a microwave-safe bowl and microwave for 30 seconds. Stir, then continue to microwave in 15-second increments, stirring etween each heat cycle, until the mixture is melted and well combined. Don't rush this as schocolate can burn very quickly! Set aside for now, allowing it to cool a bit.
- Place the brown sugar, egg, egg yolk, vanilla, and salt into a large mixing bowl. Using the whisk attachment of your stand mixer, run on medium speed for about 2 minutes. Stop when the mixture is light and fluffy.
- Add the gluten-free flour and whisk on low speed until just combined. Don't overmix.
- Add the chocolate mixture to the egg mixture and mix on low speed until just combined.
- Pour mixture into the prepared ramekin and bake for 16-18 minutes. Once it's firm on the outside and soft on the inside, pull it from the oven. Be careful not to overbake!
- Allow cake to cool for 10 minutes at room temperature. Place the ramekin upside down on a plate, then invert to release the cake onto the plate. Sprinkle with powdered sugar and serve.
Notes
- I used Bob’s Red Mill Gluten Free 1-to-1 Baking Flour. This recipe should work with traditional all purpose flour as well.

These came out perfect! The only thing that I did differently was add Heath™️ chips into my batter. It was amazing & this is the 2nd time that I’ve used this recipe! Thanx.