No Bake Lemon Cheesecake
This No Bake Lemon Cheesecake is the perfect summer dessert! It’s easy to make ahead of time, super creamy, and bursting with citrus flavor.
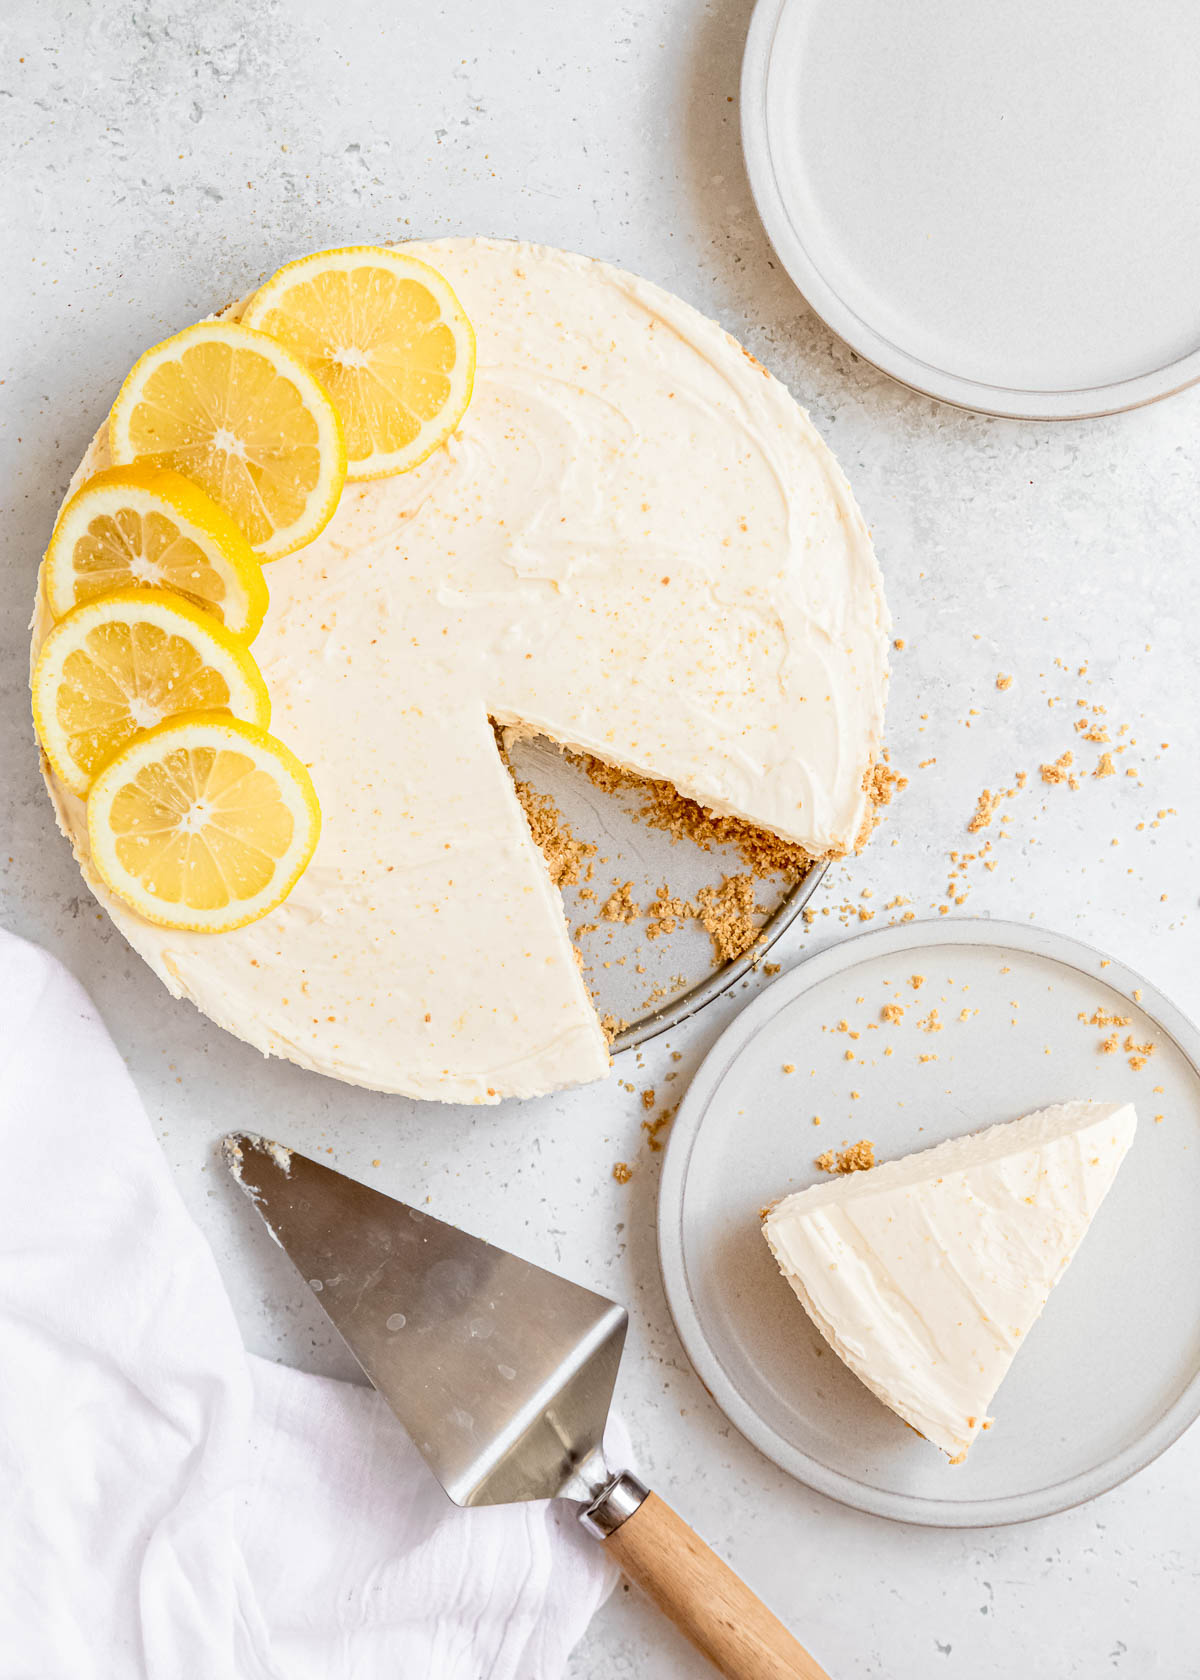
Easy Lemon Cheesecake
A gorgeous, creamy Lemon Cheesecake is always the BEST dessert to bring for a summer get-together! This no-bake cheesecake has a strong lemony taste that citrus lovers will adore. It’s easy to make and won’t heat up the kitchen, too!
This cheesecake takes 6-8 hours to set, but it only takes about 15 minutes to prepare! Make this the evening before your party, and you’ll have a stress-free, crowd-pleasing dessert. This is perfect for holidays, birthdays, and more!
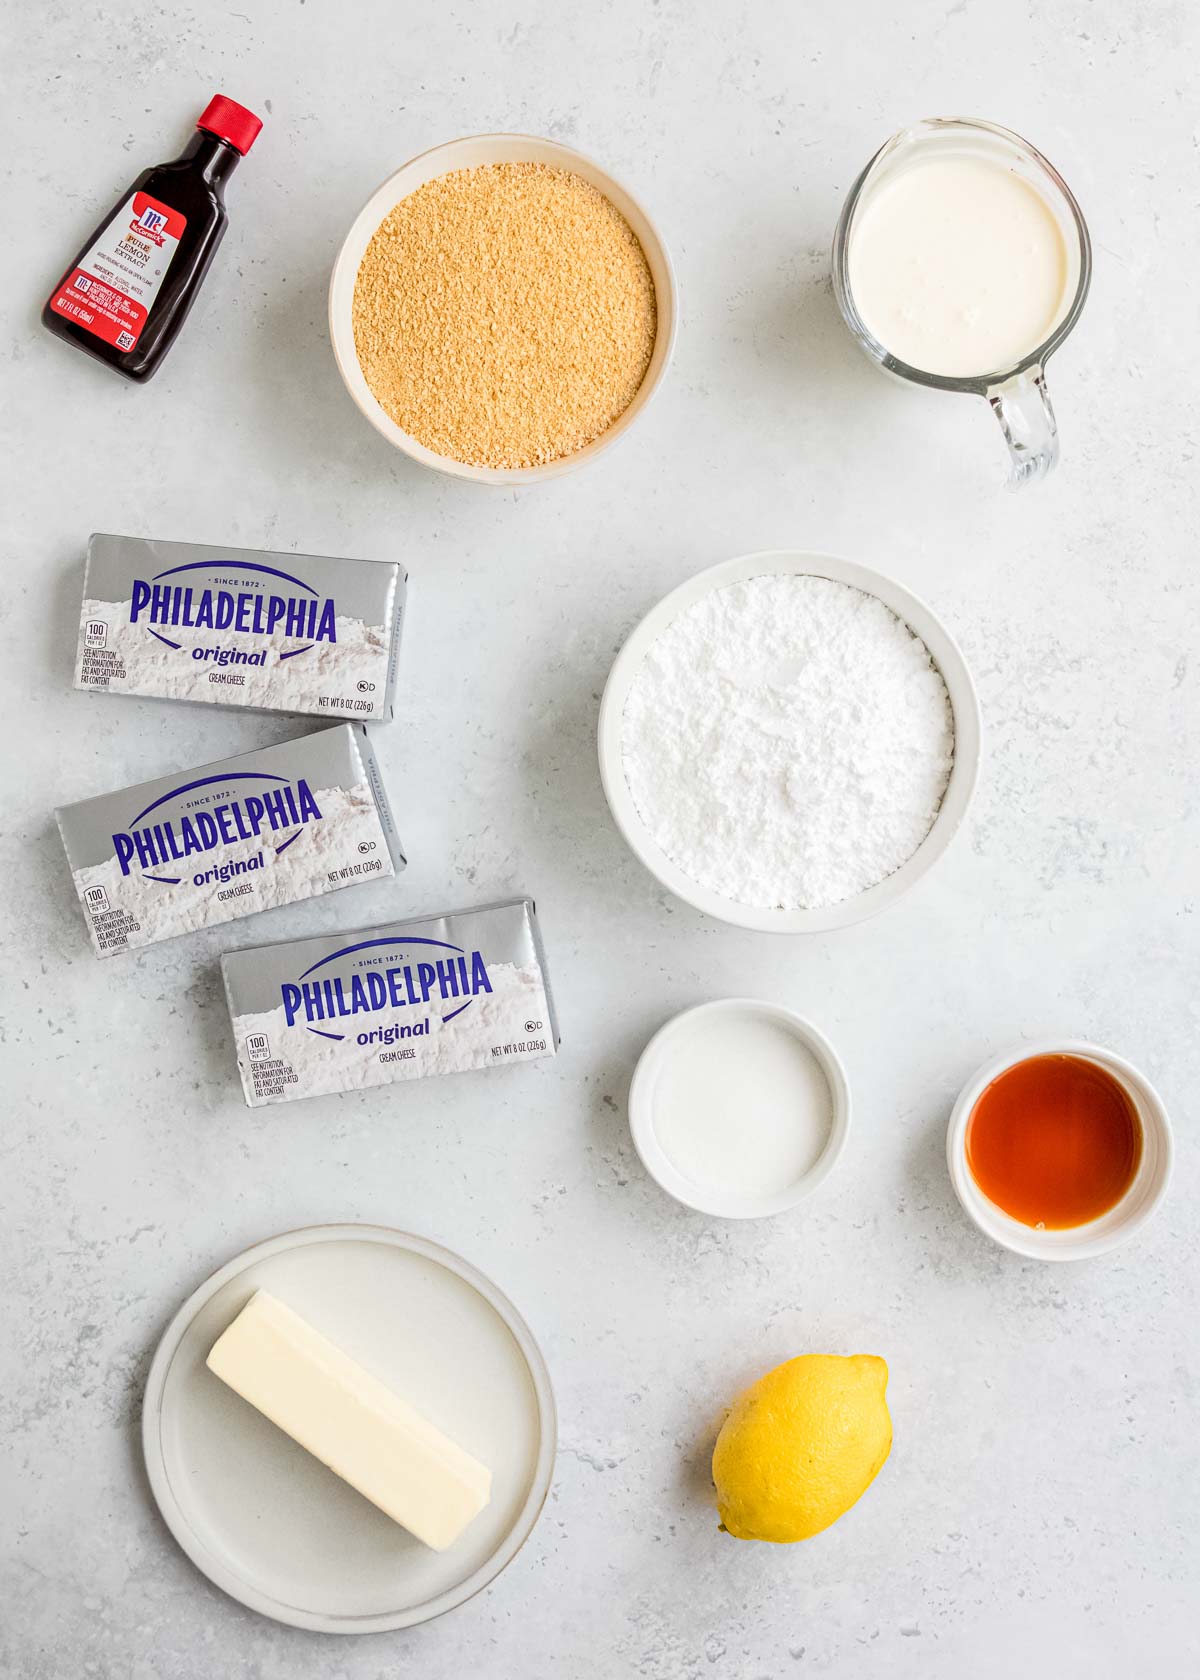
No Bake Lemon Cheesecake Ingredients
Here’s a quick rundown of what you’ll need for this recipe. For exact measurements, keep scrolling down to the printable recipe card below.
- Graham cracker crumbs, butter (unsalted), and sugar (granulated) – These are mixed to create the delicious buttery crust! Gluten-free graham crackers make this easy and safe for those with Celiac or gluten sensitivities.
- Cream cheese, Powdered sugar, and Heavy whipping cream – These combine for the creamy filling. You can use full- or low-fat cream cheese, though I feel like full-fat melts into a smoother texture. It’s easiest to beat the whipping cream with a mixer, but you can do it by hand if you’ve got the strength and patience.
- Lemon juice, Lemon zest, Vanilla extract, Lemon extract (optional) – Lemon juice and zest provide tons of bright, citrusy flavor! You can easily skip the extract if you prefer, but it does give a big boost for those lemon lovers! Don’t skip the zest–It’s a powerful, natural lemon flavor that is even stronger than the juice.
You will need a few mixing bowls, a mixer, a 9″ springform pan, and parchment paper.
How to Make a No Bake Lemon Cheesecake
This is a simple recipe that requires no cooking! It’s great for beginners — Here’s a quick step-by-step guide to making this easy dessert.
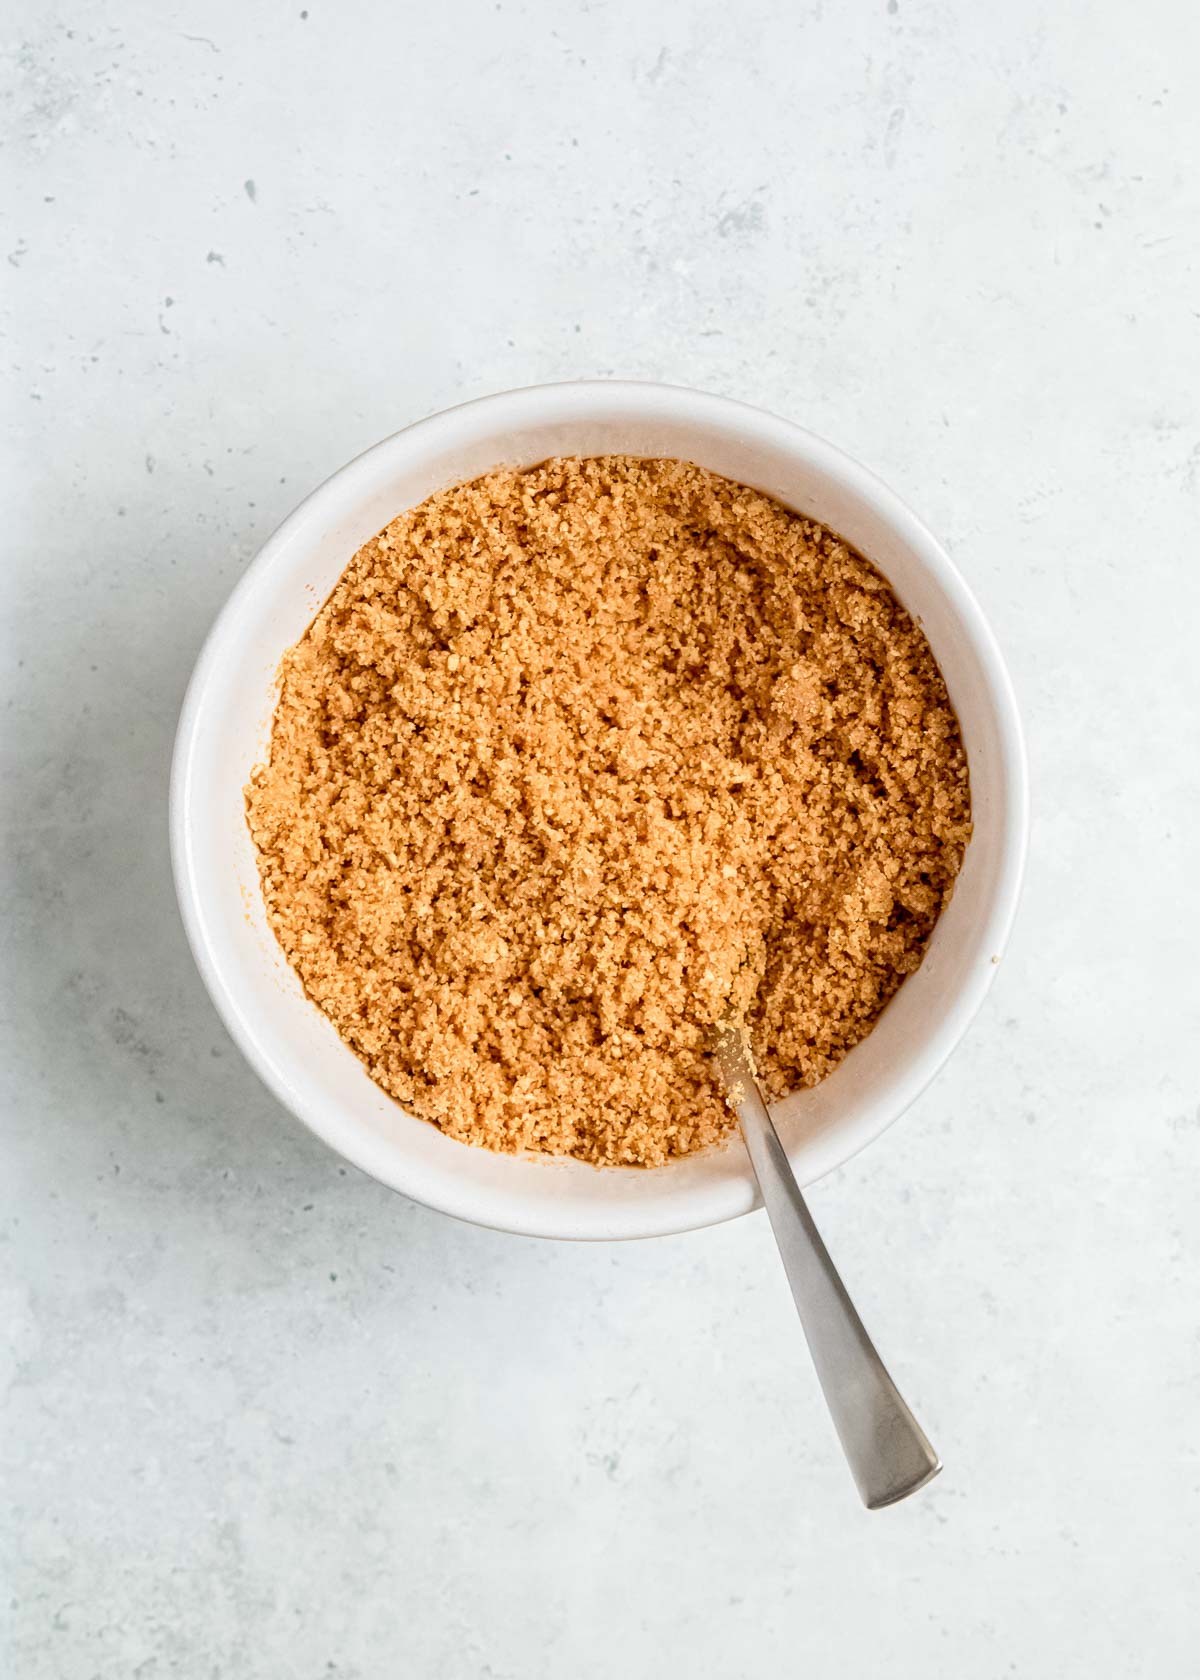
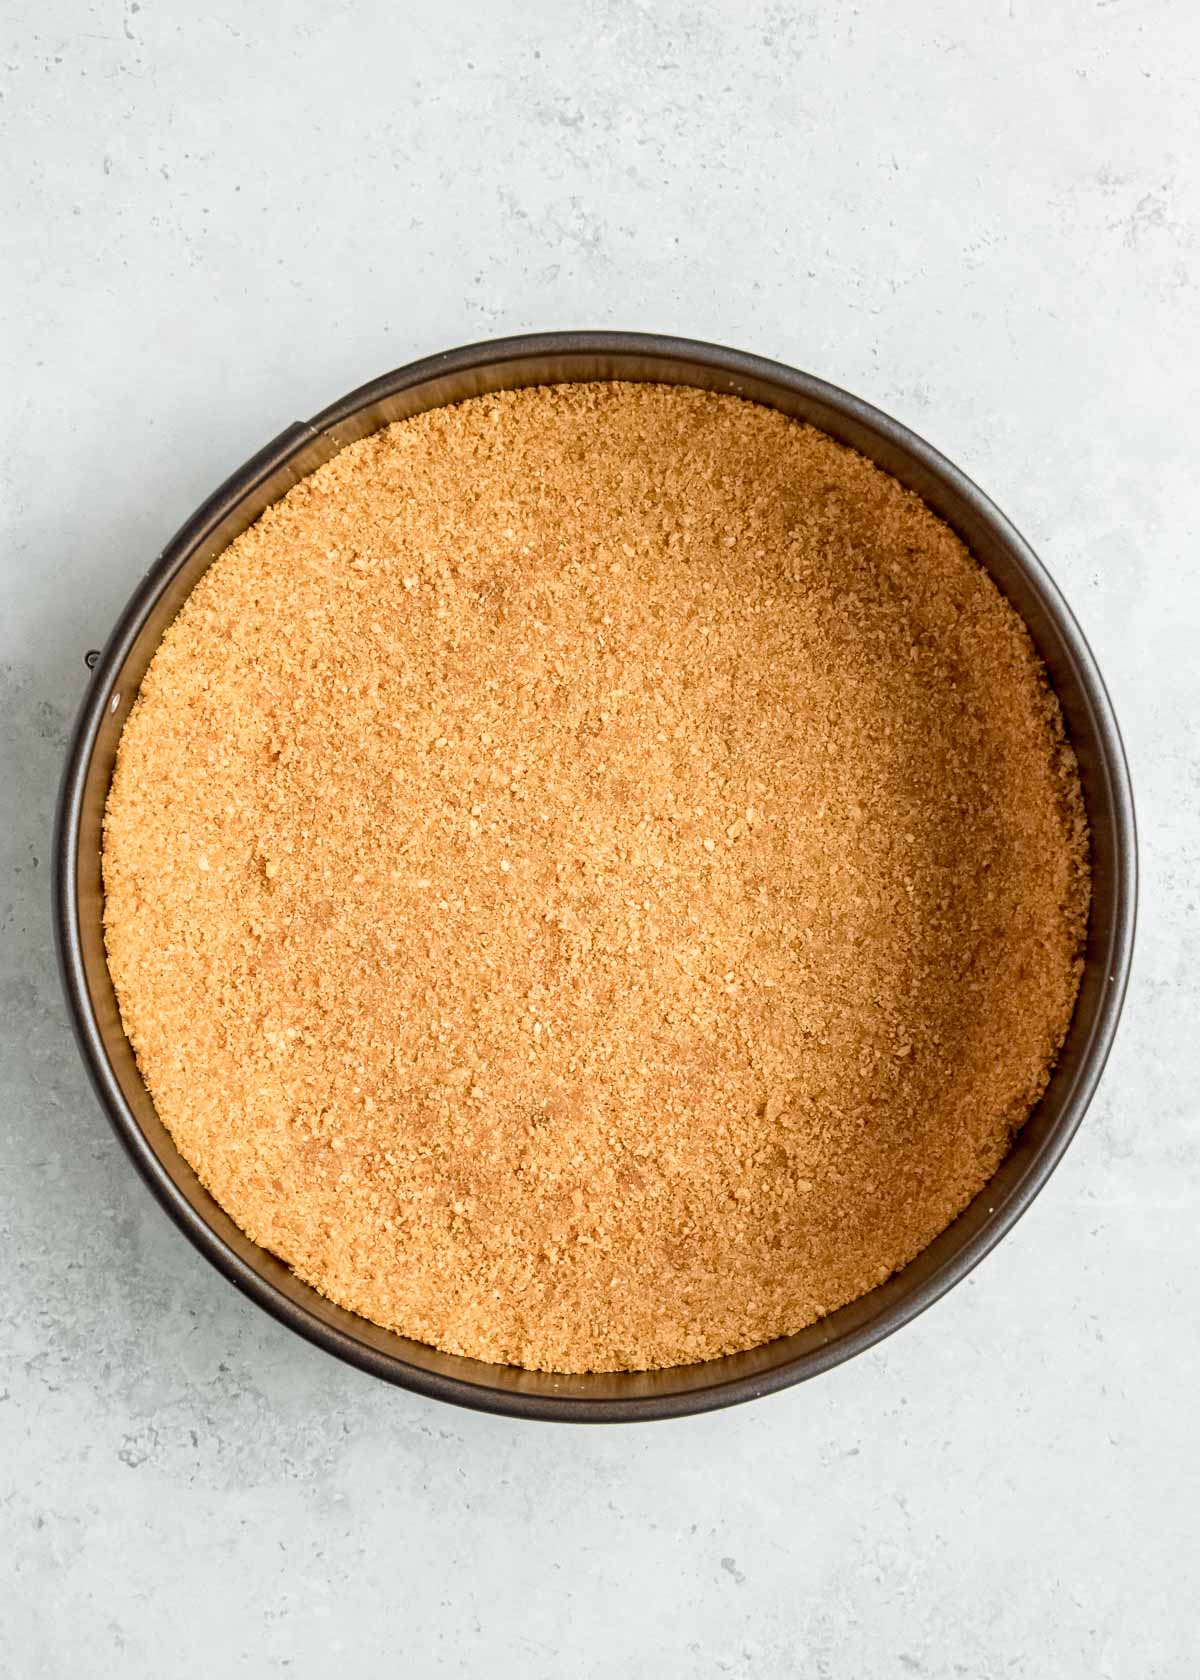
Make the crust
First, prep a 9″ springform pan with parchment paper and set it aside. In a medium bowl, mix together the graham cracker crumbs, melted butter, and sugar. Press this mixture into the lined pan, pressing it up the sides about 1 1/2 inches. Set this aside for now.
*NOTE* Do not skip the sides. The crust on the sides gives it some stability, but mostly it just looks really great when you remove it! If you don’t press the crust about 1 1/2 inches up the sides of the pan, too much of the creamy filling sticks to the sides. This causes it to look a bit messy. However, it’ll taste great either way!
Start cheesecake filling
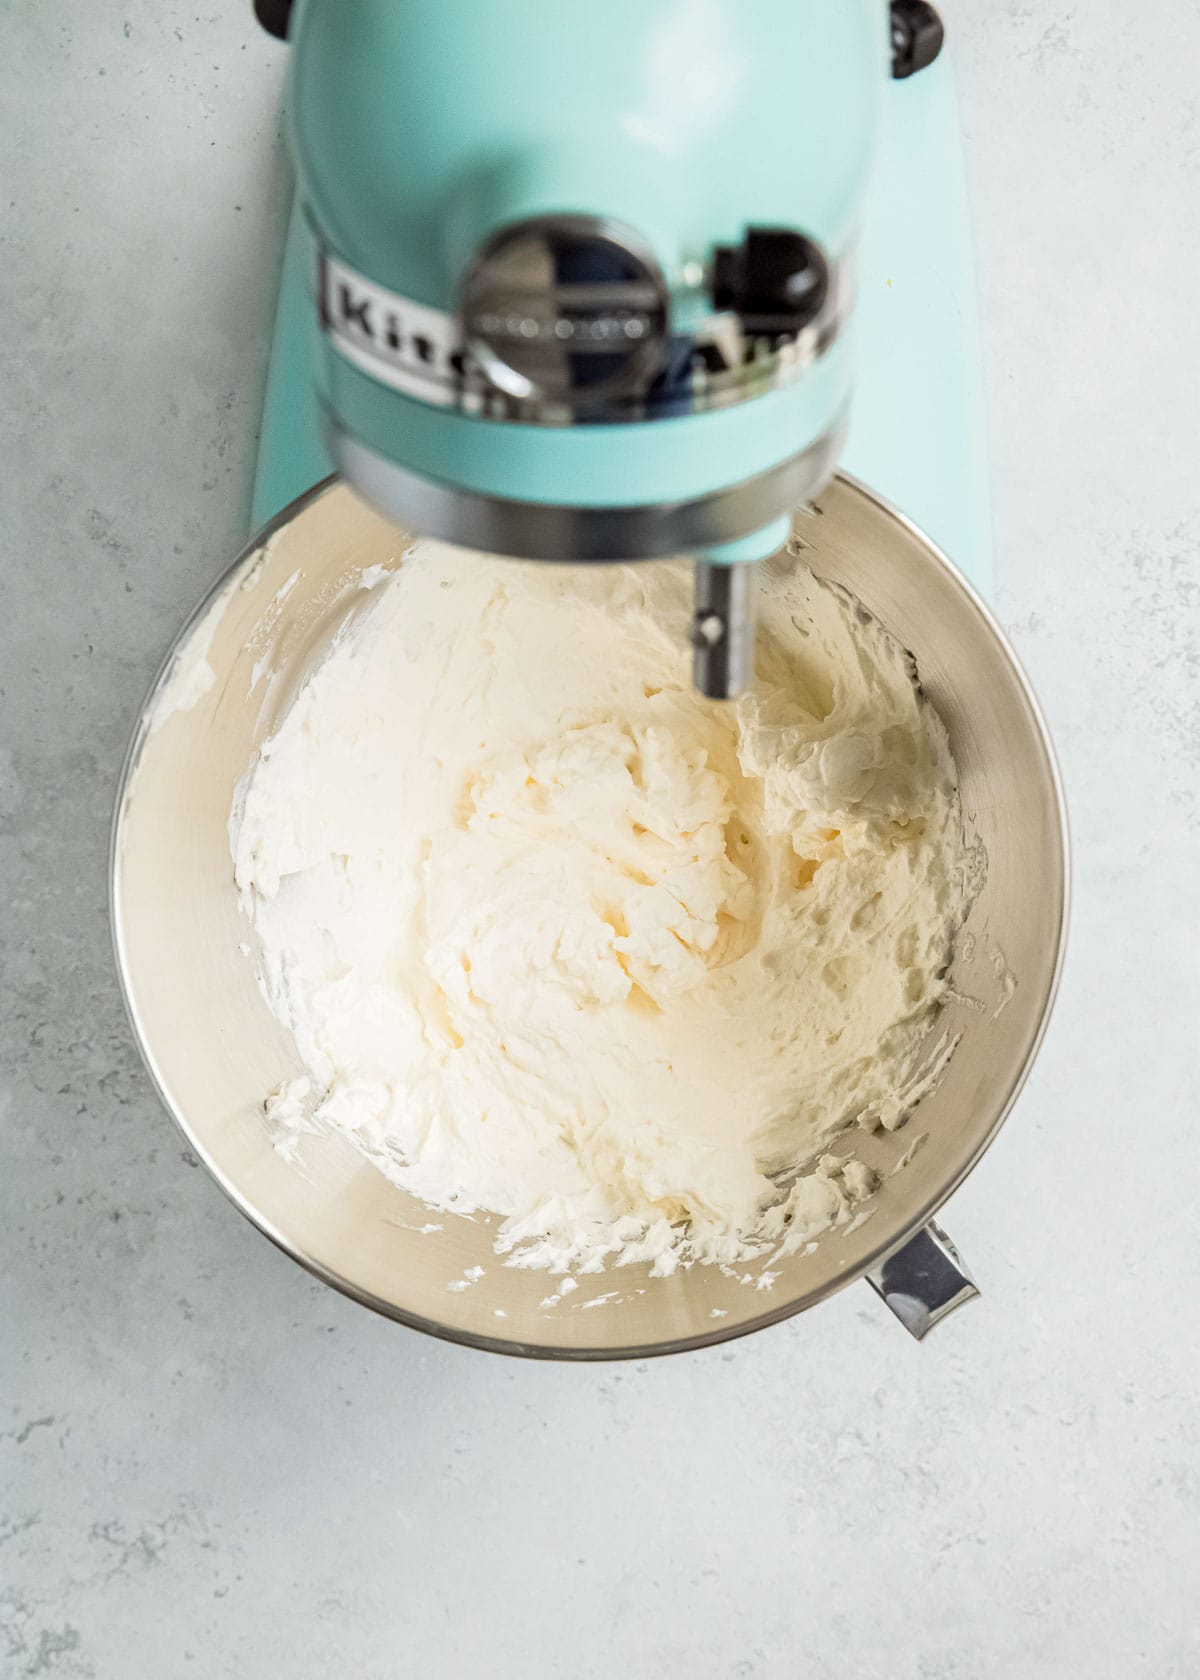
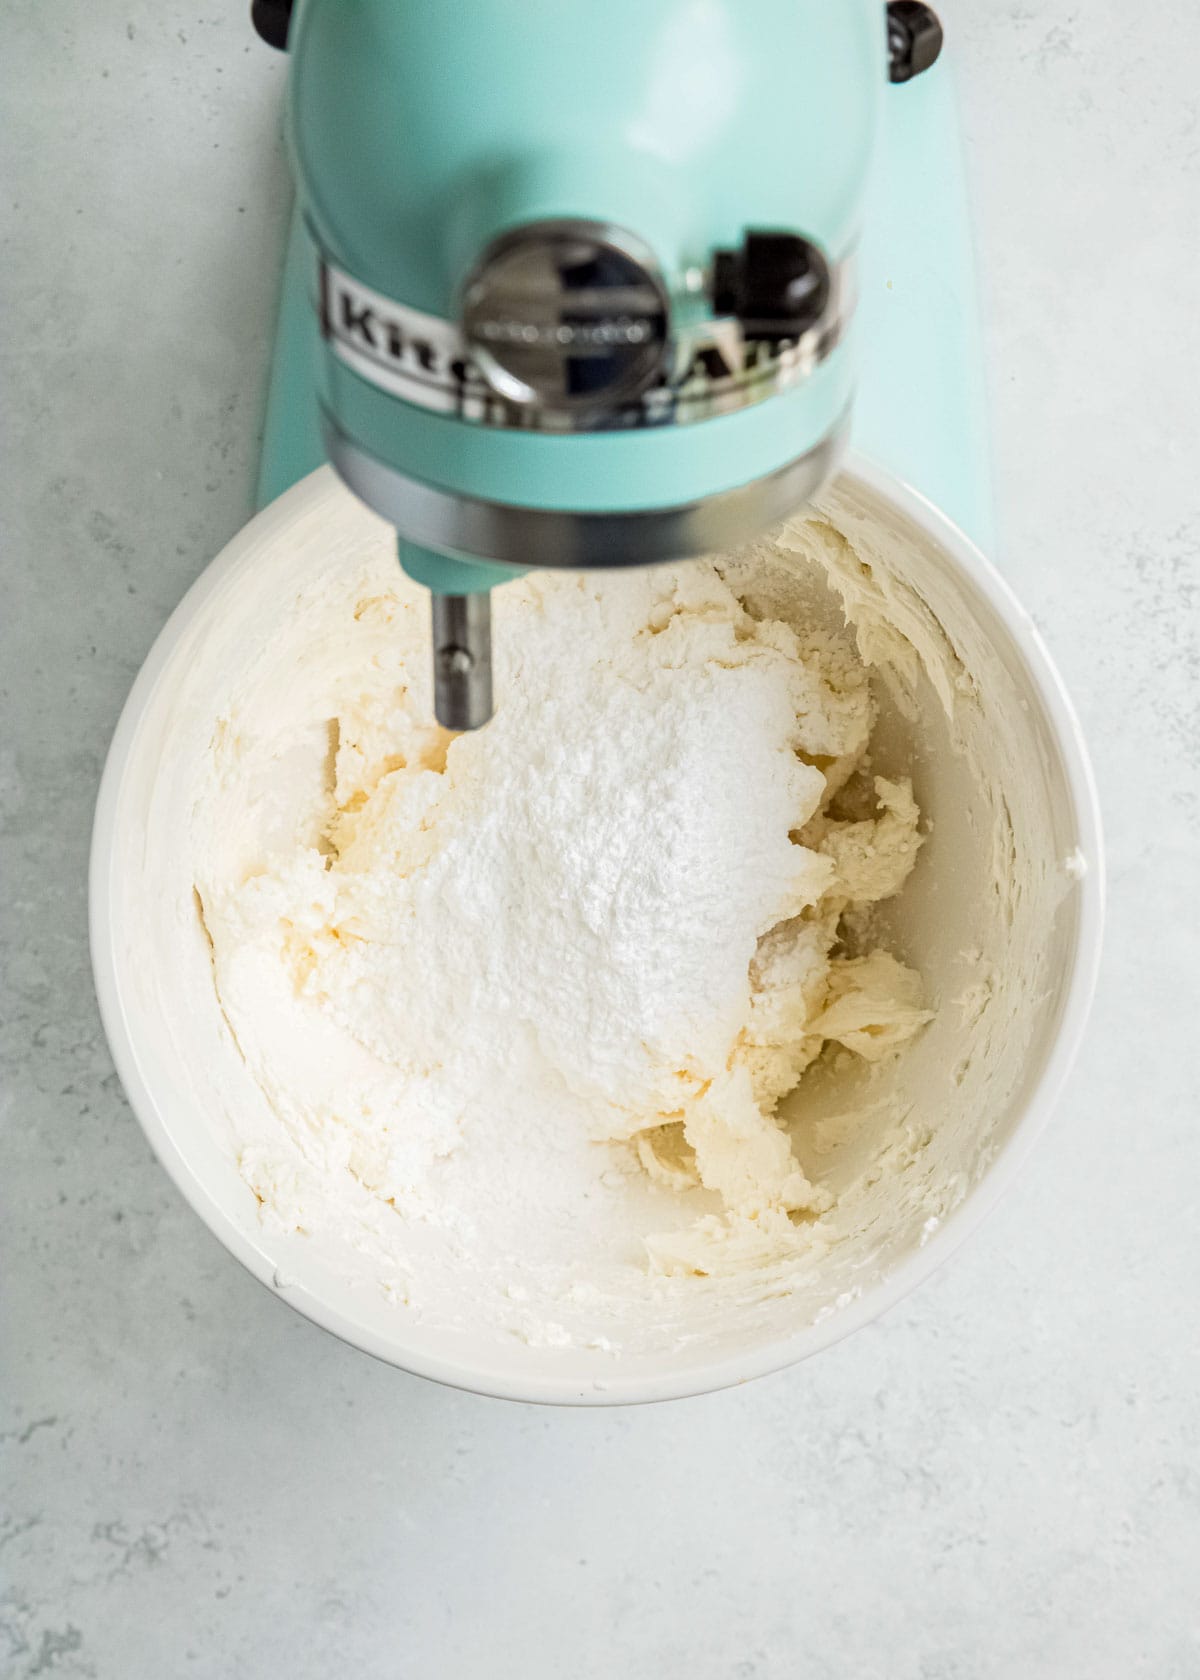
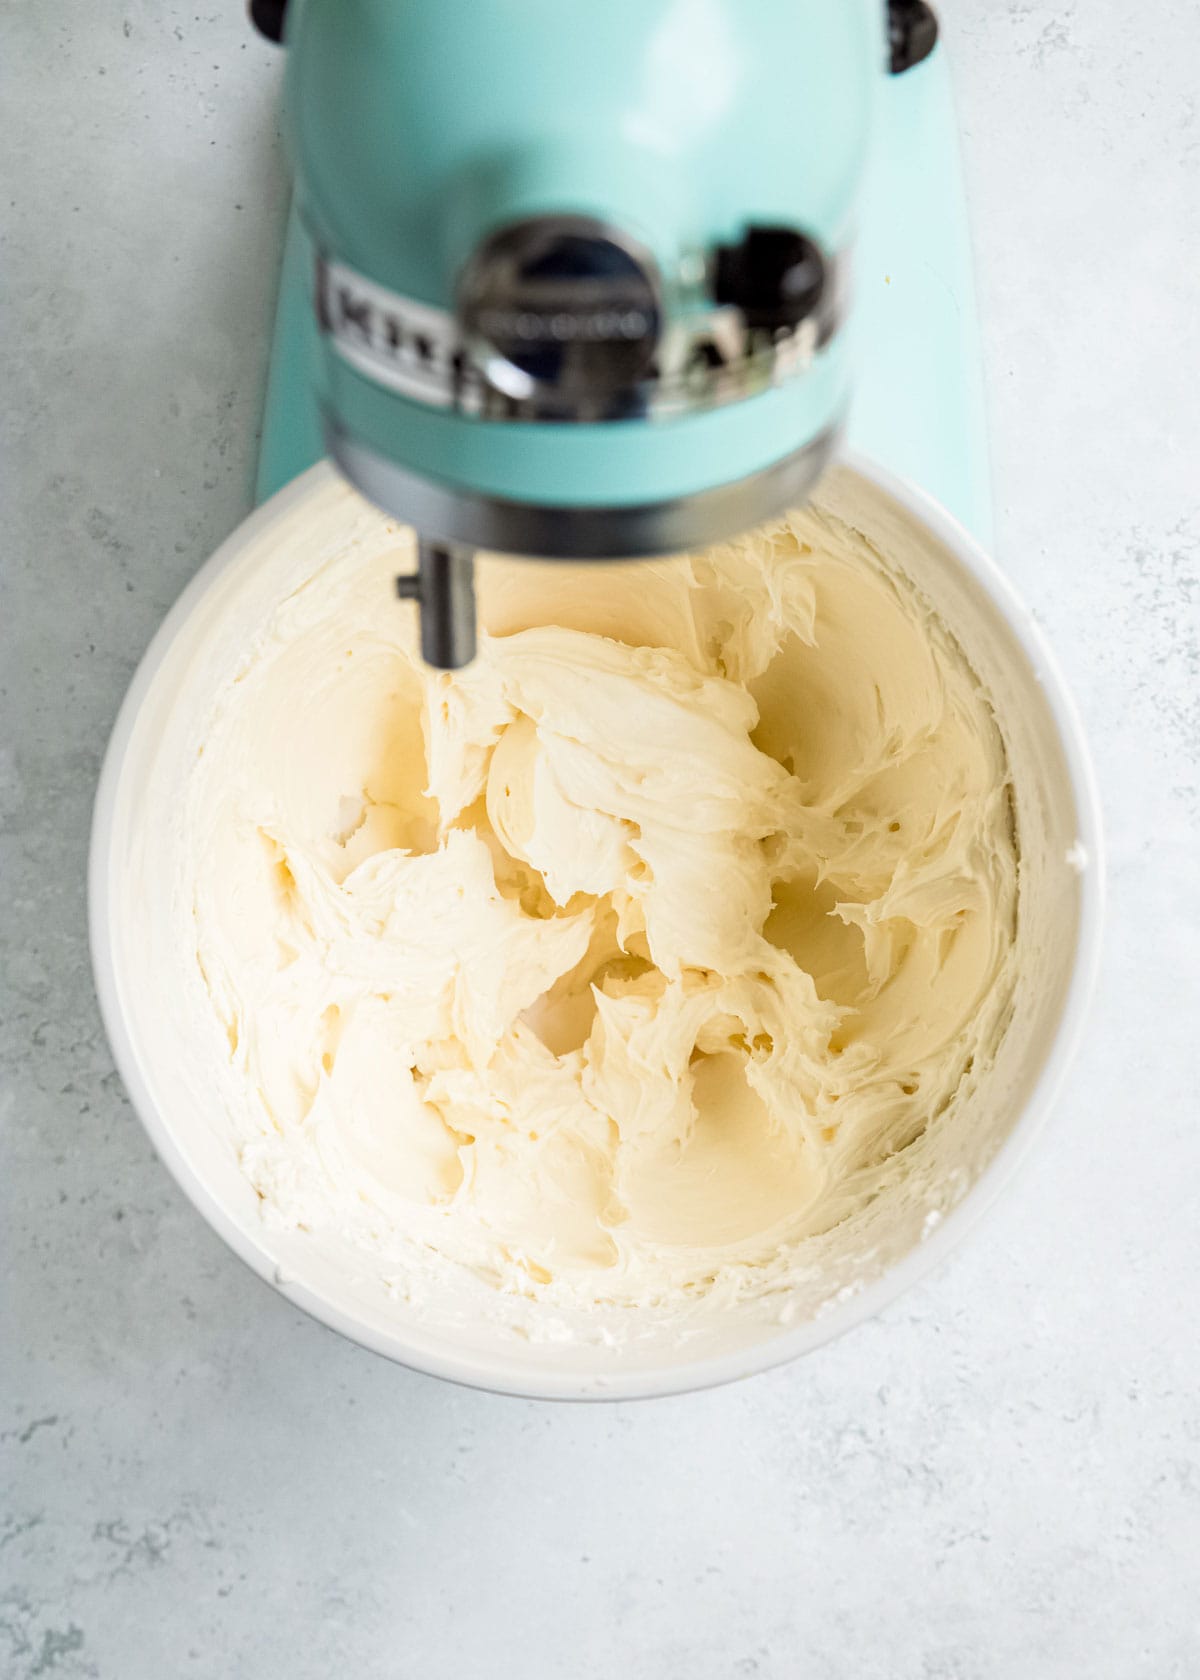
In a large bowl, beat the cream cheese until smooth. Add in the powdered sugar as well as the lemon juice, zest, and extracts. Beat these together until well combined, then set aside.
Beat whipping cream
In another bowl, beat the whipping cream on high until stiff peaks form. This is very important because it’s what gives this no-bake cheesecake it’s great height! There’s no cooking process to allow the filling to rise, so instead we rely on the whipped cream & air pockets to do that for us.
Combine to make filling
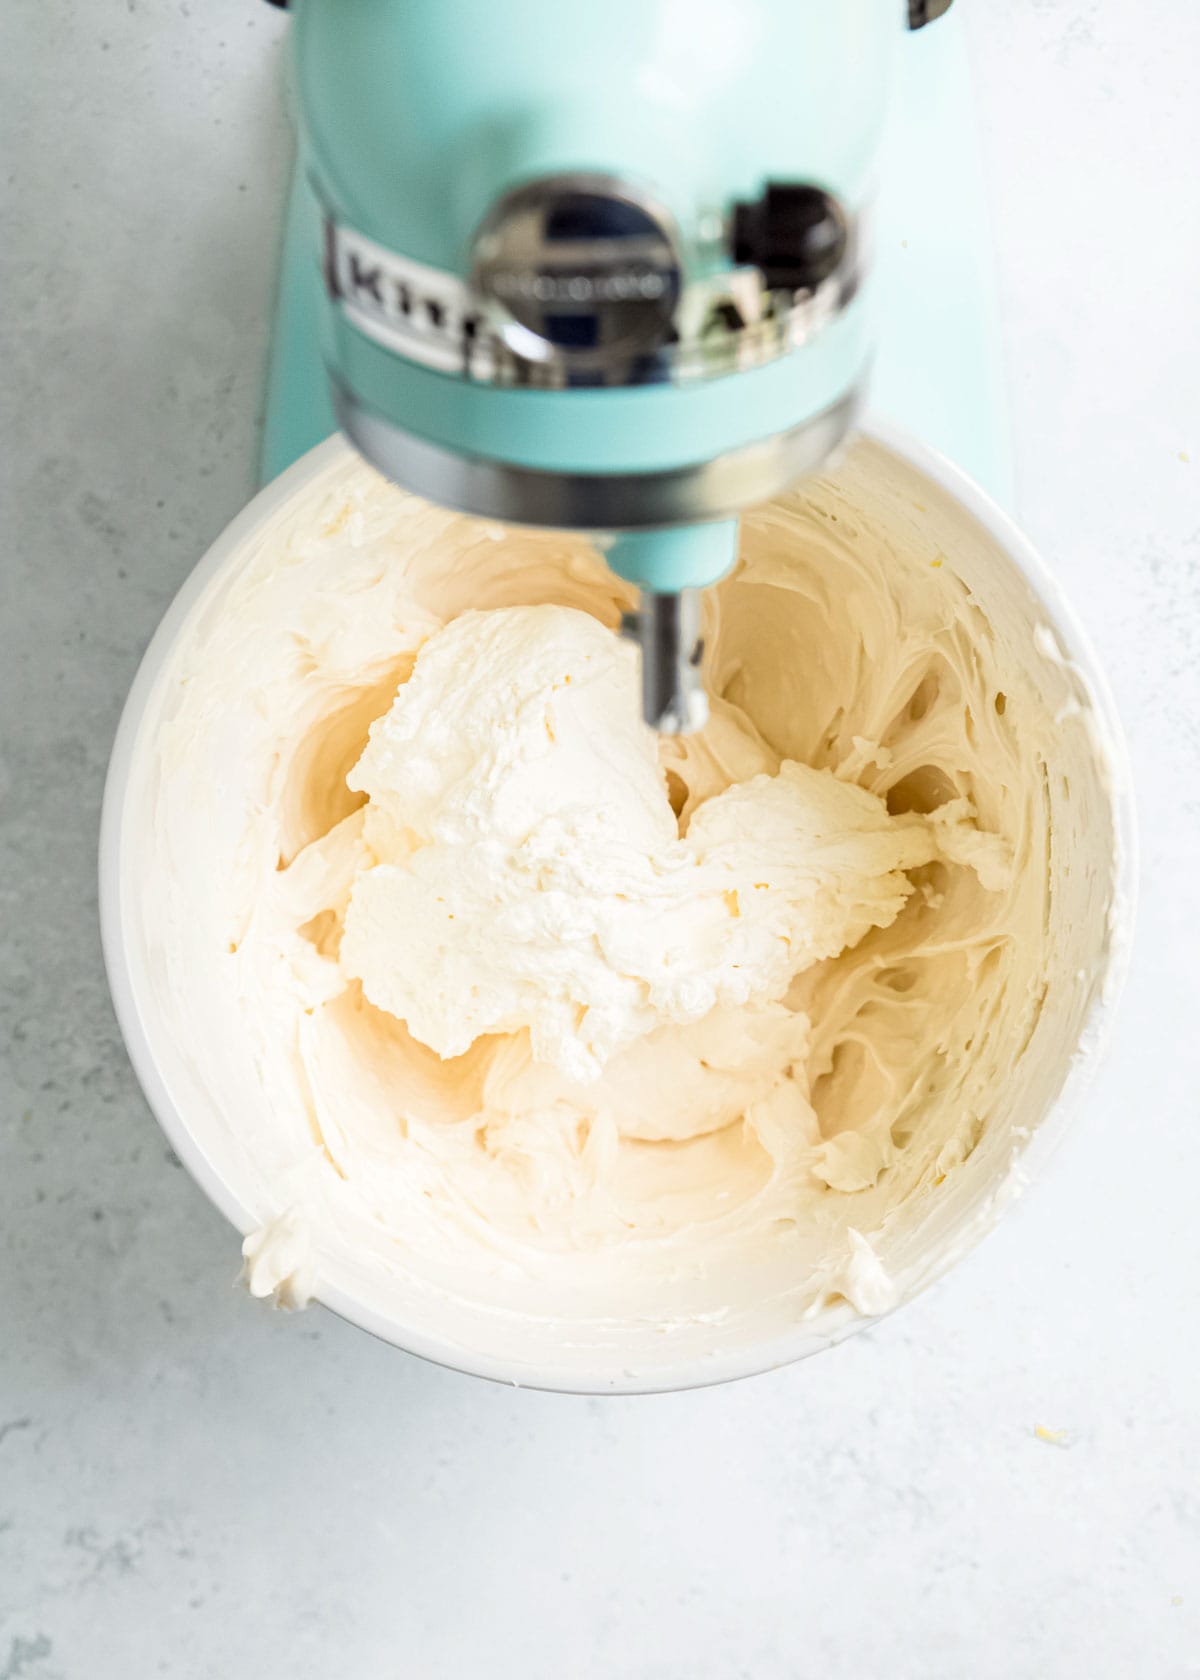
Gently fold the whipped cream into the cream cheese mixture with a spatula until just combined. You don’t want to be too rough or quick with this because you don’t want to ruin those excellent air pockets you just created! Don’t overmix, just fold it in until you can tell there are no streaks of unmixed ingredients.
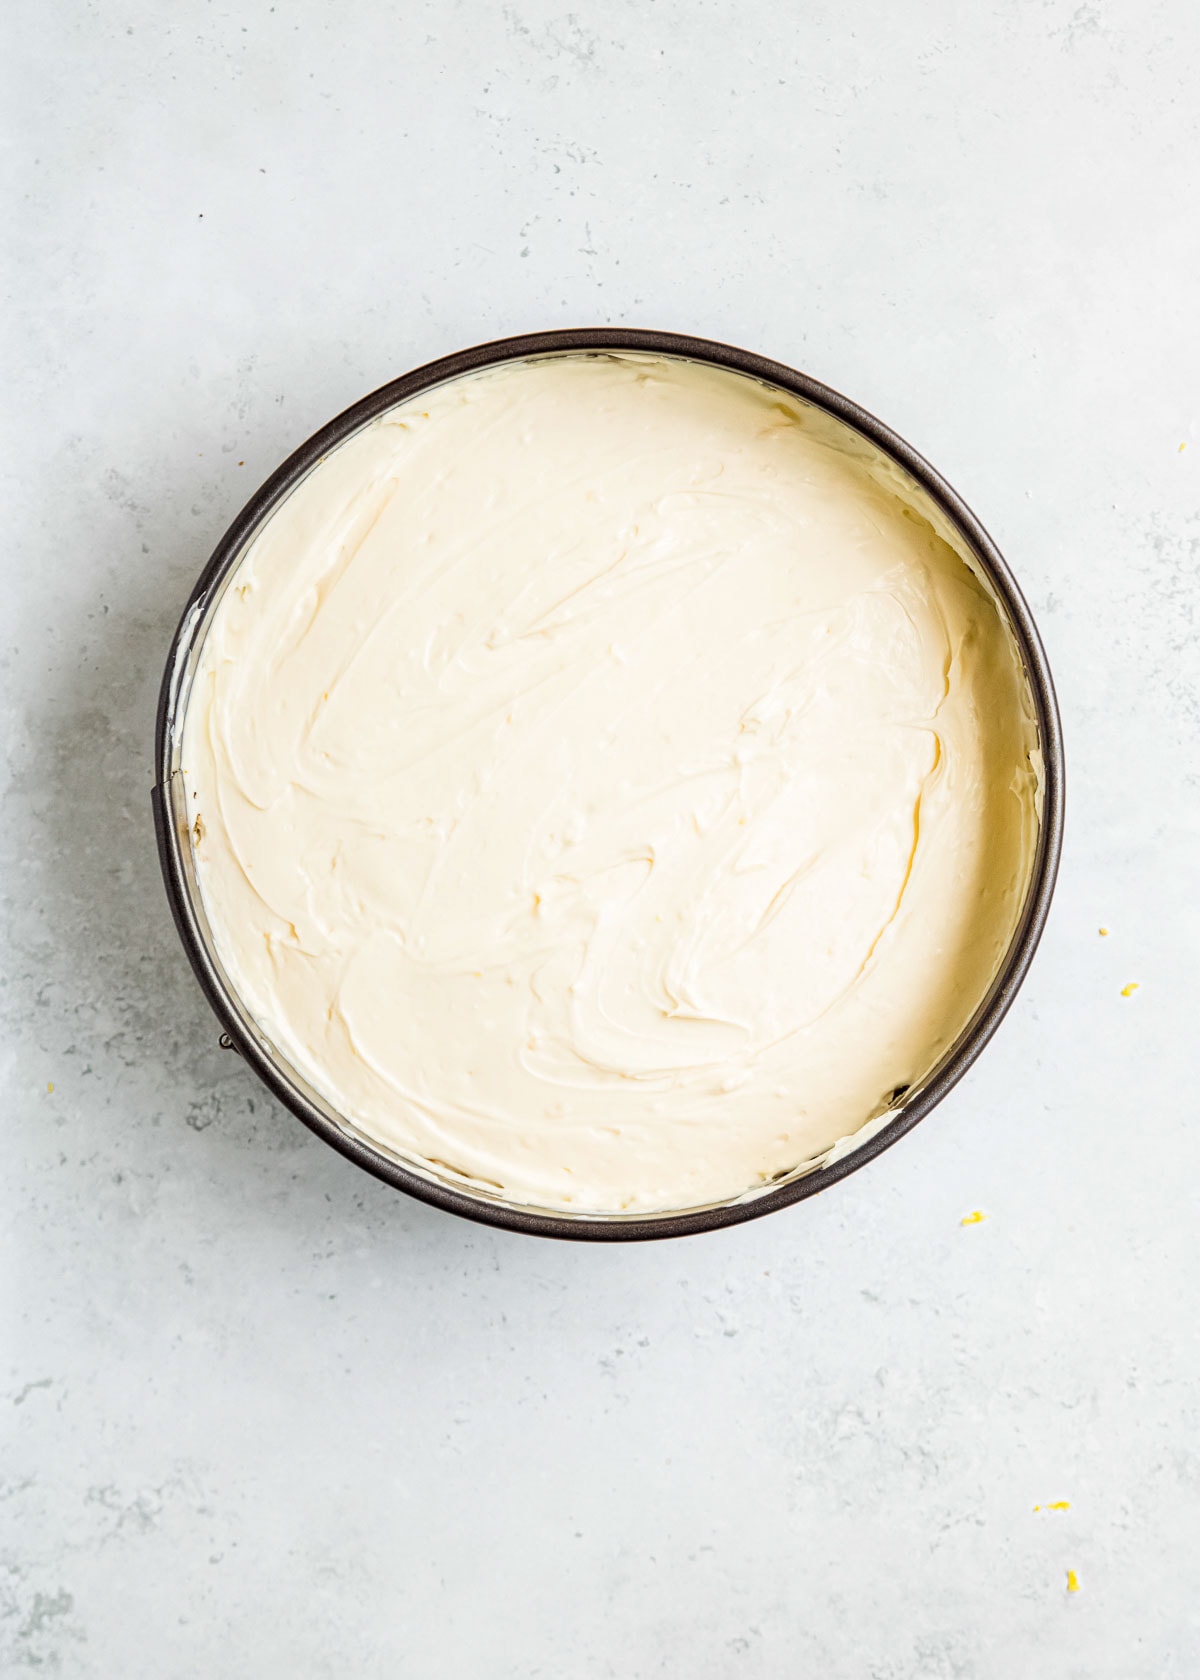
Assemble & Chill
Pour the cheesecake mixture into the crust, then cover and let it chill in the fridge for at least 6-8 hours. Even if you’re in a hurry, I don’t recommend letting it set in the freezer instead — The freezing process starts on the top of the cheesecake which can cause textures to change. If you intend to add any toppings, don’t do this until after it has set.
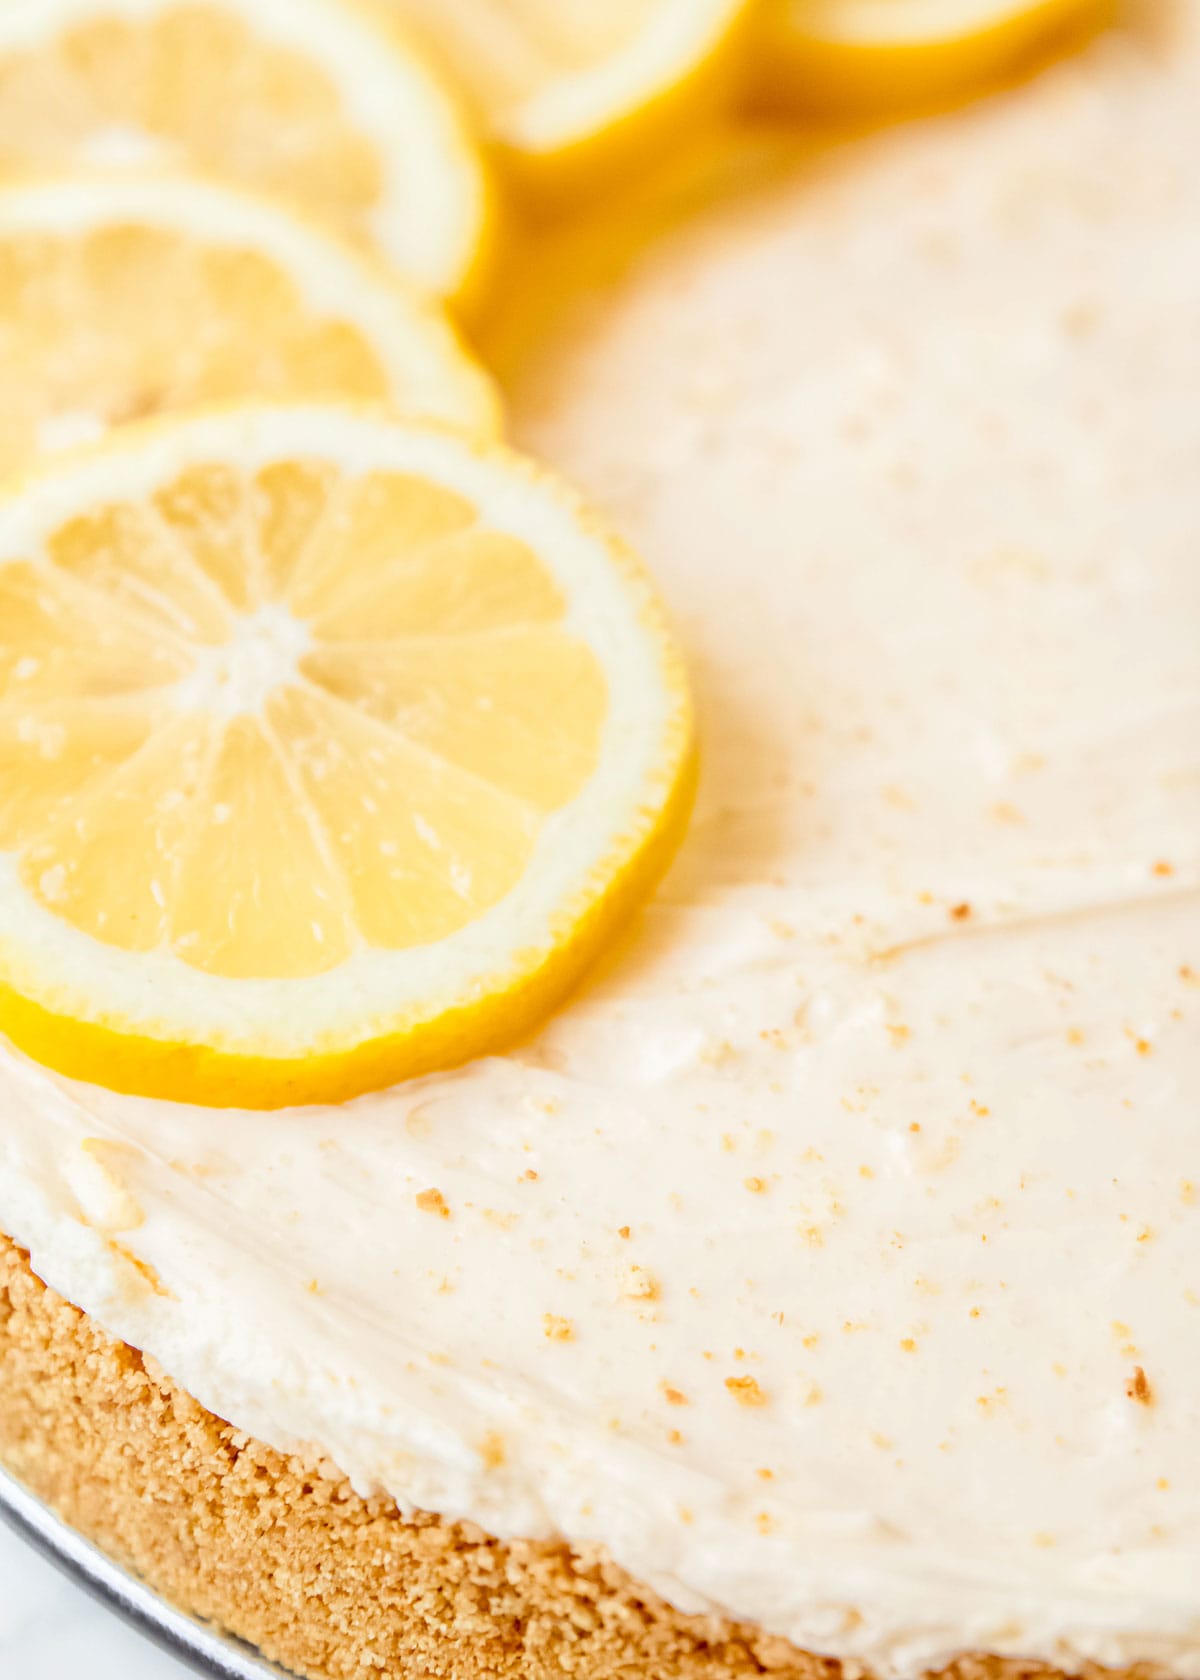
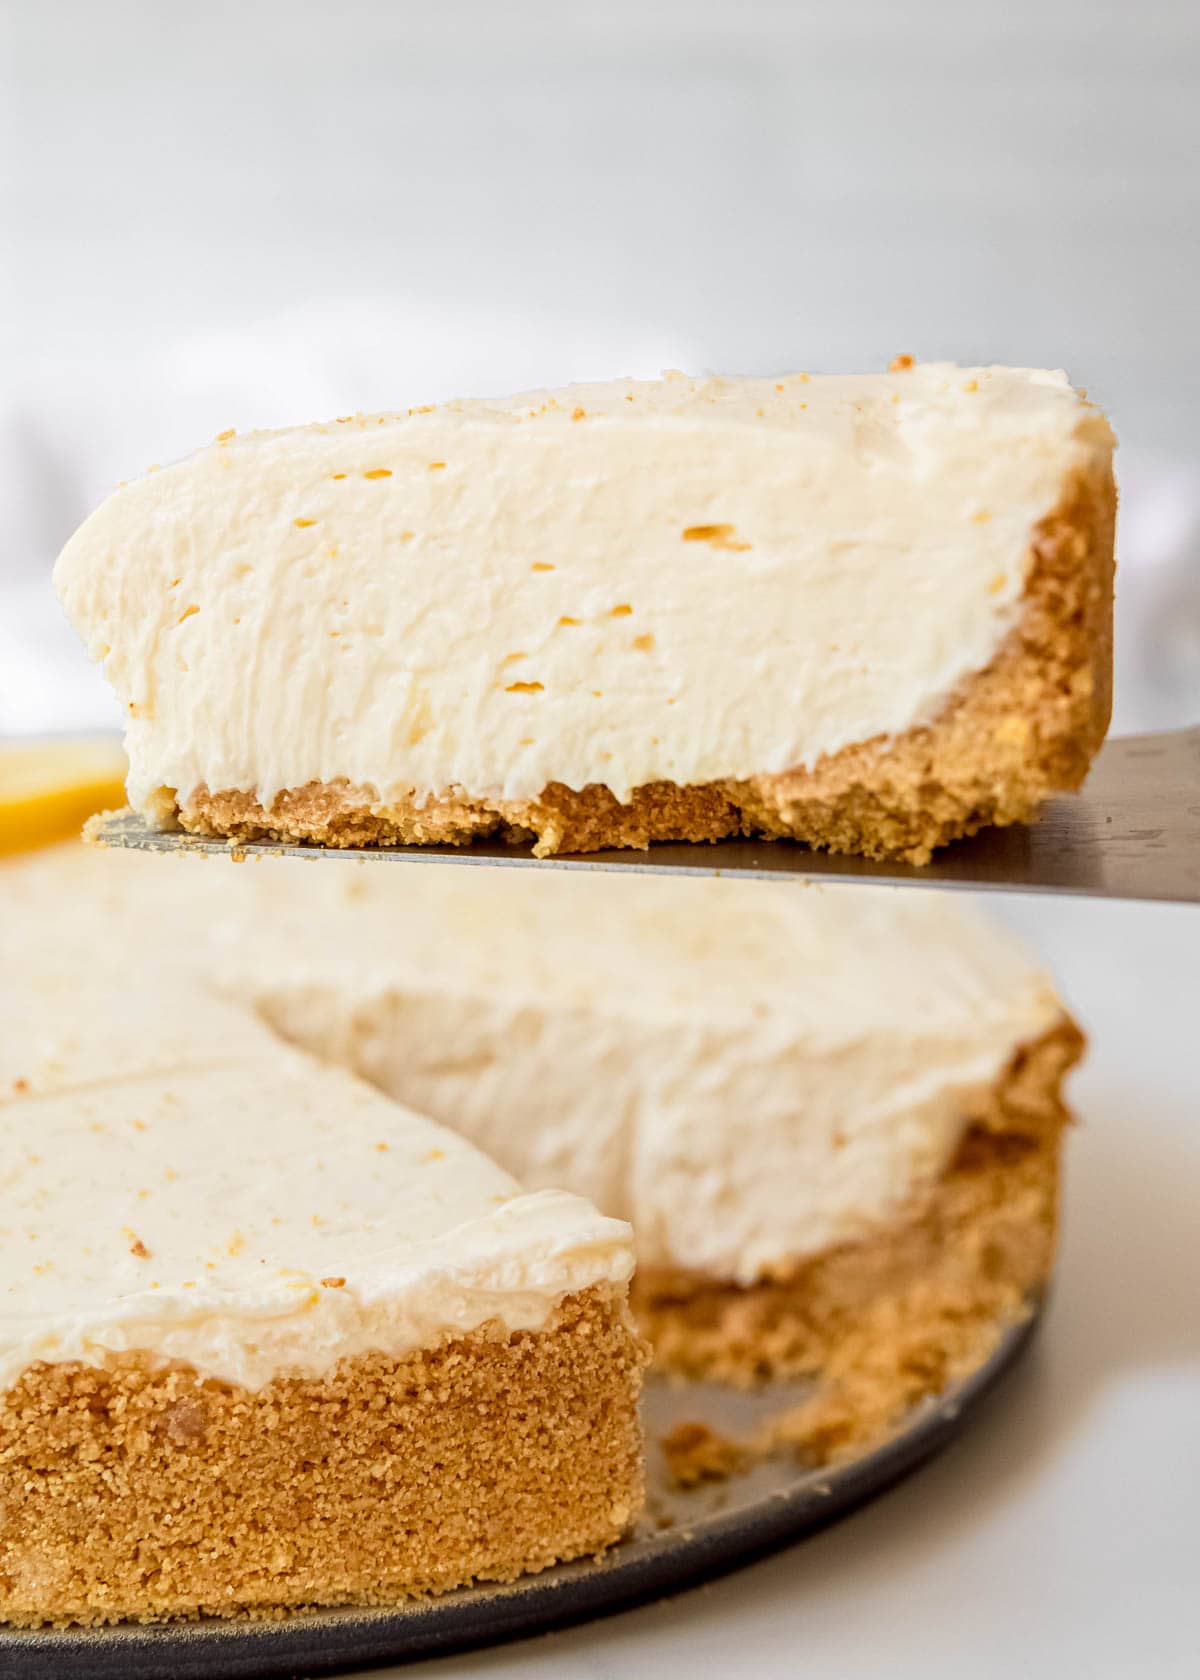
Serve
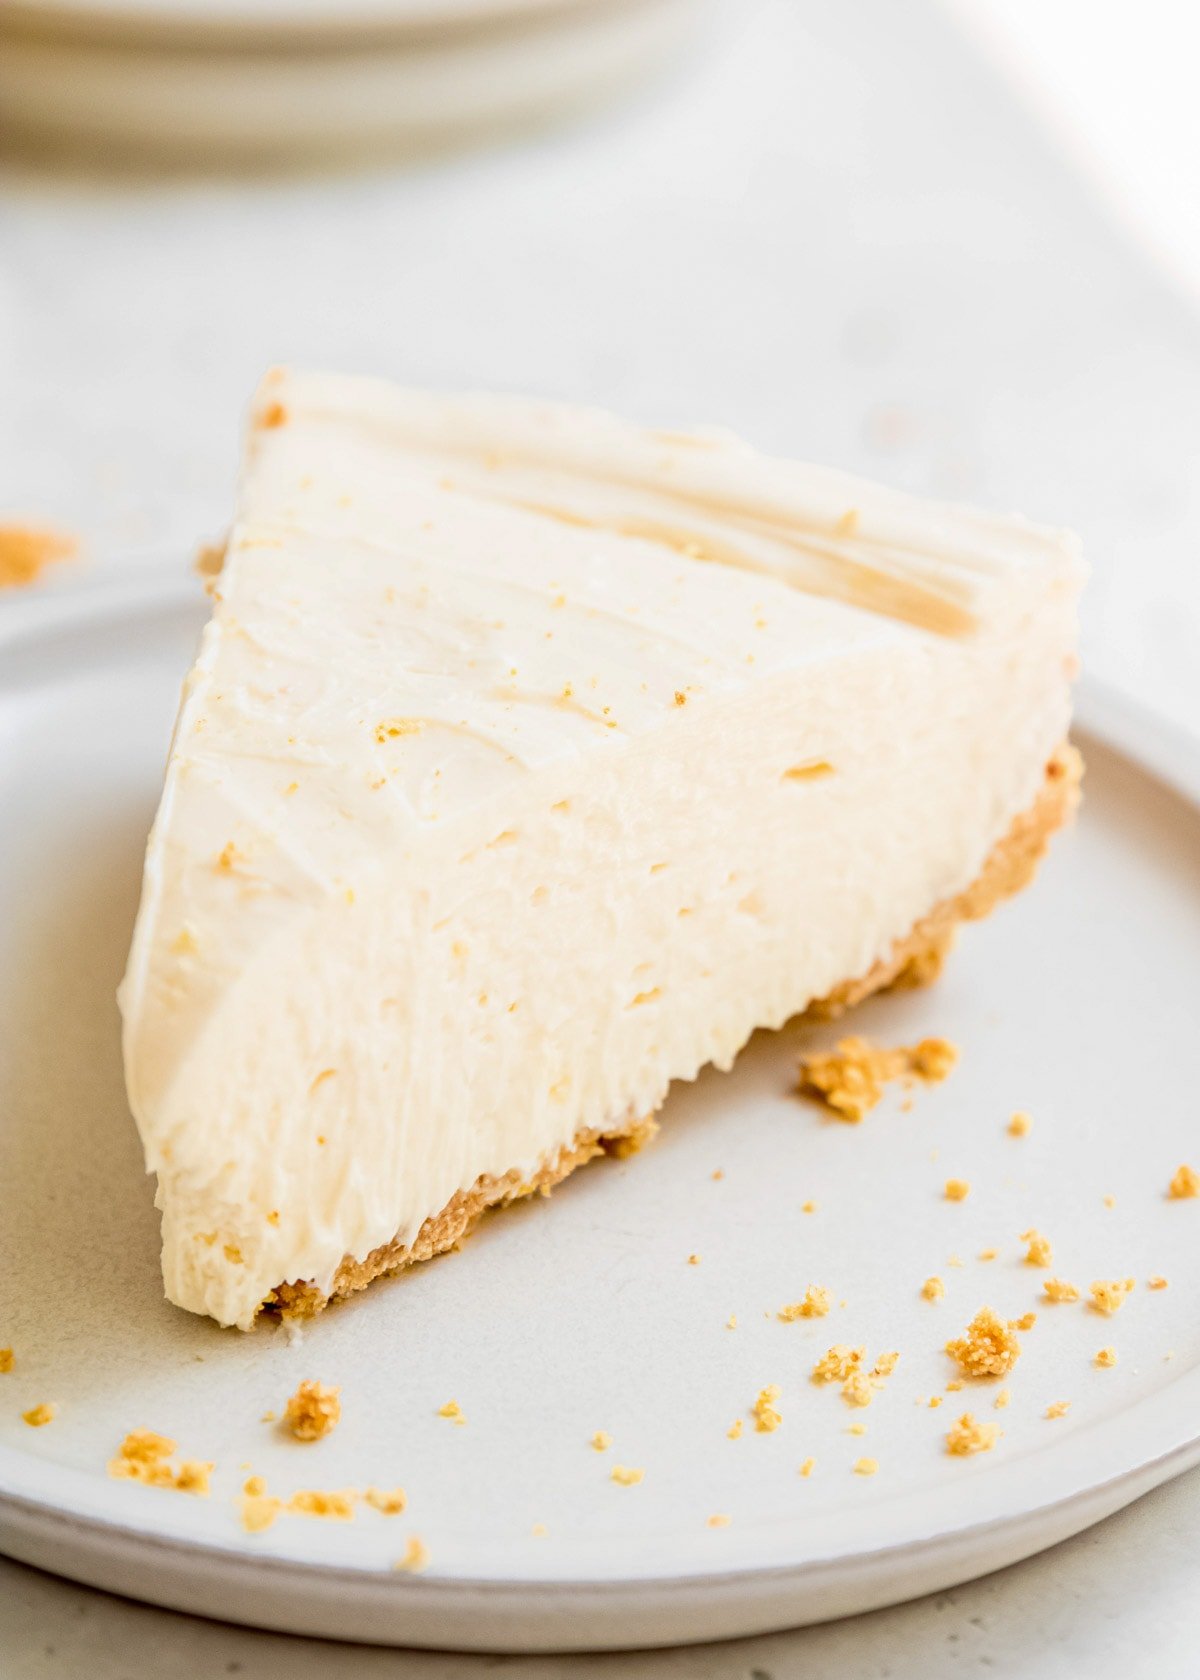
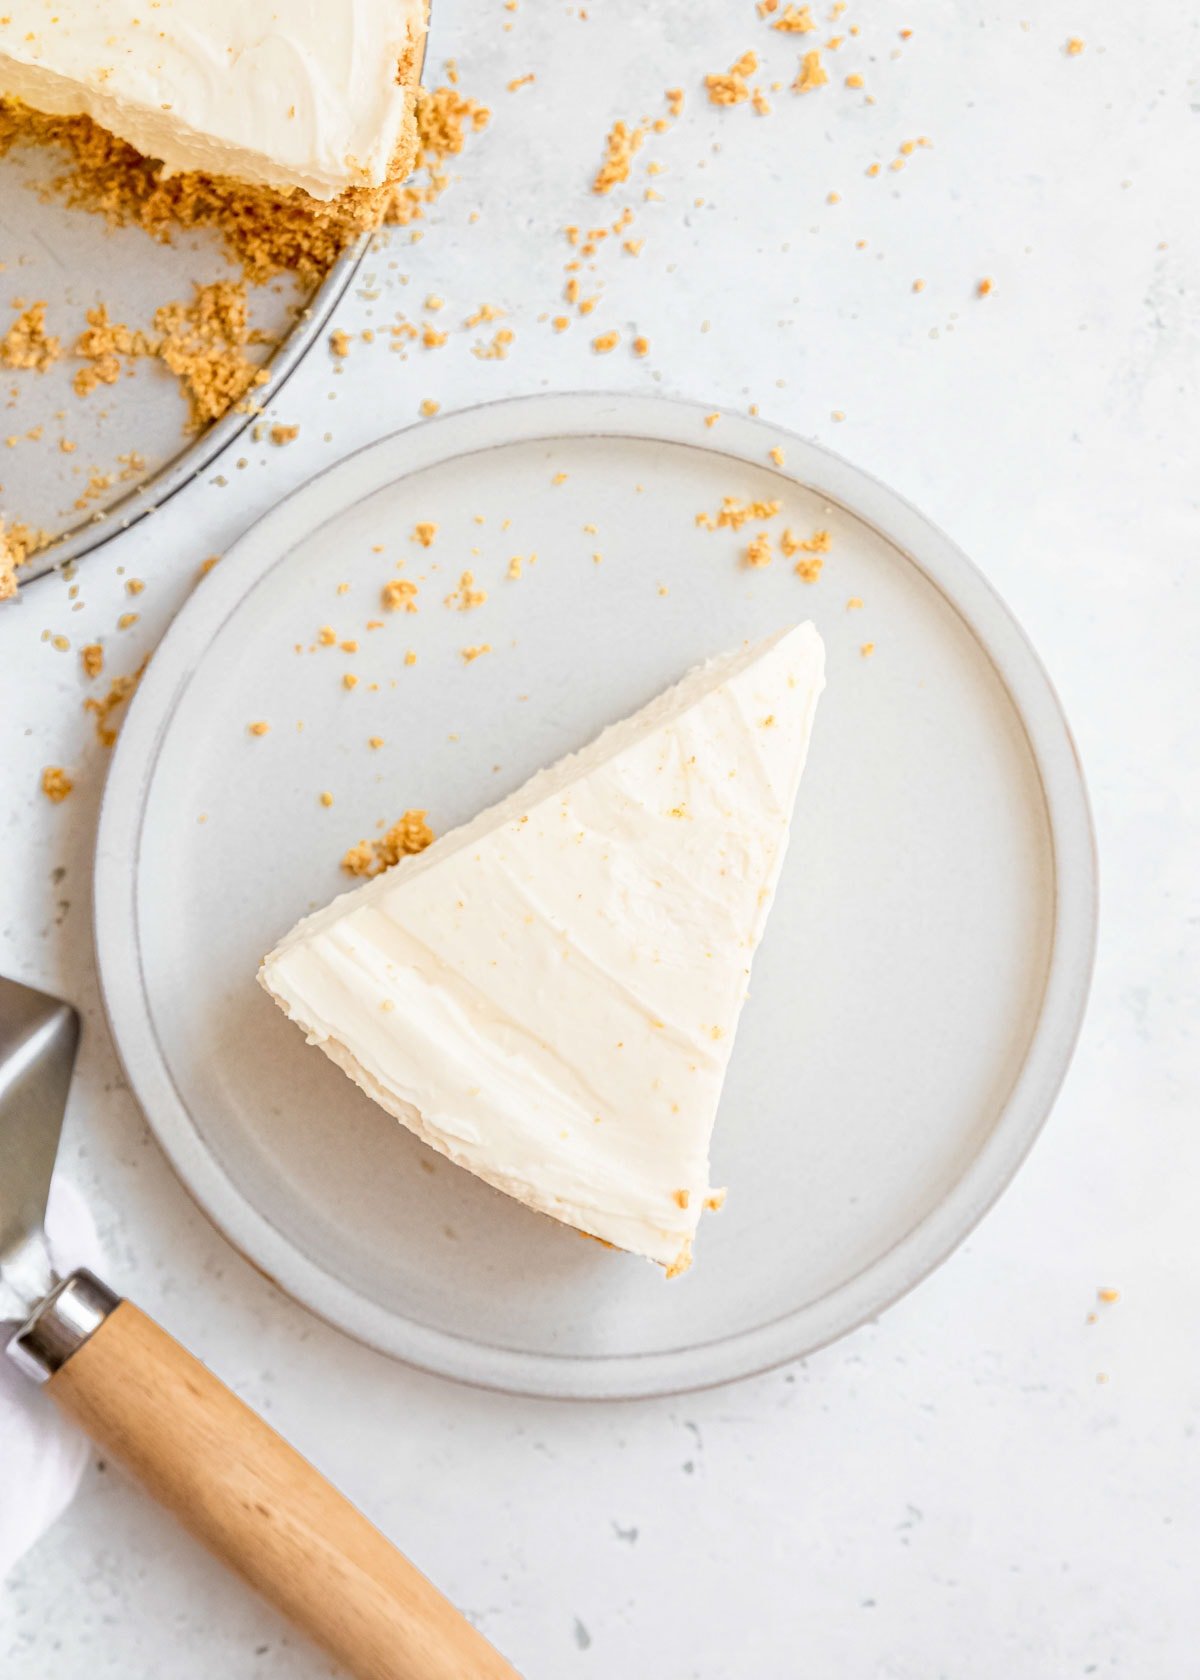
Once the cheesecake is firm, remove from the springform pan. Remove the band from around the pan and run a spatula or knife under the crust to loosen it from the pan. Slice and serve with garnishes like fresh lemon slices, lemon zest, graham cracker crumbs, or whipped cream!
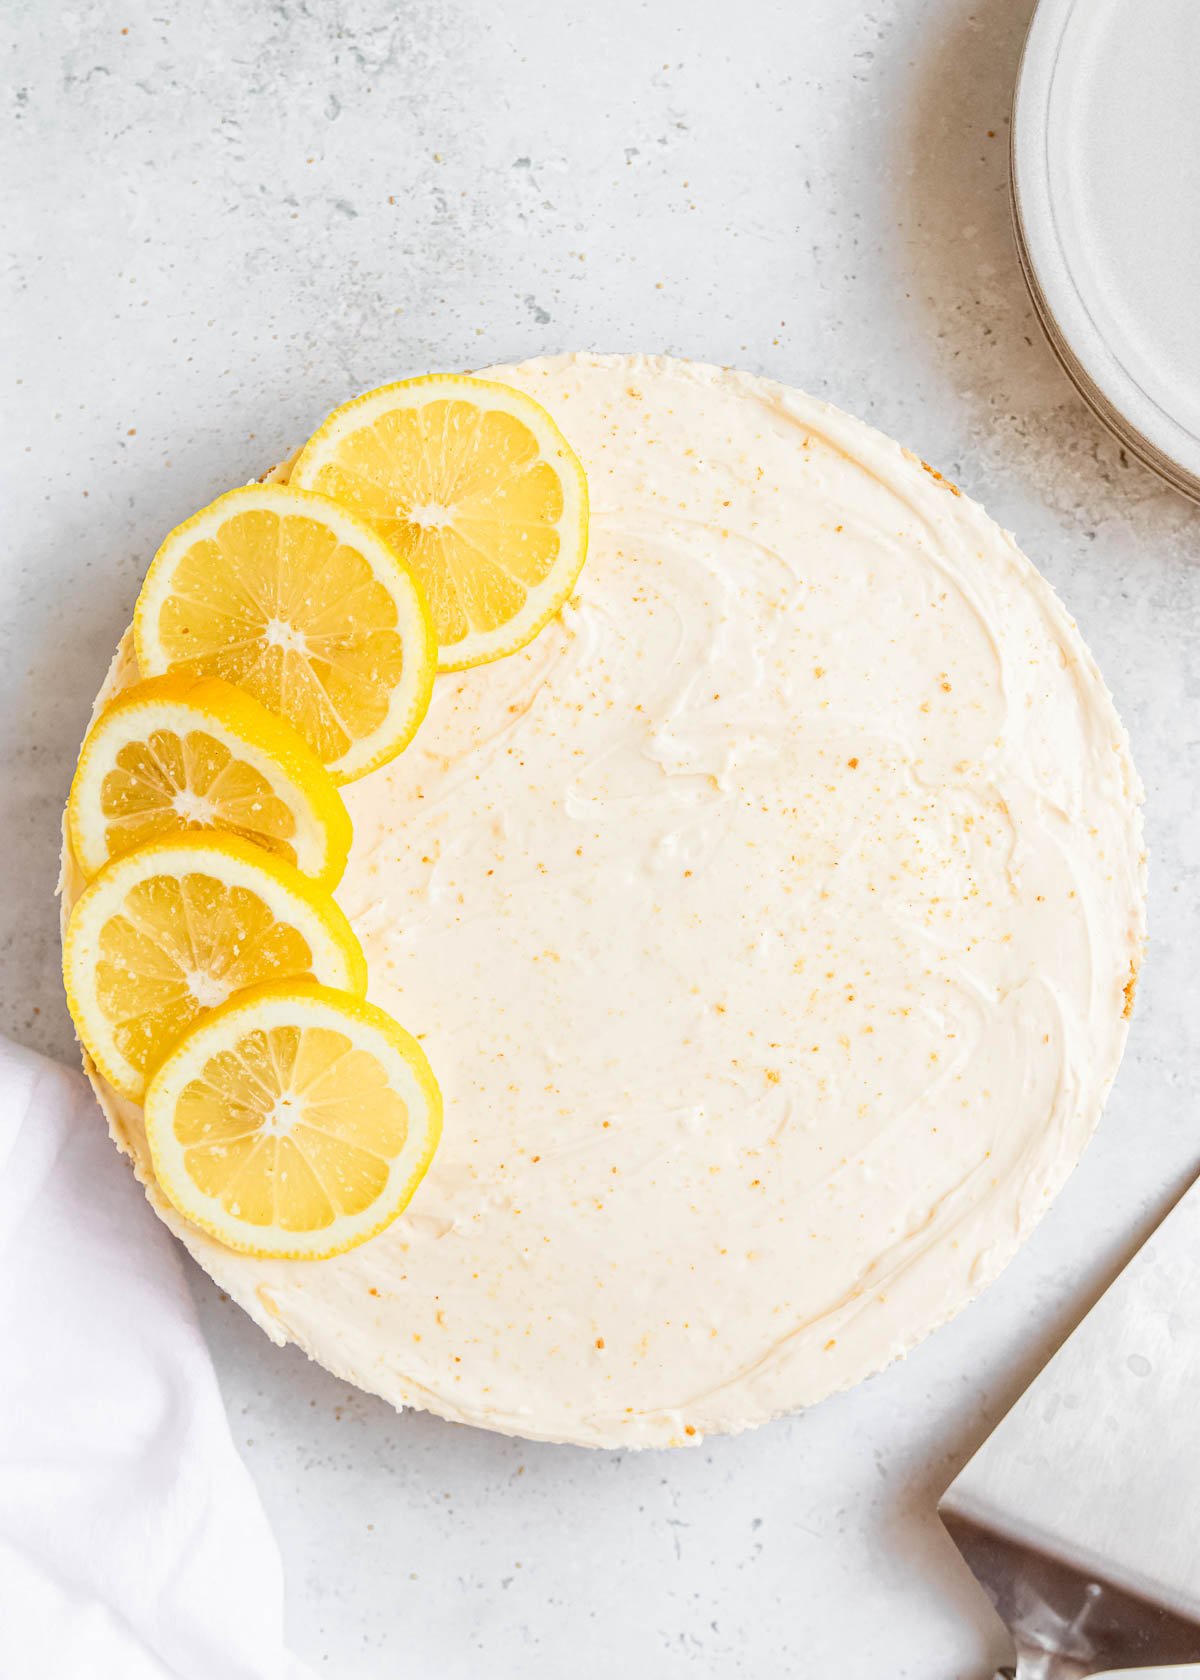
Cheesecake Toppings
For a fun twist, consider offering a few different toppings! Sliced fruit is healthy and perfect for summer, but you can make a few sauces to offer more choices! These can all be prepped at least a couple days ahead of time, so it’s an easy way to make everyone happy without creating a dozen different desserts from scratch.
- Strawberry Sauce – This is a classic that always gets eaten up first on the dessert buffet.
- Keto Caramel Sauce – It makes this great Butter Pecan Topping, too!
- Keto Chocolate Ganache – So wonderfully rich without adding a ton of carbs and sugar.
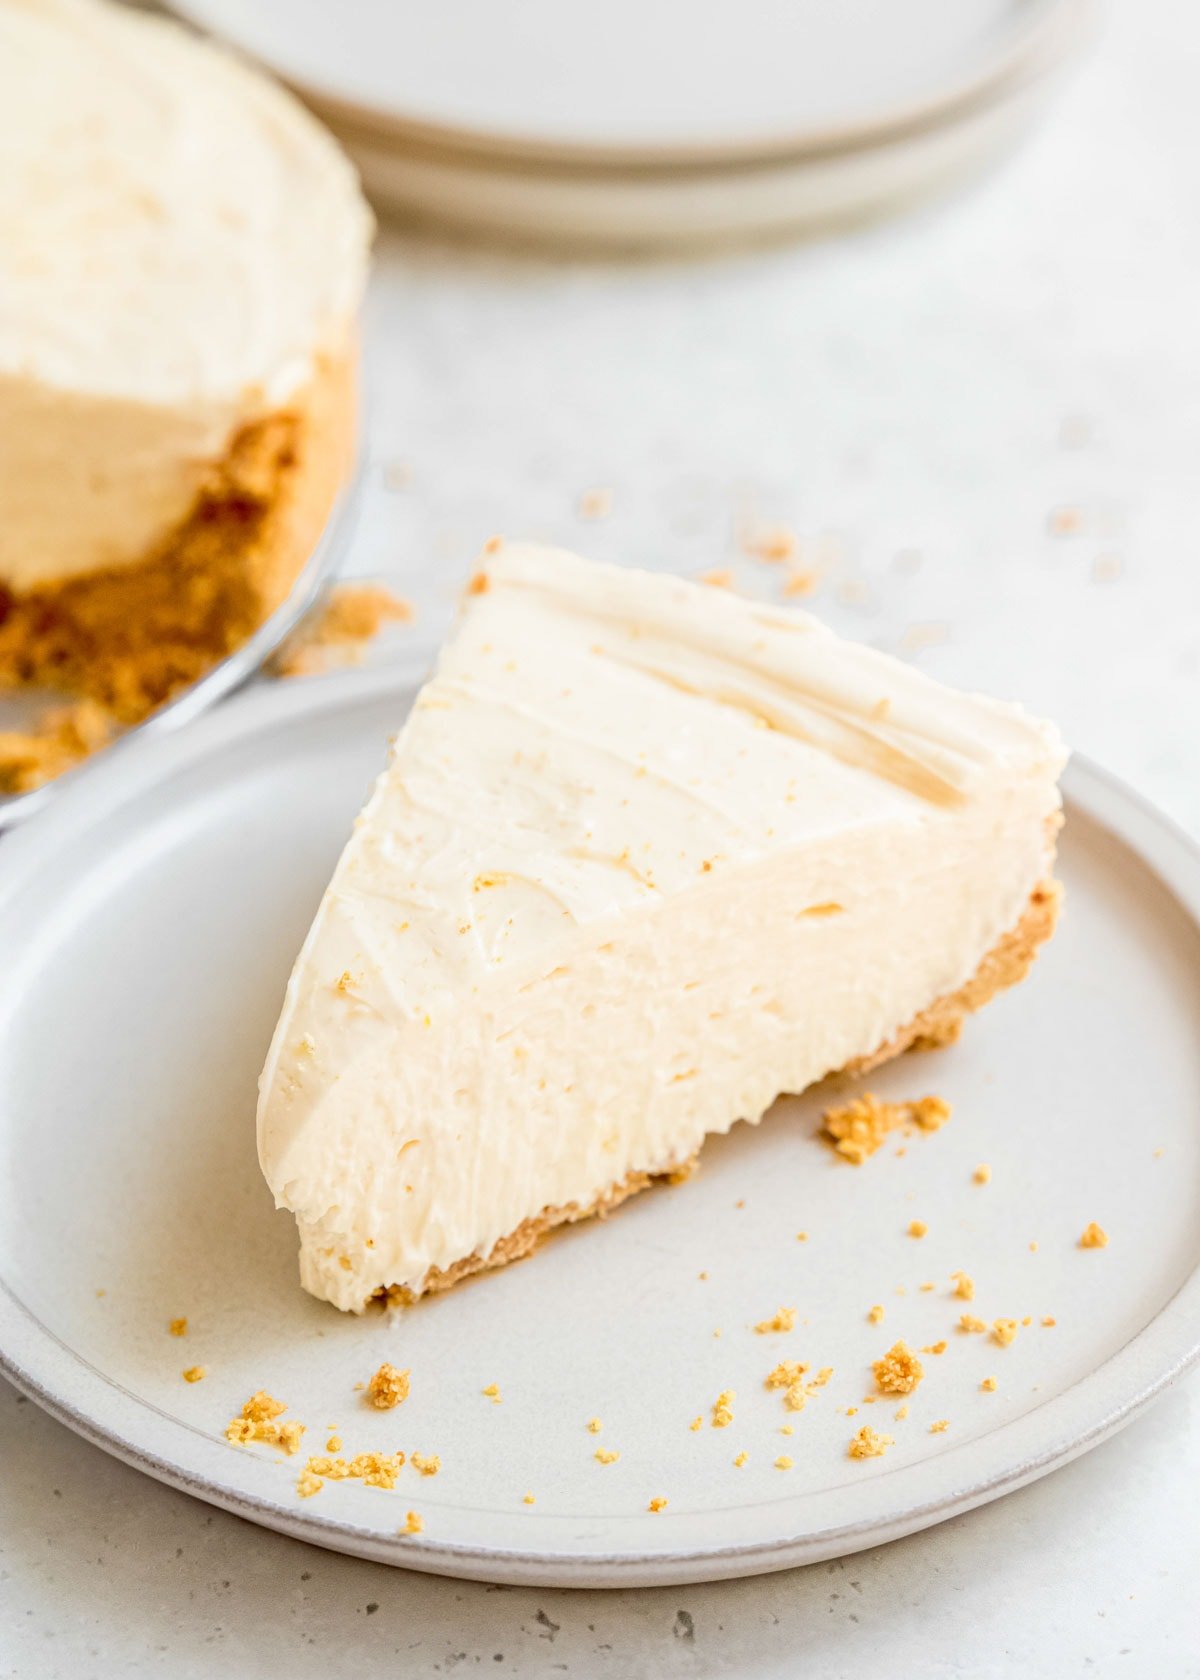
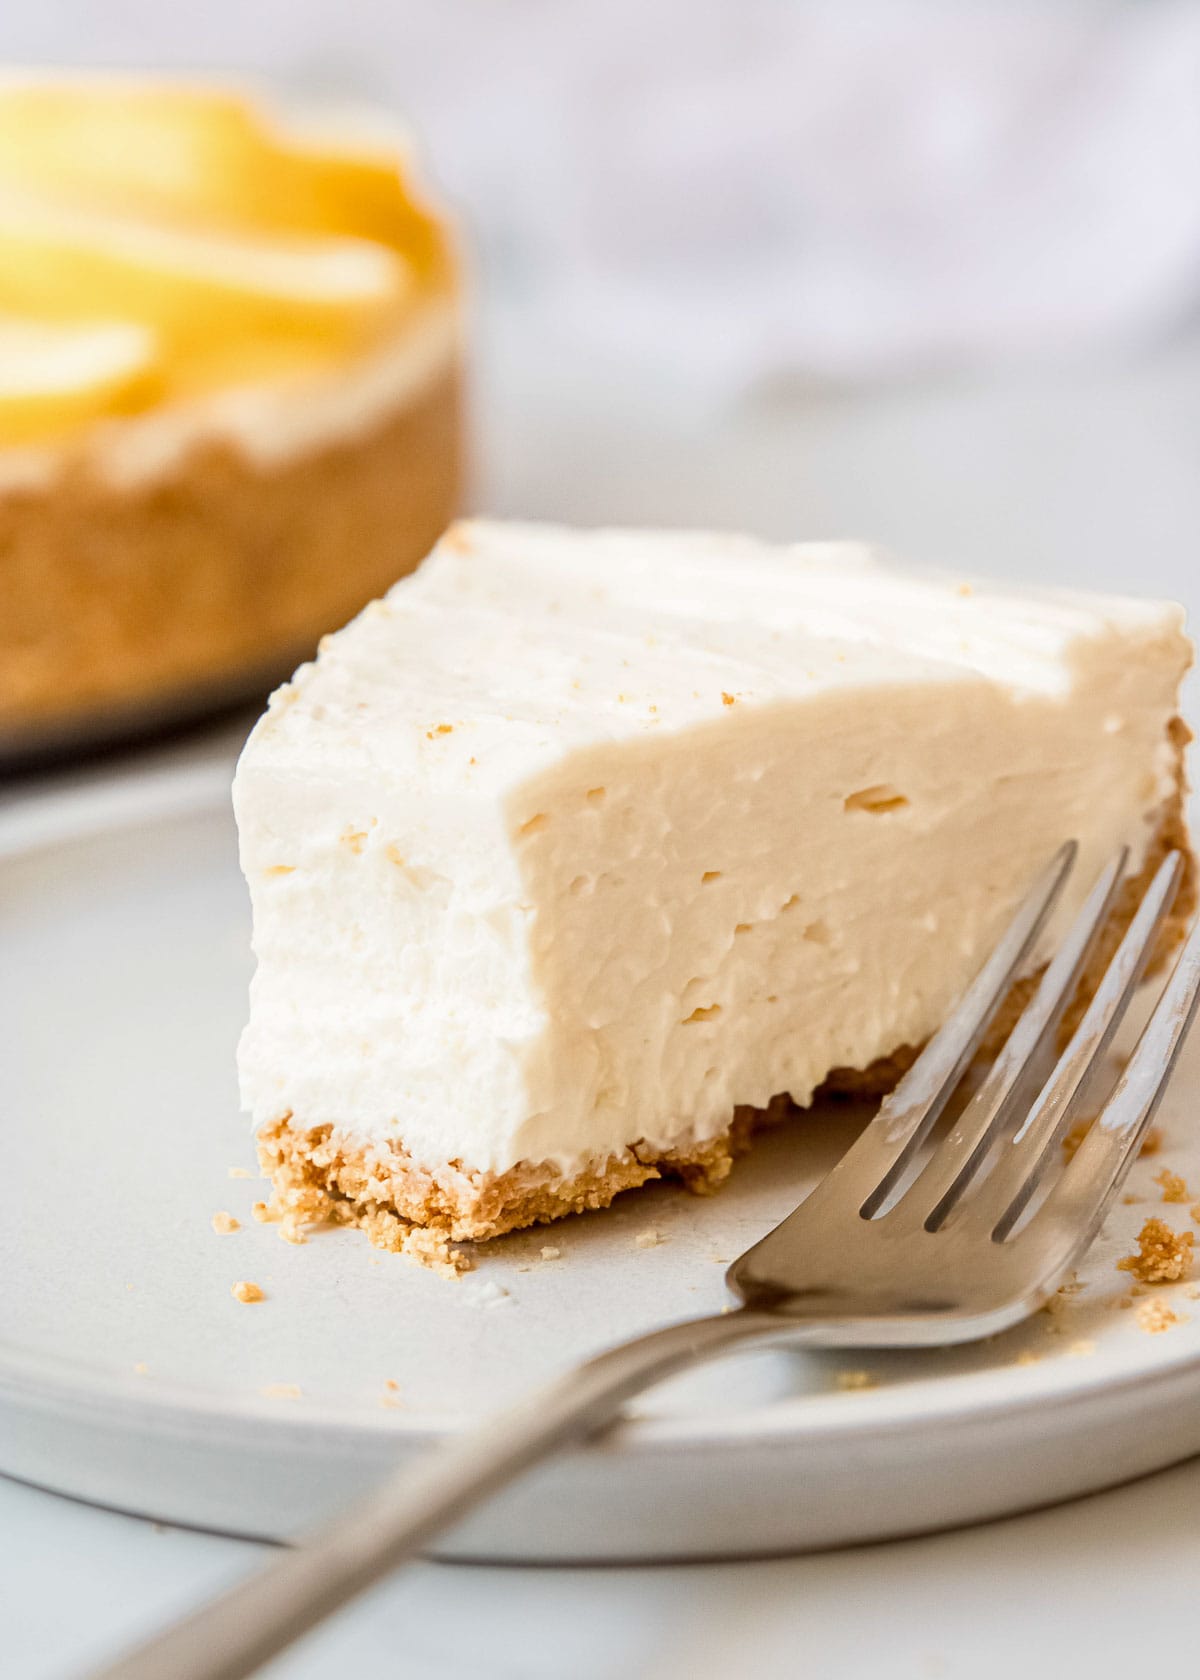
How to Store Cheesecake
Cheesecake will last 3 days in the fridge if you’re lucky enough to have leftovers! To make sure it doesn’t dry out, keep it as airtight as possible–Placing it on a plate and wrapping in plastic wrap will keep it moist and protected from other smells that might be lingering in the fridge.
You can freeze your cheesecake to make it last longer! After it has set, tightly wrap with plastic wrap (multiple layers for protection) and store in a freezer bag. You can do this to the entire cake or individual slices if you prefer. Cheesecake can last 2-3 months this way.
Most people enjoy cheesecake at room temperature, so pull it out of the fridge about 30 minutes before serving. If it was frozen, allow it to defrost in the fridge overnight.
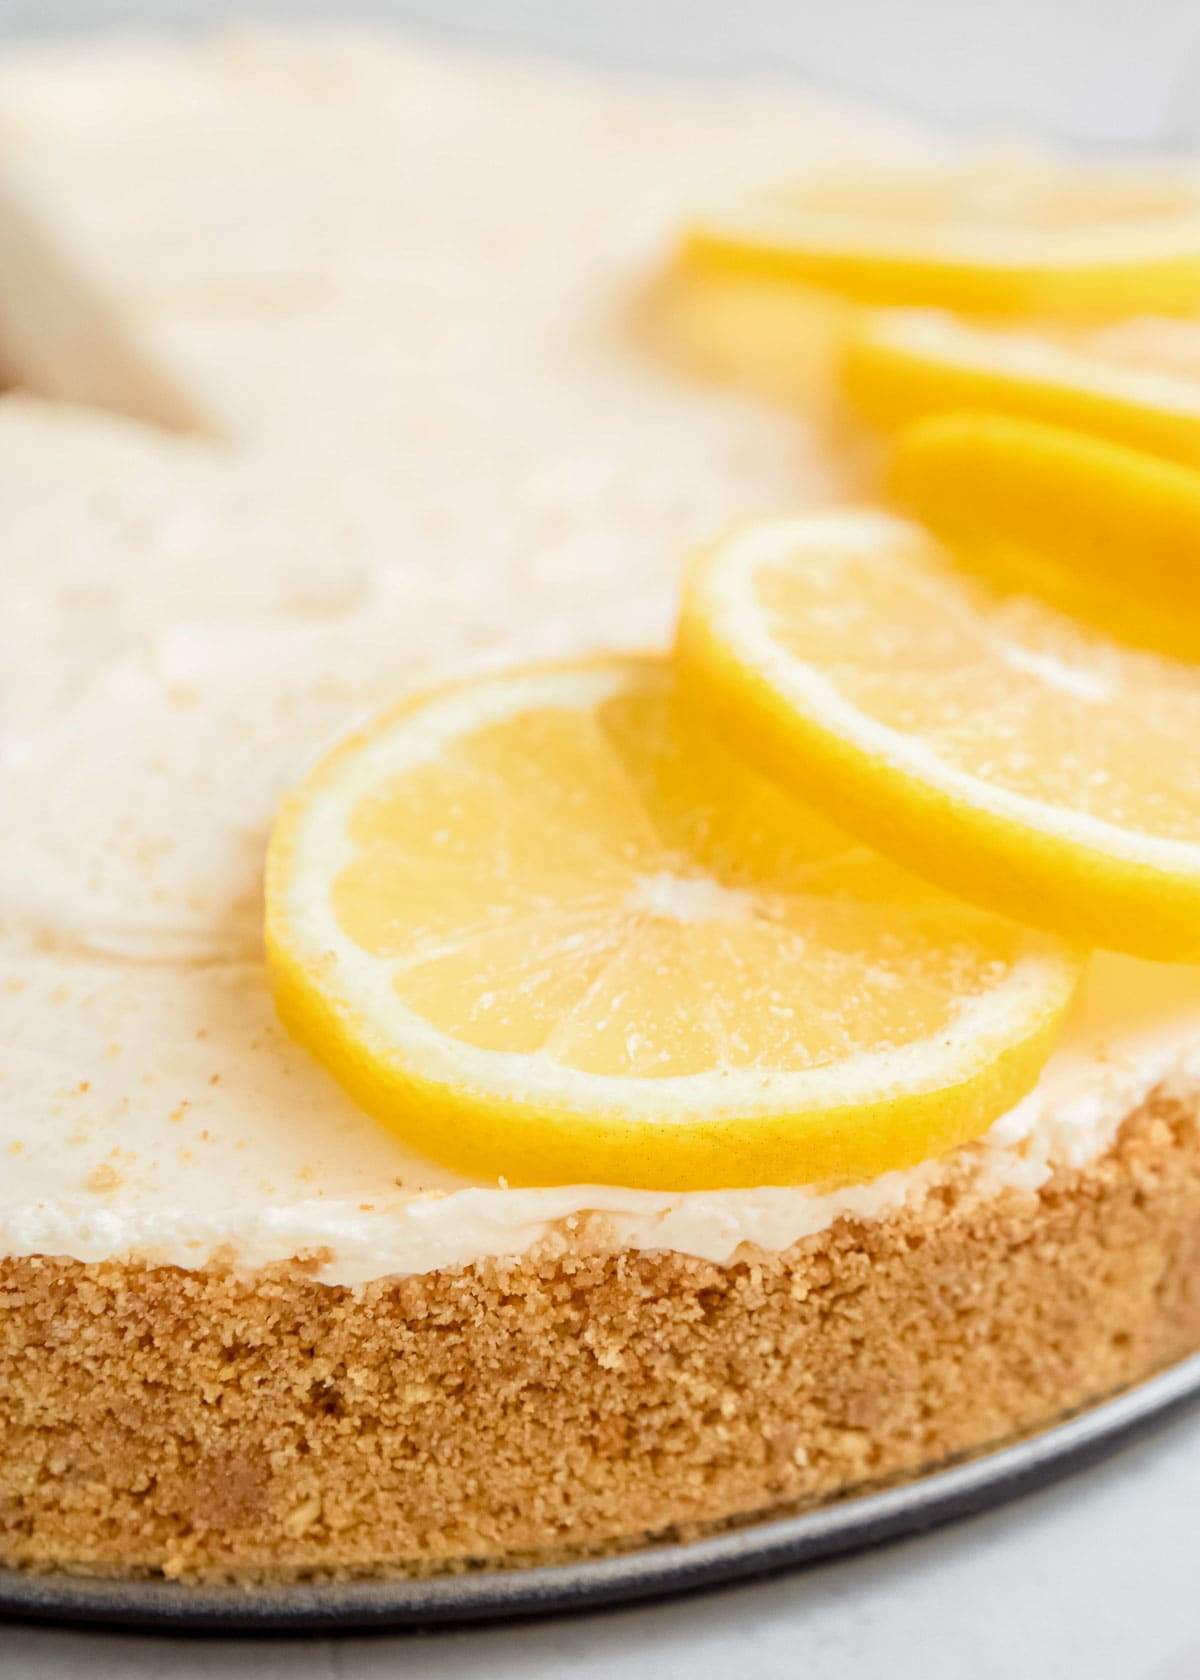
If you like this cheesecake recipe, you’ll love these delicious lemon desserts!
- Lemon Cake Mix Cookies – These are PERFECT for a make-ahead dessert because they stay super soft and moist for days! If you’re using a gluten-free or keto cake mix, use this recipe instead.
- Lemon Pie Ice Cream – A bowl of this tastes exactly like summer. As major pie crust lovers, we love the graham crackers included!
- Lemon Cheesecake Bars – The pecan crumb topping really puts these over the top! These are always a hit at potlucks.
- Lemon Icebox Cake – This is a great dessert to keep in the freezer for surprise guests or parties over the summer! It’s so easy to switch up flavors, too.
- The BEST Keto Lemon Bars – Creamy, delicious, and sugar-free! These are really popular because it’s a great recipe for get-togethers year-round.
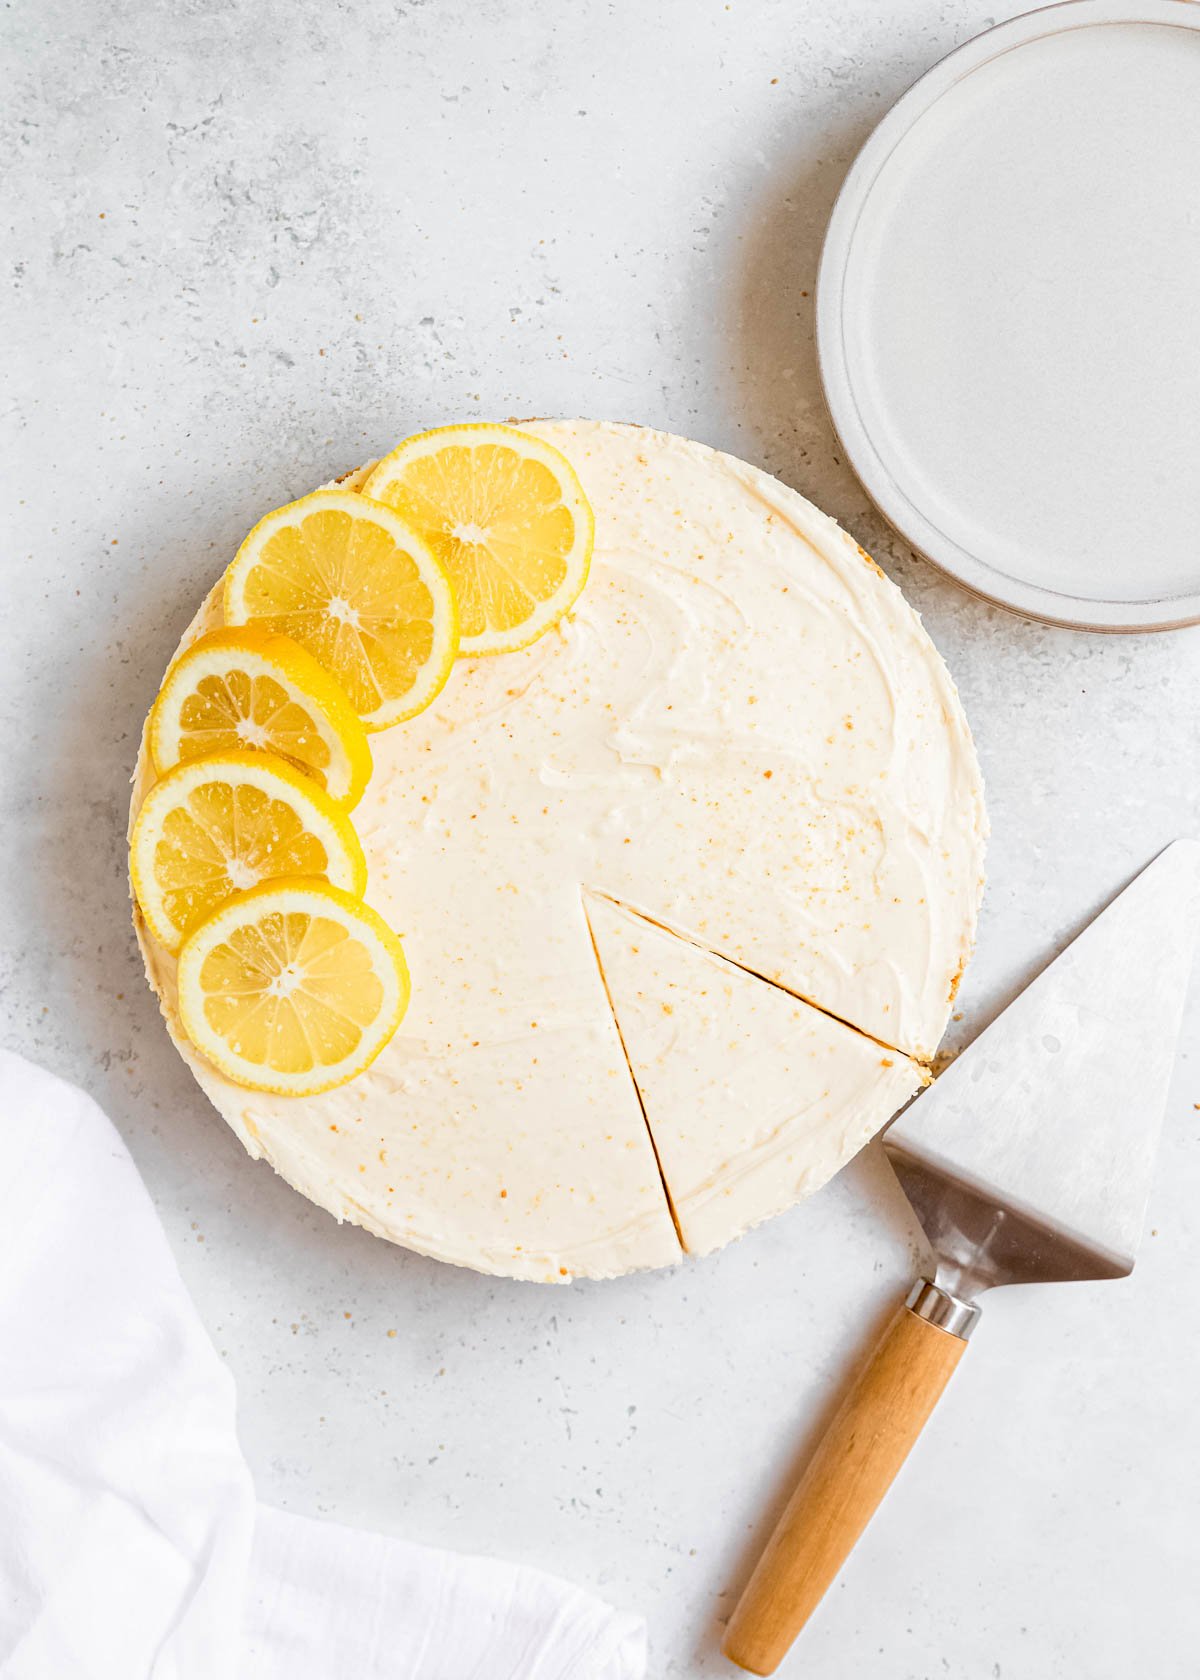
No Bake Cheesecake FAQs
No, it’s not recommended to set a no bake cheesecake in the freezer because it begins to freeze instead of set. Your no bake cheesecake should set in the fridge for 6-8 hours (or until firm) before freezing for the best texture. If you freeze it before it sets, the filling has a texture more similar to mousse than cheesecake.
Yes, once the cheesecake has set in the fridge and is firm, you can then freeze the cheesecake! Simply wrap tightly in plastic wrap then store in a freezer bag up to 2-3 months. The sooner you eat it, the better taste and texture it will have.
Get the Recipe: No-Bake Lemon Cheesecake
Ingredients
For the Crust:
- 2 cups graham cracker crumbs
- ½ cup unsalted butter, melted
- 2 tbsp granulated sugar
For the Filling:
- 24 oz cream cheese
- 2 cups powdered sugar
- 3 tbsp fresh lemon juice
- Zest of 1 lemon
- 1 ½ tsp vanilla extract
- ½ tsp lemon extract, optional
- 1 cup heavy whipping cream
Equipment
Instructions
- Line a 9” springform pan with parchment paper. In a medium bowl, combine the graham cracker crumbs, butter, and sugar. Press the mixture into the prepared pan, pressing it up the sides about 1 ½ inches. Set aside.
- In a large bowl, beat the cream cheese until smooth. Add the powdered sugar, lemon juice, lemon zest, vanilla, and lemon extract (if using) and beat until well combined. Set aside
- In another bowl, beat the whipping cream on high until stiff peaks form.
- Gently fold the whipped cream into the cream cheese mixture with a spatula until combined.
- Pour the mixture into the crust, then cover and refrigerate for at least 6-8 hours. Slice and serve!

Best best best..